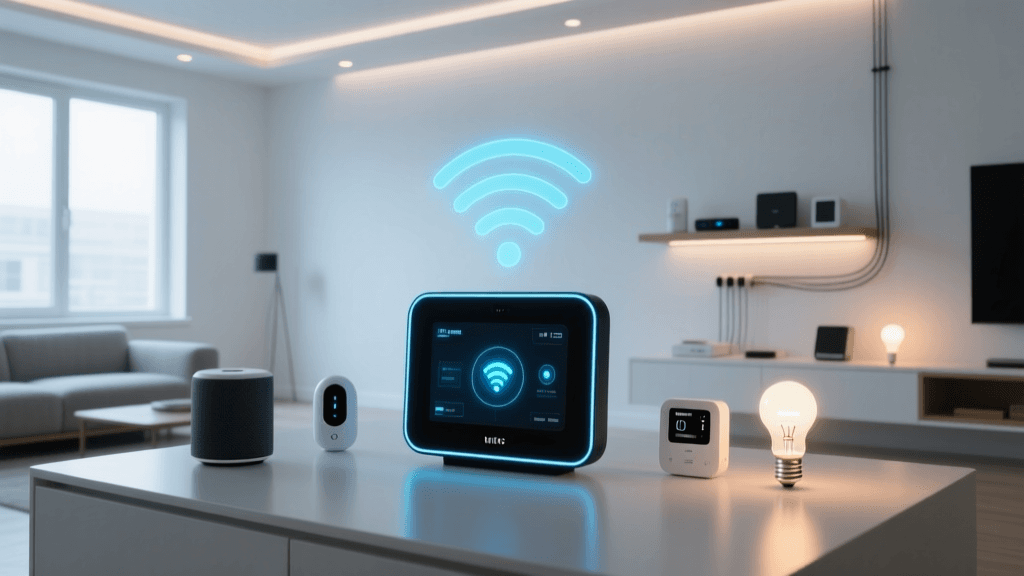
The Frustration of Dropped Smart Home Devices
There are few things more annoying in a smart home than a device that suddenly stops responding. You tap the app, issue a voice command, or trigger an automation, and nothing happens. While Wi-Fi devices often drop due to router issues or range limitations, Zigbee and Z-Wave devices rely on a completely different architecture: the mesh network. When a Zigbee bulb or a Z-Wave door sensor falls off the network, it is rarely a permanent failure. More often than not, it is a routing issue, a hub overload, or a simple pairing glitch that requires a manual reset and reconnection.
In this comprehensive troubleshooting guide, we will walk you through the exact steps to reset, reconnect, and heal your Zigbee and Z-Wave networks. Whether you are using a Samsung SmartThings hub, a Hubitat Elevation, or a Home Assistant setup with a Sonoff Zigbee 3.0 USB dongle, these procedures will help you restore your smart home to full functionality.
Understanding Mesh Network Disconnects
Before diving into the reset procedures, it is crucial to understand why these devices disconnect in the first place. Unlike Wi-Fi, where every device connects directly to a central router, Zigbee and Z-Wave use mesh networking. In a mesh network, mains-powered devices (like smart plugs and light bulbs) act as "repeaters" or "routers," passing signals along to battery-powered end devices (like motion sensors and door contacts).
According to the Connectivity Standards Alliance (CSA), Zigbee networks are designed to be self-healing. However, self-healing is not instantaneous. If a repeater is unplugged, or if a new source of interference is introduced, the network map can become fragmented, leaving some devices stranded without a route back to the main hub.
As the data visualization above illustrates, radio frequency interference is the leading culprit behind dropped connections. Because Zigbee operates on the 2.4GHz band—the exact same frequency as Wi-Fi, Bluetooth, and microwaves—it is highly susceptible to signal crowding.
Step-by-Step Device Reset Procedures
When a device is unresponsive, the first step is to force a factory reset and put it back into pairing mode. Below is a detailed table and guide for some of the most popular smart home devices on the market.
| Device Type | Brand / Model | Reset Procedure | Pairing Indicator | Avg. Replacement Cost |
|---|---|---|---|---|
| Smart Bulb (Zigbee) | Philips Hue White & Color | Turn power on/off 5 times with 2-second pauses. Use Hue Dimmer Switch for easier reset. | Bulb flashes brightly, then pulses. | $25 - $55 |
| Motion Sensor (Z-Wave) | Aeotec MultiSensor 6 | Press and hold the tiny pairing button on the back for 20 seconds. | LED blinks rapidly, then turns solid. | $45 - $60 |
| Smart Plug (Zigbee) | Innr Smart Plug (SP 120) | Press and hold the power button for 5 seconds until the LED blinks. | LED blinks rapidly (2x per second). | $15 - $20 |
| Door/Window Sensor (Z-Wave) | Ecolink Z-Wave Plus Sensor | Remove the battery, hold the tamper switch for 5 seconds, reinsert battery while holding. | LED flashes 3 times. | $20 - $30 |
Resetting Philips Hue Bulbs Without the App
If your Philips Hue bridge is offline or you are migrating to a new hub (like Home Assistant's Zigbee2MQTT), you cannot use the app to delete the bulb. The power-cycling method (on/off 5 times) is notoriously finicky. The most reliable method is to purchase a Philips Hue Dimmer Switch (approx. $25). Bring the dimmer switch within 2 inches of the bulb, and simultaneously hold the 'On' and 'Off' buttons for 10 seconds. The bulb will flash, confirming a successful reset and immediate pairing to the dimmer, which can then be transferred to your main hub.
Resetting Battery-Powered Z-Wave Sensors
Battery-powered Z-Wave devices, such as the Aeotec MultiSensor 6 or Ecolink contact sensors, often go into a "deep sleep" mode to conserve battery life. If a sensor drops off the network, it is usually because it missed its scheduled wake-up interval. To force a reset, you must wake the device manually. For most Z-Wave sensors, this involves opening the battery compartment and pressing the internal tamper or pairing button 3 to 5 times rapidly, followed by a long press to initiate exclusion (removal) and then inclusion (pairing).
Network Healing: Rebuilding the Mesh Routes
Simply resetting and re-pairing a device is only half the battle. If the underlying mesh routes are corrupted, the device will likely drop again within a few days. You must perform a "Network Heal" or "Z-Wave Repair." According to Samsung SmartThings support documentation, a Z-Wave repair forces the hub to push updated routing tables to every device on the network, ensuring they know the most efficient path back to the controller.
How to Heal Your Network by Platform
- Samsung SmartThings: Open the SmartThings app, go to your Hub settings, select 'Z-Wave utilities', and tap 'Repair Z-Wave network'. This process can take up to an hour depending on the number of devices. Do not unplug the hub during this time.
- Hubitat Elevation: Log into the local web interface, navigate to 'Settings' > 'Z-Wave Details', and click 'Heal'. Hubitat allows you to heal individual devices or the entire network. Healing individual stubborn devices is often faster and more effective.
- Home Assistant (Z-Wave JS): As detailed in the official Home Assistant Z-Wave JS integration docs, you can initiate a network heal via the Z-Wave JS UI add-on. Navigate to the Network Map, click the 'Heal Network' button, and monitor the progress. Note that battery-powered devices must be manually woken up during the heal process to receive the new routing data.
Pro Tip: Always perform a network heal at night. The healing process generates a massive amount of radio traffic, which can cause temporary latency or unresponsiveness in your smart home automations while it runs.
The Hidden Enemy: USB 3.0 Interference
If you are running a custom hub using a USB Zigbee or Z-Wave dongle (such as the Sonoff Zigbee 3.0 USB Dongle Plus or the Aeotec Z-Stick Gen5+), you might be experiencing severe range and pairing issues. This is rarely a defect in the dongle itself; rather, it is a well-documented hardware phenomenon.
USB 3.0 ports and cables generate a massive amount of radio frequency noise specifically in the 2.4GHz spectrum. If you plug your Zigbee dongle directly into a USB 3.0 port on a Raspberry Pi, Intel NUC, or Mac Mini, the interference will effectively deafen the dongle, reducing its range to just a few feet and causing constant device disconnects.
The Fix: Use a USB Extension Cable
To resolve this, you must physically separate the dongle from the host computer's USB bus. Purchase a high-quality, shielded USB 2.0 extension cable (1 to 2 meters in length). Plug the extension cable into a USB 2.0 port on your computer if available, or use a powered USB 2.0 hub. This simple $8 fix resolves over 50% of all Zigbee pairing and stability issues for DIY smart home builders.
Zigbee Channel Selection and Wi-Fi Coexistence
If your Z-Wave network is stable but your Zigbee devices keep dropping, you likely have a channel conflict with your home Wi-Fi. Zigbee operates on the 2.4GHz band, which is divided into channels 11 through 26. Wi-Fi routers typically use channels 1, 6, and 11. If your Zigbee network is set to a channel that overlaps with your Wi-Fi, the louder Wi-Fi signals will drown out the quieter Zigbee mesh traffic.
Optimal Channel Pairings
To ensure peaceful coexistence, configure your Wi-Fi router and Zigbee hub to use non-overlapping channels. Here is the industry-standard configuration:
- Wi-Fi Channel 1: Use Zigbee Channel 15 or 20
- Wi-Fi Channel 6: Use Zigbee Channel 11 or 15
- Wi-Fi Channel 11: Use Zigbee Channel 20 or 25
Changing your Zigbee channel is not as simple as changing a Wi-Fi channel. In most cases, you cannot simply change the channel and expect devices to follow. You will likely need to factory reset your Zigbee coordinator, set the new channel in your hub's software (like Zigbee2MQTT or ZHA), and then physically reset and re-pair every single Zigbee device in your home. While tedious, this one-time effort is often the only permanent cure for a highly congested RF environment.
Cost vs. Benefit: When to Replace Instead of Reset
Troubleshooting takes time. Before you spend three hours trying to heal a mesh network or re-pair a stubborn sensor, consider the age and cost of the device. Older first-generation Z-Wave devices (Non-Plus) do not support modern mesh routing features and can actually degrade the performance of your newer Z-Wave Plus or Z-Wave Long Range devices by creating bottlenecks in the network.
If you have a $20 smart plug or a $25 door sensor that is more than four years old and constantly drops off the network, it is often more cost-effective to exclude it from your network, recycle it, and purchase a modern replacement. Modern Z-Wave 800 series and Zigbee 3.0 devices feature vastly improved antennas, better power management, and superior coexistence protocols that will save you hours of future troubleshooting.
Summary Checklist for a Healthy Mesh
To keep your smart home running smoothly, follow this quick maintenance checklist whenever you add new devices or experience dropouts:
- Verify Power: Ensure the problematic device has fresh batteries or is receiving stable mains power.
- Check Interference: Move USB dongles away from USB 3.0 ports using an extension cable.
- Exclude and Re-include: Perform a proper factory reset on the device and re-pair it close to the hub.
- Heal the Network: Run a Z-Wave repair or Zigbee network heal from your hub's administration panel.
- Verify Channels: Ensure your Zigbee channel does not overlap with your primary Wi-Fi channels.
By understanding the underlying mechanics of mesh networking and following these systematic troubleshooting steps, you can transform an unreliable smart home into a robust, automated ecosystem that responds instantly to your every command.