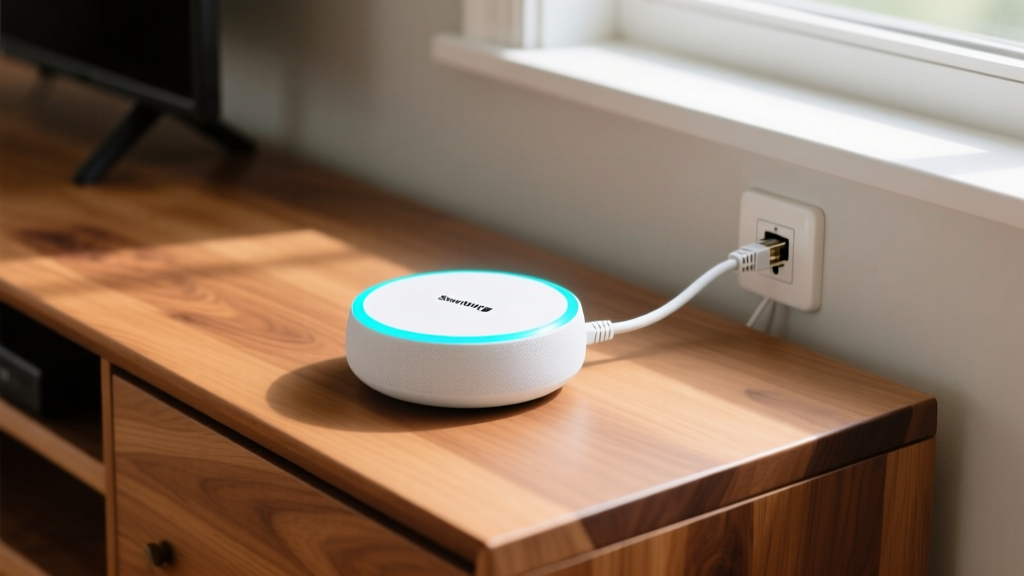
Upgrading your home automation backbone requires precision, and the smartthings hub v4 (officially the latest generation Samsung SmartThings Hub, model GP-U999SJVLGAA) represents a massive leap in local processing and protocol support. Unlike its predecessors, this iteration integrates native Thread 1.3 border routing, Matter compatibility, Zigbee 3.0, and the Z-Wave 800-series chipset. Getting this hardware online correctly is critical to ensuring your mesh networks do not suffer from co-channel interference or routing bottlenecks. This guide bypasses the generic quick-start manual and provides the exact, field-tested installation steps required for a rock-solid deployment.
Pre-Installation Checklist: Network and Hardware Prerequisites
Before unboxing the hub, you must prepare your network environment. The most common point of failure during the initial provisioning phase is Wi-Fi band steering.
- Network Band: The hub requires a 2.4GHz Wi-Fi network (802.11 b/g/n). If your router uses a unified SSID for both 2.4GHz and 5GHz, create a dedicated IoT network or temporarily disable the 5GHz band during setup.
- Power Supply: The V4 hub utilizes USB-C. Ensure you use the included 5V/2A power adapter or a high-quality third-party brick capable of delivering a stable 10W. Insufficient amperage causes spontaneous Z-Wave radio drops.
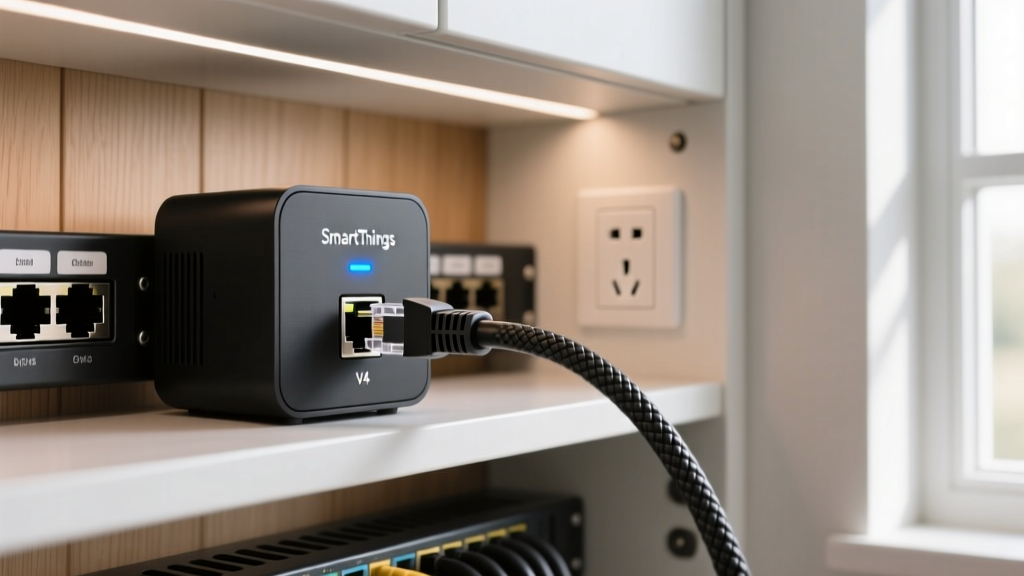
- Ethernet (Highly Recommended): While Wi-Fi is supported, hardwiring via the RJ45 port eliminates latency and prevents the hub from competing with your Zigbee devices for 2.4GHz airtime.
Step-by-Step SmartThings Hub V4 Installation
Phase 1: Physical Placement and Power
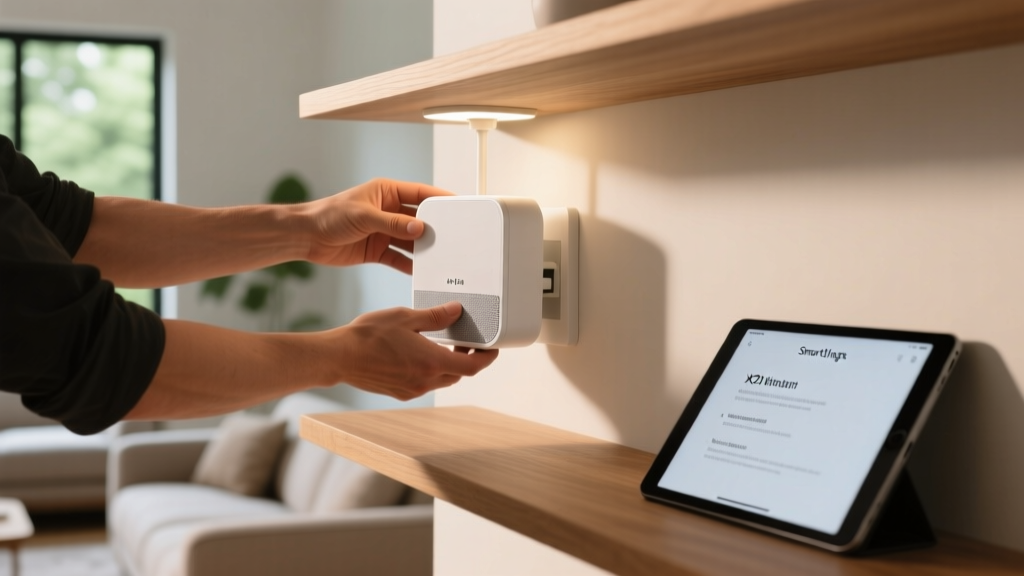
Placement dictates mesh performance. Do not hide the hub inside a metal media cabinet or behind a television. Mount it centrally in your home, ideally at least 4 feet off the ground to optimize the line-of-sight propagation for the internal antennas. Connect the Ethernet cable first, then plug in the USB-C power cable. The LED ring will pulse blue, indicating it is ready for provisioning.
Phase 2: App Pairing and Firmware Updates
Open the SmartThings app on your iOS or Android device. Navigate to Devices > Add Device > Scan QR Code. Scan the code located on the base of the hub. Because you are using Ethernet, the app will bypass Wi-Fi credential entry and immediately register the device on your local network.
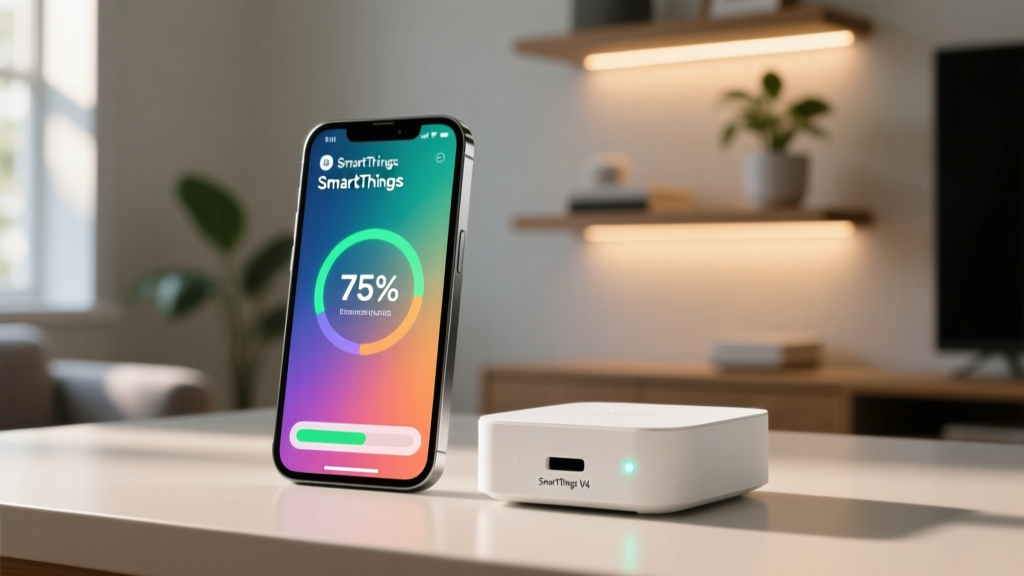
Once registered, the hub will force a firmware synchronization. This process downloads the latest protocol stacks from Samsung's servers. Do not unplug the device during this 8-to-12-minute window. Interrupting a Z-Wave or Thread stack update can corrupt the radio firmware, requiring a complex pinhole factory reset.
Phase 3: Protocol Configuration and Matter Commissioning
After the reboot, the LED ring will turn solid green. You must now explicitly enable the border router functions. Go to Device Settings > Advanced > Thread Network and toggle 'Enable Thread Border Router'. This allows the hub to route Thread traffic to your IP network, a requirement for Matter over Thread devices like the Eve Energy smart plugs or Nanoleaf Essentials bulbs.
Protocol Range and Interference Matrix
Understanding the physical limitations of each radio inside the smartthings hub v4 will help you plan your device placement. Below is the operational matrix based on North American frequency allocations.
| Protocol | Frequency | Max Indoor Range | Mesh Routing | Primary Interference Source |
|---|---|---|---|---|
| Zigbee 3.0 | 2.4 GHz | 40-60 ft | Yes (Mains devices) | Wi-Fi Channels 1, 6, 11 |
| Z-Wave 800 | 908.42 MHz | 100-150 ft | Yes (All devices) | Minimal (Sub-GHz) |
| Thread 1.3 | 2.4 GHz | 40-60 ft | Yes (IPv6 native) | Microwaves, Wi-Fi |
For optimal performance, configure your primary Wi-Fi router to use Channel 1 or 11, and force the Zigbee/Thread radios on the hub to operate on Channel 15, 20, or 25. This creates a physical frequency gap that prevents packet collisions. You can verify your Zigbee channel in the SmartThings IDE or via the Advanced API settings.
Troubleshooting Common Setup Failures
Even with meticulous preparation, provisioning can stall. Use this diagnostic framework to resolve the three most frequent errors encountered with the V4 hub.
- Symptom: App hangs on 'Searching for Hub' after QR scan.
Cause: The hub pulled an APIPA (169.254.x.x) IP address due to a DHCP timeout.
Fix: Unplug the hub, reboot your router to clear the DHCP lease table, plug the hub back in, and wait 2 minutes before rescanning. - Symptom: Zigbee devices pair but drop offline within 10 minutes.
Cause: Missing mesh repeaters or severe 2.4GHz congestion.
Fix: Plug in a Zigbee smart plug (acting as a router node) halfway between the hub and the dropping sensor. Change your Wi-Fi router to Channel 11 and set the Zigbee network to Channel 15. - Symptom: Matter commissioning fails with 'Unsupported Device Type'.
Cause: The hub firmware is outdated and lacks the latest Matter cluster definitions.
Fix: Force a manual firmware check via the app settings. If no update is found, perform a soft reset (unplug for 30 seconds) to trigger the Samsung cloud sync.
Migrating from V3 to the SmartThings Hub V4
If you are replacing an aging SmartThings V3 (model GP-U999SJVLGAA predecessor), Samsung provides an automated migration tool within the app. Navigate to Hub Settings > Replace Hub. This process securely transfers your Z-Wave security keys and Zigbee network PAN ID to the new hardware.
'While the migration tool transfers your Z-Wave network seamlessly, Thread and Matter devices will require re-commissioning. Thread network credentials are tied to the specific border router hardware and cannot be cloned via the cloud migration utility.' — SmartThings Developer Documentation
By hardwiring the device, separating your RF channels, and properly initializing the Thread border router, your smartthings hub v4 will serve as a highly responsive, locally-processed command center capable of handling hundreds of endpoints without cloud latency. For further technical specifications and API limits, refer to the official Samsung SmartThings Support portal.