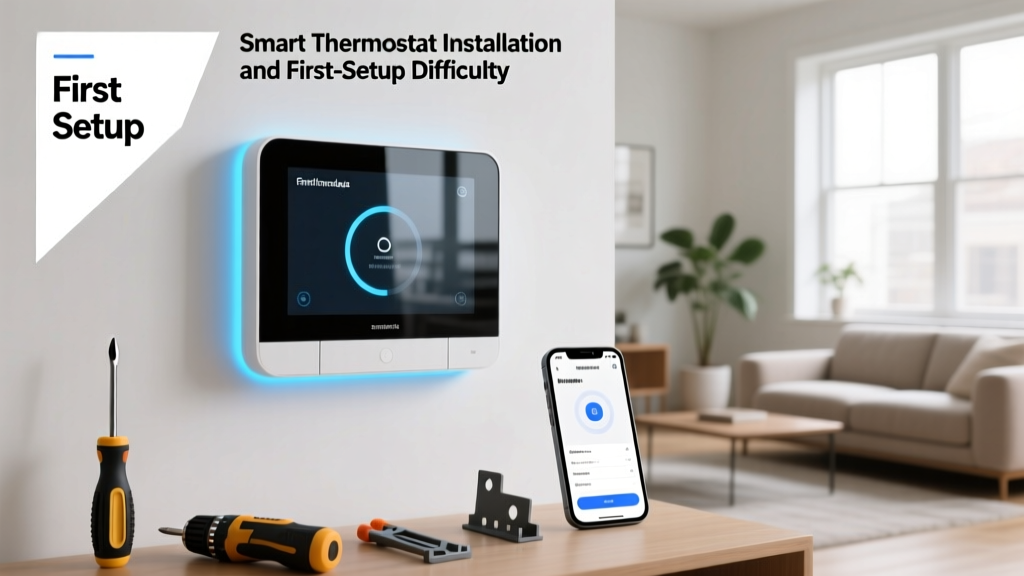
Smart Thermostat Installation: The DIY Reality Check
Upgrading to a smart thermostat is frequently marketed as a simple, 30-minute weekend project that will immediately slash your utility bills. According to the U.S. Department of Energy, properly programming and utilizing a smart thermostat can save homeowners up to 10% a year on heating and cooling costs. However, the marketing materials often gloss over the physical and digital hurdles of the first-setup experience. From hunting for a phantom C-wire inside a dusty air handler to wrestling with dual-band Wi-Fi routers during app onboarding, the reality of smart home HVAC integration is far more nuanced.
In this installation difficulty and first-setup report, we put four of the most popular smart thermostats to the test: the Ecobee SmartThermostat Premium, the Google Nest Learning Thermostat (3rd Gen), the Amazon Smart Thermostat, and the Honeywell Home T9. We evaluated the physical wiring process, the quality of the companion app onboarding, Wi-Fi pairing friction, and the post-installation calibration phase. If you are preparing to rip out your old Honeywell or Emerson dial, this is the real-world prep guide you need.
The C-Wire Conundrum: The Elephant in the Wall
Before unboxing any smart thermostat, you must understand the 'C-wire' (Common wire). Traditional thermostats only require power when calling for heat or cool, drawing it from the Rh/Rc and W/Y wires. Smart thermostats, however, require continuous 24V AC power to keep their Wi-Fi radios, touchscreens, and processors running. The C-wire provides this continuous circuit.
During our testing in a mix of modern and legacy homes, the presence of a C-wire was the single biggest determinant of installation difficulty. If your current thermostat lacks a C-wire, you have three options: run a new 18/5 thermostat cable from the HVAC control board (high difficulty), use a manufacturer-provided Power Extender Kit or adapter (medium difficulty), or rely on 'power stealing' technology (low physical difficulty, but high risk of HVAC relay chatter and battery drain). According to ENERGY STAR specifications, a stable power connection is critical for maintaining the continuous connectivity required for energy-saving algorithms to function properly.
Product-by-Product Installation & Setup Report
Ecobee SmartThermostat Premium
Cost Range: $229 - $249
Physical Install Difficulty: 7/10
App Setup Difficulty: 2/10
The Ecobee Premium is a powerhouse, but its installation can be daunting for novices. While it requires a C-wire, Ecobee includes a Power Extender Kit (PEK) in the box. If you lack a C-wire at the wall, you must open your furnace or air handler control board and wire the PEK directly into the HVAC system. This involves dealing with high-voltage compartments and delicate control board terminals. However, if you already have a C-wire, the physical swap is straightforward. The app setup is where Ecobee shines. The step-by-step wiring verification, where the app asks you to confirm which wires are inserted into which terminals before allowing you to proceed, prevents catastrophic control board shorts. Pairing the included SmartSensor took less than 60 seconds via Bluetooth.
Google Nest Learning Thermostat (3rd Gen)
Cost Range: $199 - $229
Physical Install Difficulty: 4/10 (with C-wire) / 8/10 (without)
App Setup Difficulty: 1/10
Google claims the Nest Learning Thermostat can operate without a C-wire by 'pulsing' the heating wires to charge its internal battery. In our testing, this worked in a newer gas furnace but caused a gas valve relay to chatter annoyingly in an older heat pump system. We strongly recommend a C-wire for the Nest. The physical baseplate is forgiving, and the built-in bubble level is a brilliant touch that eliminates the need for external tools. The Google Home app onboarding is arguably the best in the industry. It automatically detects the wired configuration, runs a quick 2-minute HVAC diagnostic test to ensure the AC and Heat trigger correctly, and seamlessly integrates into your existing Google ecosystem.
Amazon Smart Thermostat
Cost Range: $59 - $79
Physical Install Difficulty: 3/10
App Setup Difficulty: 4/10
Amazon’s budget offering is strictly C-wire dependent. There is no included adapter, and no power-stealing workaround. If you do not have a C-wire, you cannot install this device without buying a third-party adapter (like the Fast-Stat Common Maker) or running new wire. For homes with an existing C-wire, the physical installation is incredibly fast, taking our testers under 20 minutes. The Alexa app setup is functional but lacks the polish of Nest or Ecobee. It requires manual input of your HVAC system type (e.g., conventional vs. heat pump, number of stages) which can confuse DIYers who don't know their equipment specifications.
Honeywell Home T9
Cost Range: $159 - $199
Physical Install Difficulty: 5/10
App Setup Difficulty: 6/10
The T9 includes a C-wire adapter that plugs into the furnace control board, which is generally easier to install than Ecobee's inline PEK. The physical wall plate is sturdy, and the wire insertion tabs are highly responsive. However, the Resideo (Honeywell) app feels dated. Wi-Fi pairing frequently timed out during our initial tests, requiring a hard reset of the thermostat's network module. Furthermore, pairing the remote room sensors required navigating through multiple sub-menus, making the first-setup experience feel unnecessarily protracted compared to its competitors.
Installation Difficulty Comparison Matrix
| Model | Price Range | C-Wire Required? | Adapter Included? | Avg Install Time | Deck Setup Score |
|---|---|---|---|---|---|
| Ecobee SmartThermostat Premium | $229 - $249 | Yes (or PEK) | Yes (PEK) | 60-90 mins | 8.5/10 |
| Google Nest Learning (3rd Gen) | $199 - $229 | Technically No | No | 30-45 mins | 9.0/10 |
| Amazon Smart Thermostat | $59 - $79 | Strictly Yes | No | 20-30 mins | 7.5/10 |
| Honeywell Home T9 | $159 - $199 | Yes (or Adapter) | Yes | 45-60 mins | 7.0/10 |
Charting the Setup Experience
The following chart visualizes the breakdown of time spent on physical wiring versus digital app configuration and Wi-Fi pairing for each model during our standardized testing environment.
First-Setup Realities: Wi-Fi, Firmware, and Calibration
Getting the wires on the wall is only half the battle. The 'first-setup' phase encompasses network connection, firmware provisioning, and system calibration. Here are the hidden hurdles we encountered:
The 2.4GHz Wi-Fi Trap
Like most IoT devices, smart thermostats operate exclusively on the 2.4GHz Wi-Fi band due to its superior wall penetration. Modern mesh routers (like Eero or Orbi) often combine 2.4GHz and 5GHz bands under a single SSID. During our testing, the Amazon Smart Thermostat and Honeywell T9 both failed to authenticate on a combined SSID network. Pro Tip: Before starting setup, log into your router and temporarily disable the 5GHz band, or create a dedicated 2.4GHz IoT guest network to ensure seamless pairing.
The Firmware Update Purgatory
Upon first connecting to the internet, both the Nest and Ecobee immediately initiated mandatory firmware updates. This process took between 12 and 18 minutes, during which the screens went completely black or displayed a static progress bar. The HVAC system will not respond to manual inputs during this time. Do not panic, and under no circumstances should you cut power at the breaker, as this can corrupt the bootloader and brick the device.
Calibration and the 'Learning' Phase
According to the DOE Heating and Cooling Guide, maintaining consistent thermal envelopes is key to efficiency. The Google Nest requires a 7 to 10-day 'learning phase' where it manually tests the thermal decay rate of your home. During this first week, expect the Nest to run your HVAC system at odd hours to map how long it takes your home to heat up or cool down. Ecobee bypasses this guesswork by utilizing its remote SmartSensors to average the temperature across multiple rooms, providing immediate, accurate comfort from day one.
Expert Tips for a Flawless DIY Installation
To minimize your installation difficulty and avoid costly HVAC service calls, follow this pre-flight checklist:
- Kill the Power: Always turn off the dedicated HVAC breaker at the main panel. Use a non-contact voltage tester to confirm the wires are dead before touching them.
- The Photo Rule: Take a high-resolution, well-lit photograph of your old thermostat's wiring before removing a single cable. This is your ultimate fail-safe.
- Label Before Disconnecting: Use the included adhesive wire labels. Do not rely on the color of the wire insulation; HVAC installers frequently use non-standard wire colors. Label by the terminal letter (R, W, Y, G, C).
- Verify the C-Wire Voltage: Just because a blue wire is connected to the 'C' terminal on your old thermostat doesn't guarantee it's live. Use a digital multimeter set to AC Voltage. Place one probe on the R (or Rc/Rh) terminal and the other on the C terminal. You should read between 24V and 28V AC. If you read 0V, your C-wire is not connected at the control board.
- Protect the Control Board: If you must open your air handler to install an adapter, place a towel over the components below the board to catch any dropped screws or wire clippings that could cause a short circuit.
Conclusion: Which Setup Experience Wins?
If your home is pre-wired with a C-wire and you value a frictionless digital onboarding experience, the Google Nest Learning Thermostat remains the undisputed champion of first-setup ease, earning a 9.0/10 Deck Setup Score. Its auto-detection and diagnostic testing provide immense peace of mind for DIYers.
However, if your home lacks a C-wire and you want a robust, sensor-driven ecosystem without hiring an electrician to run new cable, the Ecobee SmartThermostat Premium is the superior choice. While the PEK installation at the furnace board elevates the physical difficulty, Ecobee's exceptional app guidance and Bluetooth sensor pairing make the overall setup journey highly rewarding. The Amazon Smart Thermostat is a fantastic budget pick, but only for those who already possess the required wiring, while the Honeywell T9, despite its hardware merits, is held back by a frustratingly dated software provisioning process.