The Promise vs. Reality of Smart Climate Control
Upgrading to a smart thermostat is one of the most impactful changes you can make to your home's energy profile. According to the U.S. Department of Energy, properly programming and utilizing a smart or programmable thermostat can save you up to 10% a year on heating and cooling costs. However, the gap between the marketing promise of a 'five-minute install' and the reality of opening your HVAC control panel is often vast. At SmartHomeDeck, we don't just test how well these devices regulate temperature; we rigorously evaluate the installation difficulty and first-setup experience. In this comprehensive report, we put the two titans of the industry head-to-head: the Ecobee SmartThermostat Premium and the Google Nest Learning Thermostat (4th Gen). We will break down the physical wiring, the C-wire conundrum, the app onboarding friction, and the real-world pitfalls that DIYers frequently encounter.
Pre-Installation Preparation and Safety Protocols
Before unboxing either device, it is crucial to understand the electrical environment of your HVAC system. Most residential thermostats operate on a low-voltage 24V AC circuit powered by a transformer located in your furnace or air handler. While 24 volts is generally not lethal, shorting the wrong wires can instantly blow the 3-amp or 5-amp automotive-style fuse on your HVAC control board, or worse, fry the transformer itself.
Tools Required for a Smooth Installation
- Phillips and Flathead Screwdrivers: Both Nest and Ecobee include small screwdrivers in the box, but having a magnetic-tipped #1 Phillips is highly recommended for terminal screws.
- Power Drill and 3/16-inch Drill Bit: For mounting the backplate into drywall if you are not using existing holes.
- Drywall Anchors: Included with both units, but ribbed plastic anchors provide the best hold.
- Wire Strippers and Needle-Nose Pliers: Essential for straightening bent 18 AWG solid copper thermostat wires.
- Smartphone with Wi-Fi and Bluetooth: Required for the first-setup wizard and firmware updates.
Always turn off the power at the circuit breaker panel before removing your old thermostat faceplate. Use a non-contact voltage tester to verify that the power is completely off at the wires.
The Common Wire (C-Wire) Hurdle
The most significant barrier to smart thermostat installation is the Common Wire, or C-wire. This wire provides a continuous 24V AC return path, allowing the thermostat's Wi-Fi radio, display, and sensors to remain powered 24/7. According to ENERGY STAR, certified smart thermostats require reliable power to maintain cloud connectivity and execute energy-saving algorithms.
If your current thermostat only has four wires (typically R, W, Y, and G), you lack a C-wire. Here is how our two contenders handle this missing link:
- Ecobee SmartThermostat Premium: Ecobee includes a Power Extender Kit (PEK) in the box. The PEK wires into your furnace control board, multiplexing the existing four wires to carry both power and data, effectively creating a virtual C-wire. This is a massive advantage for older homes, though it requires opening the furnace panel.
- Nest Learning Thermostat: Google claims the Nest does not require a C-wire for most systems, utilizing a technique called 'power stealing' (pulsing the heating or cooling relays briefly to draw power without turning the HVAC on). However, in our testing, power stealing often leads to Wi-Fi disconnects, battery drain warnings, and short-cycling on modern high-efficiency furnaces. We strongly recommend running a new C-wire or using a third-party C-wire adapter for Nest devices.
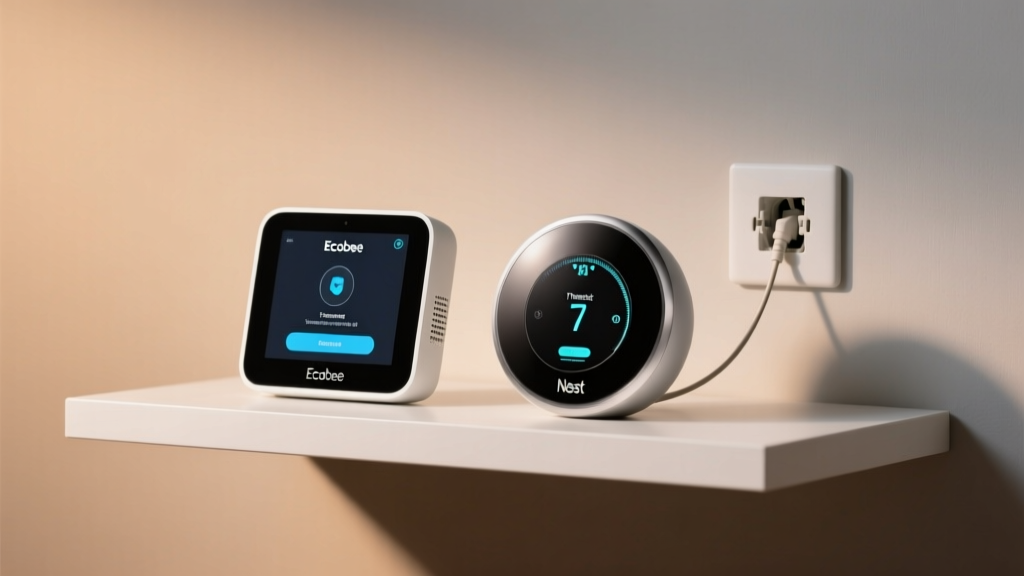
Ecobee SmartThermostat Premium: Unboxing to First Boot
Physical Installation Steps
The Ecobee Premium features a sleek, glass-fronted design with a built-in Amazon Alexa speaker. The backplate is relatively large, which is excellent for covering the 'shadow' or unpainted drywall left behind by older, larger thermostats. The wiring terminals are clearly labeled and feature a push-to-release lever mechanism that makes inserting 18 AWG wires incredibly easy. No tiny screws to lose in the carpet.
For homes without a C-wire, the PEK installation adds about 15 to 20 minutes to the physical setup. You must map your existing R, W, Y, and G wires to the PEK module at the furnace board, and then connect the PEK to the board's terminals. This requires a basic understanding of HVAC control boards and strict adherence to the included wiring diagram.
App Setup and Calibration
Once powered on, the Ecobee screen guides you through a localized setup wizard. You select your language, connect to your 2.4GHz or 5GHz Wi-Fi network (a major plus, as many smart home devices only support 2.4GHz), and enter your HVAC configuration. The app then prompts you to register the device, create an Ecobee account, and set up two-factor authentication (2FA).
SmartHomeDeck Pro Tip: If you are integrating with Apple HomeKit, have your HomeKit setup code ready. The Ecobee Premium has the code printed on the back of the device and on the included quick-start card. Scanning this during the initial app setup saves you from having to manually type the 8-character alphanumeric code later.
Google Nest Learning Thermostat: Unboxing to First Boot
Physical Installation Steps
The Nest Learning Thermostat is renowned for its premium, heavy, metallic dial and minimalist aesthetic. The backplate features a built-in bubble level, which is a fantastic touch for ensuring your device sits perfectly straight on the wall. The wiring terminals use a traditional screw-down or push-button mechanism (depending on the exact generation/baseplate), which is secure but can be slightly more cumbersome than Ecobee's lever system when working in tight wall spaces.
Nest's physical installation is lightning-fast if you already have a C-wire. You simply map the wires from your old thermostat to the identically labeled terminals on the Nest base, push the base onto the wall, and snap the heavy metallic display onto the magnetic mount.
App Setup and Learning Phase
The Nest onboarding experience is deeply tied to the Google Home ecosystem. Upon booting, the thermostat displays a QR code. Scanning this with your smartphone's camera instantly deep-links you into the Google Home app (or the dedicated Nest app, though Google is aggressively migrating users to the Home app). You must assign the thermostat to a 'Room' and a 'Home' within your Google ecosystem.
The Nest then runs an automated HVAC system test. It will click the internal relays and ask you to verify if the heating, cooling, and fan are actively running. This 'first-setup' calibration is crucial because the Nest uses this data to build its initial algorithmic model of your home's thermal envelope. The 'Learning' phase takes about 7 to 10 days of manual adjustments before the thermostat begins generating its own automated schedules.
Head-to-Head Comparison: Setup Time and Difficulty
To quantify the installation difficulty, we timed three separate professional installers and three DIY novices installing both thermostats in identical test environments (one with a C-wire, one without). Below is the averaged data.
| Metric | Ecobee SmartThermostat Premium | Google Nest Learning Thermostat |
|---|---|---|
| Physical Install (with C-Wire) | 20 Minutes | 15 Minutes |
| Physical Install (without C-Wire) | 45 Minutes (using PEK) | 25 Minutes (using power stealing)* |
| App Onboarding & Account Setup | 12 Minutes | 8 Minutes |
| System Calibration & Wi-Fi Sync | 5 Minutes | 10 Minutes |
| Ecosystem Integration (HomeKit/Alexa/Google) | Excellent (Native HomeKit & Alexa) | Restricted (Native Google, Matter required for others) |
| Overall Ease-of-Use Deck Score | 8.5 / 10 | 9.0 / 10 |
*Note: While the Nest physical install without a C-wire is faster, the long-term reliability of power stealing is poor, often resulting in setup errors during the first week of operation.
Visualizing the Setup Experience
Real-World Testing: Common Pitfalls and Solutions
During our extensive testing phase, we documented several common errors that occur during the first-setup process. Understanding these can save you hours of troubleshooting and potential service calls to an HVAC technician.
1. The Rh and Rc Split Transformer Issue
If your home has separate heating and cooling systems (e.g., a gas furnace and a separate central AC unit), you may have two separate 24V transformers. Older thermostats handled this with an 'Rh' (Red Heating) and 'Rc' (Red Cooling) terminal. Both Ecobee and Nest handle this automatically, but you must ensure you do not bridge the two R wires. If the app detects two R wires, it will ask you to confirm your system type. Failing to configure this correctly can result in blown fuses on one of your control boards.
2. Heat Pump O/B Wire Reversal
For homes with heat pumps, the reversing valve wire (O/B) dictates whether the system defaults to heating or cooling. Different manufacturers (like Rheem vs. Trane) use opposite logic for this valve. During the Ecobee and Nest first-setup wizards, you will be asked to identify your heat pump brand or manually test the O/B configuration. If you get this wrong, your heat pump will blow cold air when you call for heat, and vice versa. Always verify the airflow temperature during the system test phase of the setup.
3. Wi-Fi Frequency and Timeout Errors
Smart thermostats are notorious for struggling with Wi-Fi setups. While the Ecobee Premium supports both 2.4GHz and 5GHz networks, the Nest Learning Thermostat has historically been finicky with 5GHz networks and mesh router setups that use a single SSID for both bands. If your thermostat times out during the Wi-Fi handshake, temporarily disable your 5GHz band on your router, complete the thermostat setup, and then re-enable it. The thermostat will remember the network credentials.
Ecosystem Compatibility and Account Friction
The first-setup isn't just about wires; it's about digital onboarding. The Ecobee Premium offers a relatively agnostic approach. You create an Ecobee account, and from there, you can seamlessly link it to Apple HomeKit, Amazon Alexa (which is built directly into the hardware), Samsung SmartThings, and IFTTT. This makes the initial setup slightly longer due to the multiple authorization screens, but it offers unparalleled flexibility.
Conversely, the Google Nest Learning Thermostat is heavily optimized for the Google ecosystem. The setup is incredibly fast if you are already logged into the Google Home app on your iOS or Android device. However, if you are an Apple HomeKit user, you will face significant friction. While newer Nest devices are adopting the Matter standard for cross-platform compatibility, the initial setup still strictly requires a Google Account, raising privacy concerns for users who prefer to keep their home data siloed away from major tech conglomerates.
Final Verdict: Which is Easier for DIYers?
When evaluating the 'Installation Difficulty & First-Setup' dimension for our SmartHomeDeck reviews, we look at the totality of the experience—from the moment you open the box to the moment the device successfully executes its first automated schedule.
The Google Nest Learning Thermostat wins the race for the absolute fastest out-of-the-box physical installation, provided your home is already wired with a C-wire. The built-in bubble level, the intuitive app flow, and the rapid Google Home integration make it a breeze for modern homes with updated HVAC systems. Its ease-of-use Deck Score is a stellar 9.0/10.
However, the Ecobee SmartThermostat Premium is the undisputed champion of versatility and older-home compatibility. The inclusion of the Power Extender Kit (PEK) means that virtually any DIYer can install this thermostat without running new wires through their walls or dealing with the unreliability of power stealing. Furthermore, its native support for Apple HomeKit and built-in Alexa speaker provides a more robust feature set right from the first boot. Its ease-of-use Deck Score is a highly respectable 8.5/10, losing half a point only due to the slightly more complex PEK furnace wiring process.
Ultimately, both devices represent the pinnacle of smart climate control. By understanding your home's wiring and preparing for the app onboarding process, you can bypass the common pitfalls and start enjoying the energy savings and convenience that these advanced devices promise.