The Strategic Approach to Whole-Home Automation
Transforming a standard house into an intelligent, energy-efficient ecosystem can feel overwhelming. Many homeowners make the mistake of purchasing disparate gadgets without a unified strategy, leading to app fatigue, incompatible protocols, and wasted money. The most effective approach is a phased, room-by-room smart home automation blueprint. By tackling your home one space at a time, you can test ecosystems, spread out costs, and focus on high-impact areas that deliver immediate return on investment (ROI) through energy and water conservation.
This comprehensive guide breaks down the ultimate room-by-room automation plan, focusing on specific product recommendations, budget tiers, installation requirements, and automation routines that prioritize energy efficiency and daily comfort.
Transitioning to a smart home is not about replacing every switch at once; it is about layering intelligence where it yields the highest return on investment and daily convenience.
Phase 1: The Living Room (Climate and Entertainment Hub)
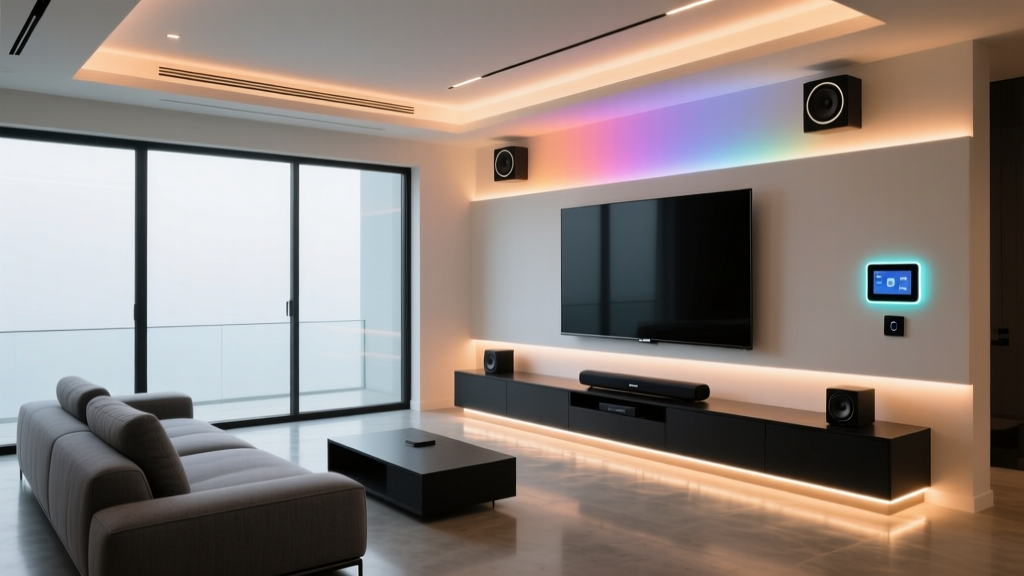
The living room is typically the largest shared space in a home and the primary driver of HVAC and lighting energy consumption. Automating this room focuses on climate control, ambient lighting, and occupancy-based energy savings.
Recommended Devices
- Smart Thermostat: Ecobee SmartThermostat Premium ($249). This device includes a built-in smart speaker, air quality monitor, and remote room sensors to eliminate hot and cold spots.
- Smart Lighting: Philips Hue White and Color Ambiance Starter Kit ($199). Hue bulbs offer best-in-class color accuracy and deep dimming capabilities.
- Smart Switches: Lutron Caseta Smart Start Kit ($99). Ideal for overhead lights where smart bulbs are impractical.
Installation Tips and Aesthetics
Installing the Ecobee requires a 24V C-wire. If your HVAC system lacks one, use the included Power Extender Kit (PEK) at the furnace control board. For aesthetics, hide the remote room sensors behind picture frames or on bookshelves where they can still detect occupancy and temperature without cluttering the room's design. Lutron Caseta switches require a neutral wire in most modern homes, but their Pico remotes can be mounted over old, ungrounded switch boxes for a seamless, modern look.
Automation Routines
Create an 'Away' routine that triggers when all smartphones leave the geofence. The Ecobee will adjust the temperature by 5 degrees, and Lutron switches will ensure all living room lights are off. According to the U.S. EPA ENERGY STAR program, certified smart thermostats can save homeowners an average of 8% on heating and cooling bills annually.
Phase 2: The Kitchen (Safety and Appliance Management)
The kitchen is the heart of the home, but it is also a primary source of water damage risks and phantom energy loads from small appliances. Automation here should prioritize safety and resource monitoring.
Recommended Devices
- Water Shutoff Valve: Moen Flo Smart Water Leak Detector ($499). This device installs on your main water line and uses machine learning to detect micro-leaks and catastrophic failures.
- Energy Monitoring Plugs: Eve Energy Smart Plug ($39 per plug). Uses Thread/Matter to monitor the exact power draw of coffee makers, toasters, and wine fridges.
- Smart Display: Echo Show 8 or Google Nest Hub Max for recipe viewing and visual intercom alerts.
Installation Tips and Aesthetics
The Moen Flo requires installation by a licensed plumber on the main water line, usually located in the garage or basement, but its app integration impacts the kitchen's safety profile. For kitchen countertops, avoid bulky smart plugs that block adjacent outlets. The Eve Energy plug features a compact, low-profile design that blends well with modern kitchen backsplashes and keeps your countertops looking clean.
Automation Routines
Set up a 'Kitchen Closed' routine at 11:00 PM. This routine cuts power to the smart plugs connected to the coffee maker and toaster oven, eliminating phantom energy draw. If the Moen Flo detects abnormal water flow while the house is asleep (indicating a burst pipe under the kitchen sink), it will automatically shut off the main water valve and send a critical alert to your phone.
Phase 3: The Bedroom (Sleep Optimization and Air Quality)
Bedroom automation should be entirely focused on circadian rhythms, sleep quality, and passive energy management. Bright screens and harsh lighting have no place here; automation must be silent and invisible.
Recommended Devices
- Smart Shades: Lutron Serena Honeycomb Shades (Starting at $599 per window). These offer superior light blocking and thermal insulation.
- Circadian Lighting: Nanoleaf Smart Bulbs or Lightstrips ($49-$79). Capable of ultra-warm 2200K dimming to promote melatonin production.
- Air Purifier: Dyson Purifier Cool Autoreact ($549). Features smart sensors to adjust fan speed based on real-time VOC and particulate levels.
Installation Tips and Aesthetics
Smart shades require precise inside-mount or outside-mount measurements. Lutron Serena shades feature a honeycomb cellular design that traps air, providing an R-value boost to your windows, which significantly reduces thermal transfer. For lighting, avoid overhead smart bulbs that require a physical switch to remain 'on'. Instead, use smart lamps on nightstands controlled by a Lutron Pico remote or a Matter-compatible smart button.
Automation Routines
Implement a 'Wind Down' routine triggered 45 minutes before your target sleep time. The Nanoleaf lights shift to a dim, amber hue, the Dyson purifier switches to silent night mode, and the Serena shades slowly close. In the morning, a 'Sunrise' routine gradually raises the shades 15 minutes before your alarm, using natural light to gently wake your circadian rhythm without the jarring effect of an audio alarm.
Phase 4: The Bathroom (Water Conservation and Moisture Control)
Bathrooms present unique challenges due to high humidity and strict electrical codes. The focus here is on preventing mold, managing ventilation, and conserving heated water.
Recommended Devices
- Smart Showerhead: Hai Smart Showerhead ($229). Tracks water usage and alerts you via LED lights and phone notifications when your set water limit is reached.
- Humidity Sensor: Aqara Temperature and Humidity Sensor ($25).
- Smart Fan Switch: Leviton Decora Smart Wi-Fi Switch ($45).
Installation Tips and Aesthetics
Any electrical device installed in a bathroom must comply with local GFCI (Ground Fault Circuit Interrupter) requirements. Keep smart speakers and displays away from direct splash zones. The Hai showerhead installs in minutes using standard plumber's tape and requires no tools, maintaining the sleek chrome or matte black aesthetic of modern bathroom fixtures.
Automation Routines
Mold prevention is a major benefit of bathroom automation. Create a routine where the Aqara sensor monitors ambient humidity. If humidity spikes above 65% (indicating a shower is in use or just finished), the Leviton switch automatically turns on the exhaust fan. The fan will remain on until the sensor reports that humidity has dropped back to a baseline of 45%, ensuring optimal moisture removal without wasting electricity.
Phase 5: Outdoor and Garage (Security and Resource Management)
The exterior of your home and the garage are prime targets for security enhancements, utility management, and heavy-duty energy savings.
Recommended Devices
- Irrigation Controller: Rachio 3 Smart Sprinkler Controller ($229). Replaces outdated timers with hyper-local weather intelligence.
- EV Charger: ChargePoint Home Flex ($699). A Level 2 smart charger that schedules charging during off-peak utility hours.
- Garage Door Controller: Chamberlain MyQ Smart Garage Hub ($29).
Installation Tips and Aesthetics
The Rachio 3 requires a standard 24V AC transformer and a 2.4GHz Wi-Fi signal. If your garage Wi-Fi is weak, install a mesh node nearby. The EPA WaterSense program highlights that smart irrigation controllers can save the average home nearly 7,600 gallons of water annually by skipping watering cycles during rain or freeze events. Ensure the Rachio's freeze sensor feature is enabled in the app to prevent icy driveways in winter.
Automation Routines
Link your EV charger to your utility provider's time-of-use (TOU) rates. Set the ChargePoint app to only draw power between 12:00 AM and 5:00 AM when electricity is cheapest. For security, tie the MyQ garage hub to your geofence: if you drive away and the garage door is left open for more than 10 minutes, the system will send a push notification with a one-tap option to close it remotely.
Budget Tiers and ROI Breakdown
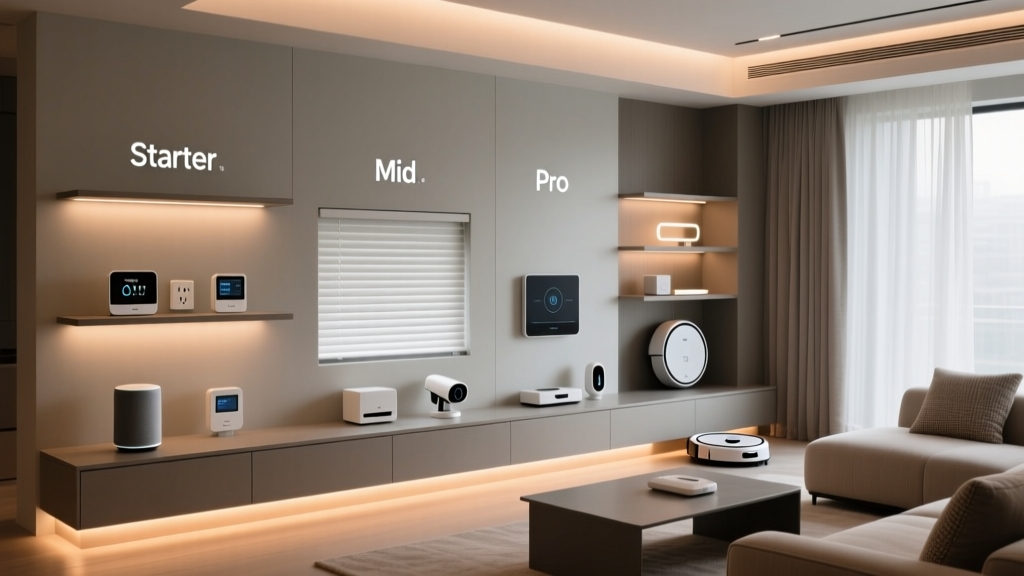
Building a smart home doesn't require an unlimited budget. Below is a breakdown of how to approach your room-by-room plan based on your financial comfort level.
| Room | Starter Tier (Budget) | Mid Tier (Balanced) | Pro Tier (Premium) |
|---|---|---|---|
| Living Room | Amazon Smart Thermostat + Wyze Bulbs ($120) | Ecobee Enhanced + Philips Hue ($350) | Ecobee Premium + Lutron Caseta ($600+) |
| Kitchen | Point-of-use leak sensors ($40) | Eve Energy Plugs + Leak Sensors ($150) | Moen Flo Mainline Valve + Eve Plugs ($600+) |
| Bedroom | Smart plugs + basic smart bulbs ($50) | Nanoleaf Bulbs + Air Purifier ($300) | Lutron Serena Shades + Eight Sleep ($3000+) |
| Bathroom | Manual timer switch ($20) | Aqara Sensor + Smart Switch ($70) | Hai Showerhead + Sensor + Switch ($300) |
| Outdoor | MyQ Garage Hub ($30) | Rachio 3 + MyQ ($260) | ChargePoint EV + Rachio + Smart Lighting ($1200+) |
Estimated Annual Energy Savings by Room
To visualize the financial benefits of this blueprint, the chart below illustrates the estimated annual utility savings (water, gas, and electricity) generated by implementing the mid-to-pro tier automations in each respective room.
As demonstrated by the data, the Living Room (via HVAC optimization) and Outdoor spaces (via smart irrigation) yield the highest raw financial returns. However, the Kitchen and Bathroom automations provide immense secondary value by preventing catastrophic water damage, which can cost tens of thousands of dollars in repairs.
Unifying the Ecosystem: Matter and Thread
When executing a room-by-room plan, the underlying communication protocol is just as important as the devices themselves. To ensure long-term viability and avoid being locked into a single brand, prioritize devices that support Matter over Thread.
- Thread: A low-power, mesh networking protocol that allows devices to communicate with each other without clogging your home's Wi-Fi bandwidth. As you add more devices room-by-room, the Thread mesh actually becomes stronger and more reliable.
- Matter: The universal application layer that allows an Eve plug, a Lutron switch, and an Ecobee thermostat to be controlled simultaneously from Apple Home, Google Home, or Amazon Alexa without needing third-party cloud integrations.
Before starting Phase 1, ensure you have a Thread Border Router in your home. Devices like the Apple TV 4K, HomePod Mini, or Nest Hub Pro act as border routers, bridging your Thread mesh network to your standard Wi-Fi router. According to the U.S. Department of Energy, optimizing home heating and cooling through automated setbacks is one of the most effective ways to reduce residential carbon footprints, and a unified Matter ecosystem ensures these automations run locally, instantly, and reliably.
Conclusion: Taking the First Step
A whole-home automation plan is a marathon, not a sprint. By starting with the Living Room and Kitchen, you secure the highest energy savings and safety benefits immediately. As you move through the Bedroom, Bathroom, and Outdoor phases, your home will gradually transform into a cohesive, intelligent entity that anticipates your needs, protects your property, and drastically reduces your monthly utility overhead. Stick to the budget tiers that make sense for your current lifestyle, prioritize Matter-compatible hardware, and let your home work for you.