Introduction to Whole-Home Automation
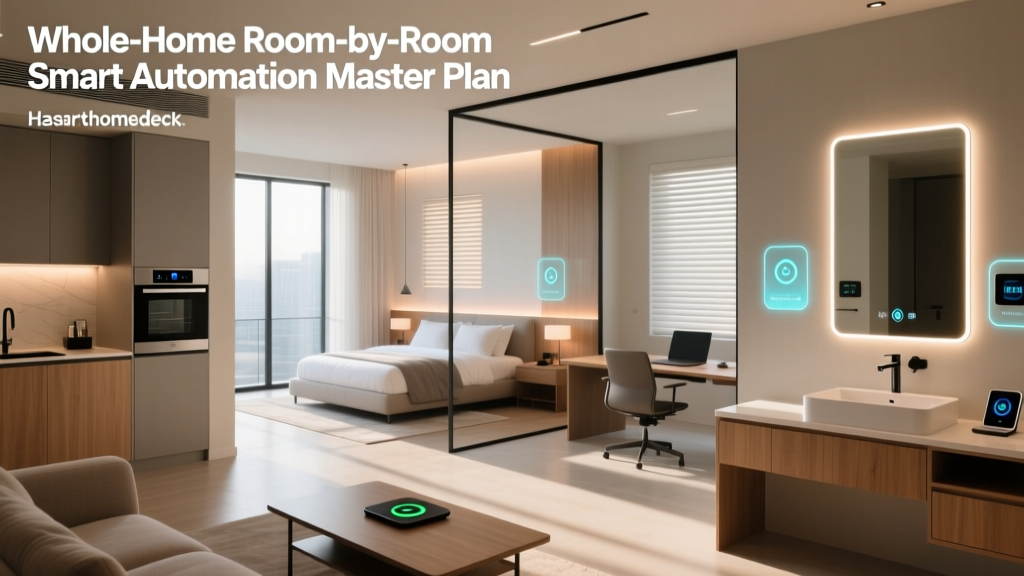
Building a smart home is not about buying a single gadget; it is about creating a cohesive, automated ecosystem that enhances your daily life, improves energy efficiency, and secures your property. A haphazard approach—buying a random smart bulb here and a disconnected camera there—leads to app fatigue, ecosystem clashes, and wasted money. The secret to a seamless smart home is a comprehensive, room-by-room automation master plan.
According to the U.S. Department of Energy, integrating smart home technology, particularly smart thermostats and automated lighting, can significantly reduce residential energy consumption. However, to truly reap these benefits, devices must communicate flawlessly. This guide will walk you through a strategic, room-by-room rollout plan, complete with budget tiers, specific product recommendations, installation tips, and automation routines tailored to the unique needs of every space in your home.
Choosing Your Core Ecosystem and Protocol
Before purchasing a single device, you must select a core ecosystem. The recent introduction of the Matter protocol and Thread networking has made cross-compatibility easier, but your primary hub will still dictate your user experience. Below is a comparison of the major smart home ecosystems to help you choose the right foundation.
| Ecosystem | Best For | Compatibility | Privacy Focus |
|---|---|---|---|
| Apple HomeKit | Privacy and Apple Users | High (Matter/Thread) | Excellent |
| Amazon Alexa | Budget and Broad Support | Very High | Moderate |
| Google Home | AI Integration and Nest | High | Moderate |
| Samsung SmartThings | Advanced Automations | Extensive (Zigbee/Z-Wave) | Moderate |
For this master plan, we recommend utilizing a hub that supports Matter and Thread, such as the Apple TV 4K, Amazon Echo Show 15, or the SmartThings Station, to ensure future-proofing.
The Living Room: Entertainment and Ambiance
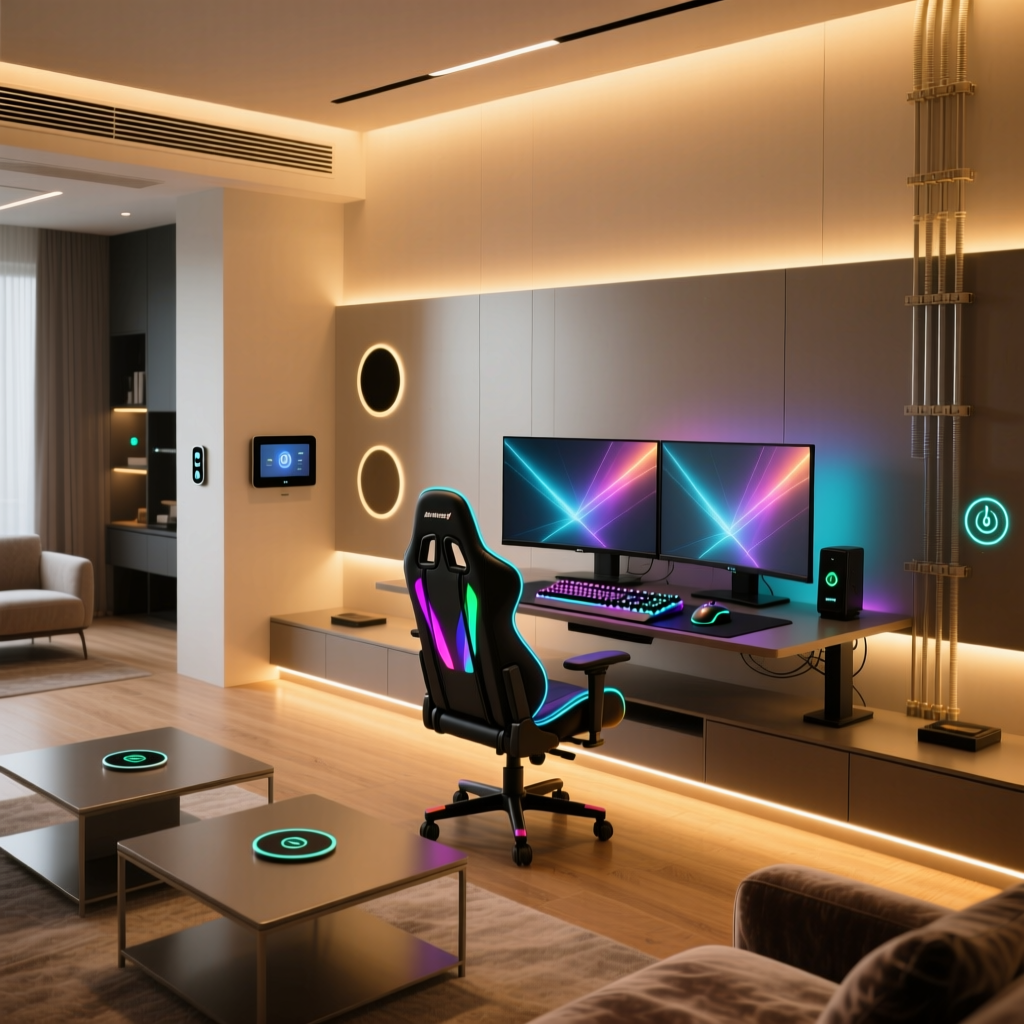
The living room is the hub of activity, requiring a blend of entertainment control, dynamic lighting, and climate management. The goal here is to create an immersive environment that adapts to your mood with a single voice command.
Budget Tiers and Device Recommendations
- Starter ($150 - $300): Amazon Fire TV Stick 4K, Wyze Color Bulbs for accent lamps, and a SwitchBot Smart Plug for older soundbars or fans.
- Mid-Range ($500 - $900): Philips Hue White and Color Ambiance starter kit, Ecobee SmartThermostat Premium, and a Logitech Harmony Elite (or SwitchBot Hub 2) for universal IR control.
- Pro ($1,500+): Lutron Caseta smart switch system for hardwired overhead lighting, Sonos Arc soundbar with voice control, Samsung The Frame Smart TV, and automated Serena by Lutron roller shades.
Installation Tips and Design Considerations
When installing smart switches like the Lutron Caseta, always turn off the breaker and verify the presence of a neutral wire in your gang box. If your home was built before the 1980s, you may lack neutral wires; in this case, Lutron's Caseta line is ideal because it does not require a neutral wire for standard dimmers. Aesthetically, hide smart plugs behind media consoles and use flat, paintable wire channels for any visible sensor cables.
Automation Routine: 'Movie Time'
Triggered by a voice command or a smart remote button press, this routine dims the main overhead lights to 15%, turns the Philips Hue accent lamps to a deep cinematic blue, lowers the smart blinds to block glare, and powers on the TV and soundbar via an IR blaster or HDMI-CEC.
The Kitchen: Safety and Efficiency
The kitchen is a high-traffic, high-risk area where smart technology should focus on safety, convenience, and resource management. From preventing water damage to managing grocery lists, the right setup transforms this utilitarian space.
Budget Tiers and Device Recommendations
- Starter ($100 - $200): Amazon Echo Show 5 for timers and recipes, Aqara Water Leak Sensor under the sink, and a smart plug for the coffee maker.
- Mid-Range ($400 - $700): Echo Show 15 (wall-mounted), Moen Flo smart water shutoff valve, and Govee under-cabinet LED light strips for task lighting.
- Pro ($1,500+): Smart refrigerator with internal cameras and inventory tracking, built-in smart displays, touchless smart faucets (like the Moen MotionSense Wave), and integrated smart ventilation hoods.
Installation Tips and Design Considerations
Place water leak sensors at the lowest point under your sink and behind the dishwasher. For the Moen Flo valve, professional plumbing installation is highly recommended to ensure it integrates correctly with your main water line without voiding warranties. For under-cabinet lighting, ensure the power supply is hidden in a nearby pantry or closet to maintain a clean, minimalist kitchen aesthetic.
Automation Routine: 'Morning Brew'
Set to trigger at 6:00 AM on weekdays. The smart plug turns on the coffee maker, the under-cabinet lights fade up to a bright, cool white (4000K) for task visibility, and the smart display reads out your daily calendar and weather forecast.
The Bedroom: Sleep Optimization
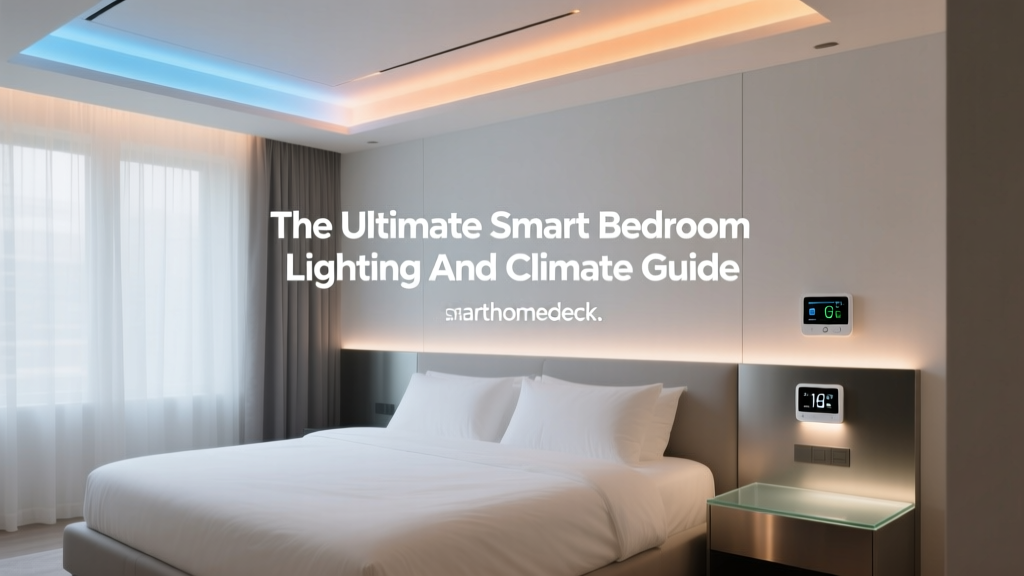
Your bedroom should be a sanctuary optimized for rest. Smart home technology in this space should focus on circadian rhythm lighting, temperature regulation, and automated privacy.
Budget Tiers and Device Recommendations
- Starter ($100 - $250): Wyze Plug outdoor/indoor for a fan, Hatch Restore smart alarm clock, and a basic temperature/humidity sensor.
- Mid-Range ($400 - $800): Philips Hue White Ambiance bulbs (for warm-to-cool transitions), a smart air purifier like the Levoit Vitalox, and a SwitchBot Curtain motor for existing drapes.
- Pro ($1,500+): Eight Sleep Pod Max for active mattress cooling, Dyson Purifier Hot+Cool, Lutron Caseta with Pico remotes on the nightstand, and automated blackout cellular shades.
Installation Tips and Design Considerations
Avoid placing smart displays with bright LED indicators near your bed. If using smart bulbs, pair them with physical smart switches (like the Hue Dimmer Switch) so family members or guests do not accidentally cut power to the bulb by flipping the wall switch, which takes it offline.
Average Monthly Energy Savings by Smart Device Category
Automation Routine: 'Wind Down'
Triggered at 10:00 PM or via a bedside button. The lights transition to a dim, warm amber (2000K) to promote melatonin production. The smart thermostat drops the temperature to an optimal 65°F (18°C) for sleep, the smart lock secures the front door, and the smart blinds close completely.
The Bathroom: Comfort and Moisture Control
Bathrooms present unique challenges due to high humidity and the risk of water damage. Smart tech here should prioritize ventilation, leak prevention, and morning convenience.
Budget Tiers and Device Recommendations
- Starter ($50 - $150): Motion-sensor LED night lights for baseboards, and a basic Wi-Fi water leak alarm placed near the toilet base.
- Mid-Range ($300 - $600): Panasonic WhisperSense smart ventilation fan (turns on automatically via humidity sensors), smart mirror with anti-fog and integrated lighting.
- Pro ($1,000+): Kohler smart shower system with personalized temperature presets, smart toilet with bidet functionality and auto-open/close lid, radiant floor heating controlled via a smart thermostat.
Installation Tips and Design Considerations
When upgrading bathroom exhaust fans to smart models, ensure the unit is rated for the square footage of your bathroom to prevent mold growth. The EPA WaterSense program provides excellent guidelines on water-efficient fixtures that can be paired with smart leak detectors to conserve water and protect your home's infrastructure. Always use IP-rated (Ingress Protection) fixtures in zones where direct water contact is possible.
Automation Routine: 'Shower Prep'
Triggered by a waterproof smart button inside the shower. The exhaust fan turns on to high, the smart mirror's anti-fog heater activates, and the bathroom lights shift to a bright, energizing daylight spectrum.
Outdoor and Garage: Security and Curb Appeal
The exterior of your home is your first line of defense. Automation in these areas should focus on deterrence, remote access, and landscape management.
Budget Tiers and Device Recommendations
- Starter ($150 - $300): Ring Video Doorbell (wired or battery), Wyze Cam v3 for the driveway, and a smart plug for holiday or porch lights.
- Mid-Range ($500 - $900): Chamberlain MyQ smart garage door controller, Ring Floodlight Cam Wired Pro, and a Rachio 3 smart sprinkler controller.
- Pro ($1,500+): Schlage Encode Plus smart lock (HomeKey compatible), Lutron Caseta outdoor smart plug for landscape lighting, UniFi Protect camera system with local NVR storage, and a smart gate intercom.
Installation Tips and Design Considerations
For outdoor cameras, hardwiring is always preferred over battery power to enable continuous 24/7 recording and advanced AI detection features. When installing smart garage controllers, ensure your garage door opener's safety sensors are perfectly aligned; smart controllers will refuse to close the door remotely if the physical safety beam is obstructed or misaligned. According to safety guidelines from the National Fire Protection Association, ensuring your outdoor electrical outlets are equipped with GFCI (Ground Fault Circuit Interrupter) protection is critical when plugging in smart outdoor lighting or cameras.
Automation Routine: 'Away Mode'
Triggered automatically when all registered smartphones leave the geofenced perimeter. The garage door closes (with a vocal warning delay), outdoor cameras arm their motion zones, the smart lock deadbolts, and indoor lights are set to a randomized 'vacation' schedule to simulate occupancy.
Budgeting and Phasing Your Whole-Home Rollout
Attempting to automate an entire home at once is a recipe for frustration and budget overruns. The most successful smart home implementations follow a phased approach:
- Phase 1: The Foundation (Months 1-2): Install the core hub, smart thermostat, and smart locks. These provide immediate daily value, security, and energy savings.
- Phase 2: Lighting and Comfort (Months 3-5): Upgrade high-traffic areas (living room, kitchen, primary bedroom) with smart switches and bulbs. Focus on establishing routines.
- Phase 3: Safety and Exterior (Months 6-8): Deploy leak sensors, smoke/CO detectors, cameras, and irrigation controls.
- Phase 4: Luxury and Refinement (Months 9+): Add automated shades, smart appliances, and advanced audio systems as budget allows.
Pro Tip: Always check your switch boxes for a neutral wire before purchasing hardwired smart lighting solutions. Furthermore, invest in a dedicated Thread Border Router (like the Apple HomePod Mini or Amazon Echo 4th Gen) to ensure low-latency, mesh-networked communication for your sensors and locks, reducing the load on your primary Wi-Fi router.
Conclusion
A well-planned, room-by-room smart home automation strategy transforms a collection of disparate gadgets into a unified, intelligent living space. By selecting a core ecosystem, respecting the unique functional requirements of each room, and rolling out your devices in strategic phases, you can build a home that is not only more secure and energy-efficient but also profoundly more comfortable. Start with the foundation, prioritize routines over remote control, and let your home work for you.