The Blueprint for a Cohesive Smart Home
Transforming a standard house into an intelligent, responsive environment is one of the most rewarding home improvement projects you can undertake. However, the most common mistake homeowners make is buying disconnected gadgets on impulse, resulting in a fragmented ecosystem that requires five different apps to operate. A successful whole-home room-by-room automation plan requires a strategic, phased approach. By mapping out your needs, establishing a unified network foundation, and scaling your investments through distinct budget tiers, you can create a seamless smart home that enhances your daily life without overwhelming your finances or your Wi-Fi router.
The Foundation: Choosing a Unified Ecosystem
Before purchasing a single smart bulb or sensor, you must select an overarching ecosystem. Historically, consumers were forced to choose between walled gardens like Apple HomeKit, Amazon Alexa, or Google Home. Today, the landscape has been revolutionized by the Matter protocol, developed by the Connectivity Standards Alliance. Matter ensures that devices from different manufacturers can communicate locally and securely, regardless of the voice assistant you prefer.
For a whole-home plan, we recommend designating a primary hub that supports both Matter and Thread (a low-power mesh networking protocol). The Apple TV 4K, Amazon Echo (4th Gen), and Google Nest Hub Pro all serve as excellent Thread Border Routers, ensuring your battery-powered sensors maintain a reliable connection without clogging your main Wi-Fi bandwidth.
Phase 1: The Living Room (Entertainment & Ambiance)
The living room is the high-traffic hub of your home, requiring a blend of entertainment control, ambient lighting, and climate management.
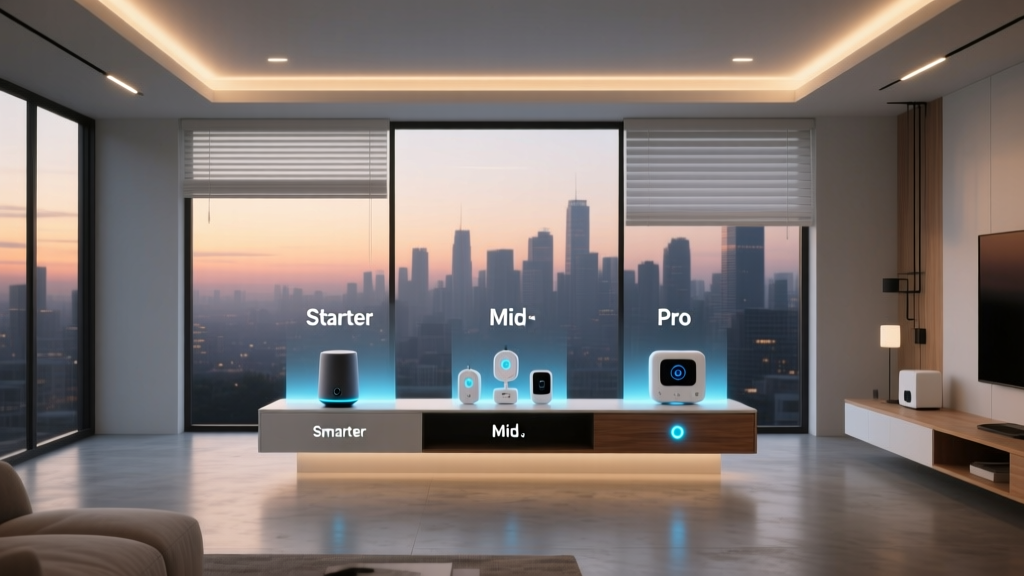
Budget Tiers & Device Recommendations
- Starter Tier ($100 - $200): Begin with Kasa Smart Plugs (EP25) for floor lamps and an Amazon Echo Pop for voice control. Add a SwitchBot IR Remote to automate your existing dumb TV and soundbar via infrared signals.
- Mid Tier ($300 - $600): Upgrade to Philips Hue White Ambiance bulbs for color-temperature shifting. Integrate a Sonos Era 100 speaker for multi-room audio and use the SwitchBot Hub 2 to unify your IR devices and Bluetooth sensors into your Matter ecosystem.
- Pro Tier ($1,000+): Install Lutron Caseta Smart Lighting Dimmers for hardwired, zero-latency overhead control. Pair this with Samsung The Frame TV (which doubles as art) and a Sonos Arc soundbar with Sub Mini for immersive, automated home theater experiences.
Automation Routine: 'Movie Time'
When triggered via voice or a physical smart button, the 'Movie Time' routine dims the overhead Lutron lights to 5%, turns on the Philips Hue Play gradient lightstrip behind the TV to match the screen's colors, lowers the smart blinds, and powers on the AV receiver via the IR hub.
Phase 2: The Kitchen (The Command Center)
The kitchen demands hands-free operation, safety monitoring, and task-oriented lighting. Aesthetics are crucial here; visible wires and bulky hubs will ruin the design of a modern kitchen.
Budget Tiers & Device Recommendations
- Starter Tier ($120 - $250): Mount a Lenovo Smart Clock near your recipe station for hands-free timers and grocery list management. Crucially, install a Moen Flo by Moen or a Wyze Water Leak Sensor under the sink and behind the dishwasher to catch leaks before they cause structural damage.
- Mid Tier ($300 - $500): Run Philips Hue Lightstrips under your cabinets for brilliant task lighting. Add a smart plug to your coffee maker (if it has a physical toggle switch) so it pre-heats automatically at 6:30 AM.
- Pro Tier ($800+): Invest in a Kohler Sensate touchless smart faucet and integrate GE Profile smart appliances. Use the Aqara Presence Sensor FP2, which uses mmWave radar to detect human presence even if you are sitting perfectly still at the kitchen island, ensuring the lights never turn off while you are eating.
Design & Installation Tip
Pro Tip: When installing under-cabinet LED strips, always use aluminum diffuser channels. This prevents the 'dotting' effect of raw LEDs reflecting off stone or quartz countertops, providing a smooth, high-end ribbon of light.
Phase 3: The Bedroom (Rest & Recovery)
Your bedroom automation should focus on sleep hygiene, circadian rhythm support, and passive environmental adjustments.
Budget Tiers & Device Recommendations
- Starter Tier ($80 - $150): Use a Hatch Restore smart alarm clock that simulates a natural sunrise. Pair it with a basic smart plug connected to a white noise machine or fan.
- Mid Tier ($300 - $500): Install the SwitchBot Curtain Rod 2 to automate your existing drapery, allowing natural light to wake you up. Add a smart air purifier like the Levoit Core 400S to automatically ramp up filtration when indoor VOC levels rise.
- Pro Tier ($1,000+): The ultimate sleep setup includes the Eight Sleep Pod for active, dual-zone temperature regulation. Combine this with Lutron Serena motorized roller shades and Philips Hue Gradient bulbs programmed to shift from cool blue (morning) to warm amber (evening) to support melatonin production.
Automation Routine: 'Deep Sleep'
At 10:30 PM, the 'Deep Sleep' routine triggers. The thermostat drops to 65°F, all smart lights fade to zero over 15 minutes, the bedroom door sensor confirms the room is closed, and the home security system arms in 'Stay' mode.
Phase 4: Climate, Outdoor & Infrastructure
Whole-home automation extends beyond individual rooms to the core systems that manage your home's energy and perimeter security.
Smart Climate Control
According to the U.S. Department of Energy, smart thermostats can significantly reduce heating and cooling costs by learning your schedule and adjusting temperatures when you are away. The Ecobee SmartThermostat Premium is our top pick for the 'Pro' tier, as it includes built-in Alexa, an air quality monitor, and remote room sensors to eliminate hot and cold spots across different floors of your house.
Outdoor Efficiency
For the exterior, replace standard timers with a Rachio 3 Smart Sprinkler Controller. It pulls local weather data via Wi-Fi to skip watering on rainy days, saving thousands of gallons of water annually. Pair this with Ring or Ubiquiti UniFi Protect cameras for low-latency, local-storage security monitoring that doesn't rely on cloud subscriptions.
Budgeting Your Whole-Home Rollout
Planning your finances is just as important as planning your network. Below is a breakdown of estimated costs per room based on the tier you choose. Note that 'Pro' tiers often require professional installation or electrical upgrades, which can add to the baseline hardware costs.
| Room / Zone | Starter Tier | Mid Tier | Pro Tier |
|---|---|---|---|
| Living Room | $150 | $450 | $1,200+ |
| Kitchen | $120 | $350 | $900+ |
| Bedroom | $100 | $400 | $1,100+ |
| Climate & Outdoor | $200 | $500 | $1,500+ |
Network Infrastructure & Installation Best Practices
A whole-home automation plan will quickly collapse if your network infrastructure is inadequate. Most standard ISP routers can handle 15 to 20 devices before experiencing packet loss and latency spikes. A fully automated 4-bedroom home can easily exceed 60 connected endpoints.
The Mesh Wi-Fi Solution
Invest in a tri-band mesh Wi-Fi system like the Eero Pro 6E or TP-Link Deco XE75. These systems dedicate a specific 5GHz or 6GHz backhaul channel to communicate between nodes, ensuring that a smart plug in the garage has the same low-latency response time as a smart TV in the living room.
Electrical & Wiring Considerations
Before purchasing hardwired smart switches (like Lutron Caseta or Leviton Decora Smart), verify your home's electrical wiring. Homes built before the 1980s often lack a 'neutral wire' in the switch boxes. While some premium smart switches can operate without a neutral wire using a bypass capacitor, having a neutral wire ensures stable power delivery, especially when controlling low-wattage LED fixtures. If you are unsure, consult a licensed electrician to audit your junction boxes before finalizing your hardware shopping list.
Conclusion: Scaling Over Time
The beauty of a room-by-room automation plan is that it does not need to be executed all at once. Start by securing your network infrastructure and establishing your primary ecosystem hub. From there, tackle high-impact zones like the living room and climate control, which offer immediate convenience and energy savings. As your budget allows, expand into the kitchen and bedrooms, refining your automation routines to match your evolving lifestyle. By prioritizing interoperability through Matter and Thread, you are future-proofing your home, ensuring that the smart devices you install today will remain functional and integrated for years to come.