The Ultimate Guide to Smart Home Room Controllers
The evolution of home automation has fundamentally changed how we interact with our living spaces. We have moved from manual toggle switches to smartphone apps, and now, to the ultimate convergence of convenience and aesthetics: the smart home room controller. A dedicated room controller replaces the clutter of multiple physical switches, remotes, and app-hopping with a single, elegant, wall-mounted or tabletop interface. Whether you are managing smart lighting, climate control, motorized blinds, or multi-room audio, a centralized touch panel provides immediate, intuitive access to your entire ecosystem.
In this comprehensive guide, we will explore everything you need to know about selecting, installing, and configuring a smart home room controller. From budget-friendly entry points to professional-grade custom installations, we will break down the best devices, wiring requirements, dashboard design principles, and room-by-room deployment strategies to help you build a truly intelligent home.
Room Overview: The Case for Dedicated Controllers
Why invest in a dedicated smart home room controller when you already have a smartphone in your pocket? The answer lies in cognitive load, accessibility, and interior design. Relying on a phone requires you to unlock the device, navigate to an app, wait for it to load, and find the right room. A wall-mounted controller is always on, always ready, and provides a shared interface for everyone in the household, including guests and children who do not have access to your primary smart home hub app.
Furthermore, from a design perspective, a sleek glass panel significantly reduces wall clutter. In a modern smart living room or a high-end kitchen, replacing a bank of four or five plastic light switches with a single, beautifully designed touchscreen elevates the architectural aesthetic. When paired with the Matter protocol, these controllers can seamlessly bridge different brands, ensuring that your Philips Hue lights, Ecobee thermostat, and Sonos speakers all respond to a single tap on the glass.
Budget Tiers for Room Control Systems
Setting up a localized control panel can fit into almost any budget. Here is how the market breaks down across three primary tiers.
Starter Tier (Under $150)
The entry-level tier is perfect for DIY enthusiasts and renters. Instead of hardwired electrical panels, this tier relies on smart displays and repurposed hardware.
- Smart Displays: Devices like the Amazon Echo Show 8 or Google Nest Hub serve as excellent tabletop or shelf-mounted room controllers. They offer voice control alongside touch interfaces for basic scenes and camera feeds.
- Repurposed Tablets: Using an older iPad or Android tablet mounted to the wall with a basic adhesive or magnetic mount is a highly cost-effective strategy. By utilizing kiosk-mode applications or native smart home apps, you can create a custom controller for the cost of a mounting bracket.
- Smart Scene Keypads: While not full touchscreens, programmable smart buttons (like the Flic Hub or Aqara Wireless Mini Switch) act as physical room controllers, triggering complex automations with a single press.
Mid Tier ($150 - $400)
The mid-tier introduces dedicated, hardwired smart panels designed specifically to replace traditional light switches. These devices look premium and integrate directly into your home's electrical system.
- Dedicated Smart Panels: The Brilliant Smart Home Control is a standout in this category. It replaces a standard 1-gang to 5-gang switch plate, offering a built-in touchscreen, camera, and intercom system while maintaining physical slider controls for dimming.
- Large-Format Displays: Wall-mounted smart displays like the Echo Show 15 provide a massive canvas for managing household calendars, security cameras, and room-specific device clusters.
- Custom Tablet Mounts: Purchasing a flush-mount wall dock for a modern iPad or Samsung Galaxy Tab provides a premium, built-in look without the proprietary software lock-in of dedicated smart panels.
Pro Tier ($400 and Above)
The professional tier is reserved for custom integrators, high-end renovations, and advanced DIYers running local servers like Home Assistant.
- PoE Touch Panels: Power over Ethernet (PoE) wall tablets ensure the device never runs out of battery and relies on a hardwired network connection for zero-latency control. Brands like Wall Mounted Dock or custom 3D-printed bezels paired with enterprise-grade tablets are common here.
- Proprietary Ecosystem Panels: Systems from Control4, Crestron, and Savant offer beautifully designed, ultra-responsive touch panels that integrate with AV receivers, security gates, and whole-home audio matrices. These require professional programming but offer unparalleled reliability.
- Multi-Room Keypads: High-end architectural keypads (like Lutron Palladiom or RadioRA) offer tactile, backlit, laser-engraved buttons that provide a luxurious, non-screen alternative to touch panels.
Top Recommended Devices for Room Control
Choosing the right hardware is critical for a seamless user experience. Below are the top contenders for localized room control, catering to different ecosystems and installation preferences.
Brilliant Smart Home Control Panel
The Brilliant panel is arguably the most popular dedicated room controller on the market. It replaces your existing light switch and uses the physical slider on the side of the screen to dim lights, while the touchscreen manages thermostats, locks, and cameras. It natively supports Alexa, Ring, Sonos, and Hue, making it a versatile hub for the mid-tier budget. Its built-in motion sensor can also trigger automations when you walk into the room.
Amazon Echo Show 15
Designed explicitly to be hung on a wall like a picture frame, the Echo Show 15 is a powerhouse for Alexa-centric homes. Its 15.6-inch display is large enough to show a grid of smart home widgets, a shared family calendar, and a live feed from your video doorbell simultaneously. It is an excellent choice for the kitchen or the main entryway, serving as a centralized family command center.
Home Assistant with PoE Tablets
For the ultimate in customization and privacy, pairing a local smart home hub running Home Assistant with a wall-mounted Android tablet is the gold standard for advanced users. By designing a custom dashboard using Home Assistant's Lovelace UI, you can create a room controller that displays hyper-specific data, from local weather radar to real-time energy consumption, without relying on cloud servers.
Apple iPad with HomeKit
If you are deeply invested in the Apple ecosystem, an iPad mounted in a sleek, flush-wall dock (such as those made by Koziro or Twelve South) acts as a stunning HomeKit room controller. The native Apple Home app is beautifully designed, highly responsive, and respects user privacy. When combined with HomeKit Secure Video, the iPad becomes a premium security and automation monitor.
Installation & Wiring Tips for Wall-Mounted Controllers
Installing a hardwired smart home room controller involves working with your home's electrical system. If you are replacing a traditional light switch with a smart panel like the Brilliant or a Lutron keypad, you must follow strict safety and wiring protocols.
Verify the Neutral Wire
Unlike traditional switches that only break the hot wire, smart room controllers require constant power to keep their screens, Wi-Fi radios, and processors running. This means a neutral wire is absolutely mandatory. Before purchasing any hardwired controller, turn off the breaker, remove your existing switch plate, and verify the presence of a bundle of white neutral wires in the back of the electrical box. If your home was built before the 1980s, you may not have neutral wires, in which case you will need to consult an electrician or opt for a plug-in/battery-powered tabletop controller.
Check Electrical Box Depth
Smart panels are significantly deeper than standard toggle switches due to the heat sinks, Wi-Fi antennas, and power supplies housed behind the screen. Standard shallow electrical boxes may not provide enough physical space to safely fold the wires and mount the device. You may need to upgrade to a deep 1-gang or 2-gang electrical box to ensure proper heat dissipation and prevent wire crimping.
Consider Power over Ethernet (PoE)
If you are doing a new construction build or a gut renovation, running Cat6 Ethernet cable to your controller locations is highly recommended. Wi-Fi can be unreliable through thick walls or interference from microwaves and baby monitors. PoE delivers both power and data over a single cable, ensuring your room controller never suffers from a dead battery or a dropped network connection. This is the preferred method for custom Home Assistant tablet installations.
Designing the Perfect Controller Dashboard
Hardware is only half the battle; the software interface is what you will interact with every day. A poorly designed dashboard can make turning on a light feel like a chore. When configuring your smart home room controller, keep these UI/UX principles in mind.
Prioritize High-Frequency Actions
The top half of the screen should be reserved for the devices you use most often. In a living room, this might be the main overhead lights, the media player, and the thermostat. Do not bury essential controls behind sub-menus or require multiple swipes to access them. Use large, easily tappable tiles that accommodate users of all ages and dexterity levels.
Implement Dark Mode & Ambient Lighting
A bright, glowing screen in a dark bedroom or home theater is incredibly disruptive. Ensure your controller's dashboard is set to a true dark mode, utilizing deep blacks and muted accent colors. If your hardware supports it, tie the screen's brightness to a local ambient light sensor or a time-based schedule so the display dims automatically after sunset.
Use Iconography Over Text
To reduce visual clutter and make the interface universally understandable (especially for guests or children), rely on clear iconography rather than text labels. A simple icon of a sun for lighting, a snowflake for cooling, and a speaker for audio transcends language barriers and makes the dashboard look cleaner and more professional.
Create Contextual Scenes
Instead of listing individual bulbs, group them into actionable scenes. A 'Movie' button should dim the lights to 20%, close the motorized blinds, and turn on the AV receiver. A 'Morning' button should slowly fade the lights to a warm white, raise the blinds, and start the coffee maker. Scenes reduce the number of taps required to achieve a desired room state from five or six down to just one.
Essential Automation Routines for Room Controllers
A room controller is not just a display; it is a physical trigger point for complex automations. By integrating localized sensors and NFC technology, you can elevate your smart bedroom or living space to the next level.
NFC Tag Triggers
Adhesive NFC tags can be placed discreetly on the wall next to your room controller or on the bezel of the device itself. By tapping your smartphone against the tag, you can trigger highly specific routines. For example, tapping your phone to the bedroom controller's bezel could trigger a 'Goodnight' routine that locks the front door, arms the security system, and turns off all downstairs lights, saving you from opening an app.
Proximity & mmWave Integration
Touchscreens are notorious for turning off to save power, which can be annoying if you have to wave your hand to wake the screen before you can use it. By pairing your room controller with an mmWave (millimeter-wave) presence sensor, you can configure the dashboard to instantly wake up and display the most relevant controls the moment you step into the room. If you enter the kitchen, the screen wakes to show timers and under-cabinet lighting; if you enter the bathroom, it shows the exhaust fan and heated floor controls.
Time-Based Dashboard Shifting
Your room controller should adapt to the time of day. Using automation logic, you can change the default view of the dashboard based on the clock. In the morning, the entryway controller highlights the weather, traffic, and garage door status. In the evening, it shifts to highlight security cameras, exterior lighting, and door locks. This contextual awareness makes the controller feel truly intelligent.
Room-by-Room Deployment Strategy
Not every room requires the same type of controller. Tailoring the hardware and software to the specific function of the space is key to a cohesive smart home.
The Entryway: The Master Command Center
The entryway is the transition point between the outside world and your sanctuary. A wall-mounted controller here should focus on whole-home status. It needs to display security camera feeds, the armed/disarmed status of your alarm system, and a master 'Away' button that shuts off all non-essential lights, adjusts the HVAC to an eco-mode, and locks the doors. The Echo Show 15 or a large Home Assistant tablet is ideal here for its expansive viewing angles.
The Kitchen: Timers, Recipes & Ambiance
The kitchen is a high-traffic, messy environment where your hands are often wet or covered in food. Voice control is heavily utilized here, but a touch controller is invaluable for managing multi-stage timers, viewing recipe steps, and controlling under-cabinet lighting and pendant lights. A splash-proof smart display or a sealed, flush-mounted tablet is recommended to withstand the humidity and grease inherent to cooking spaces.
The Living Room: Media & Scene Mastery
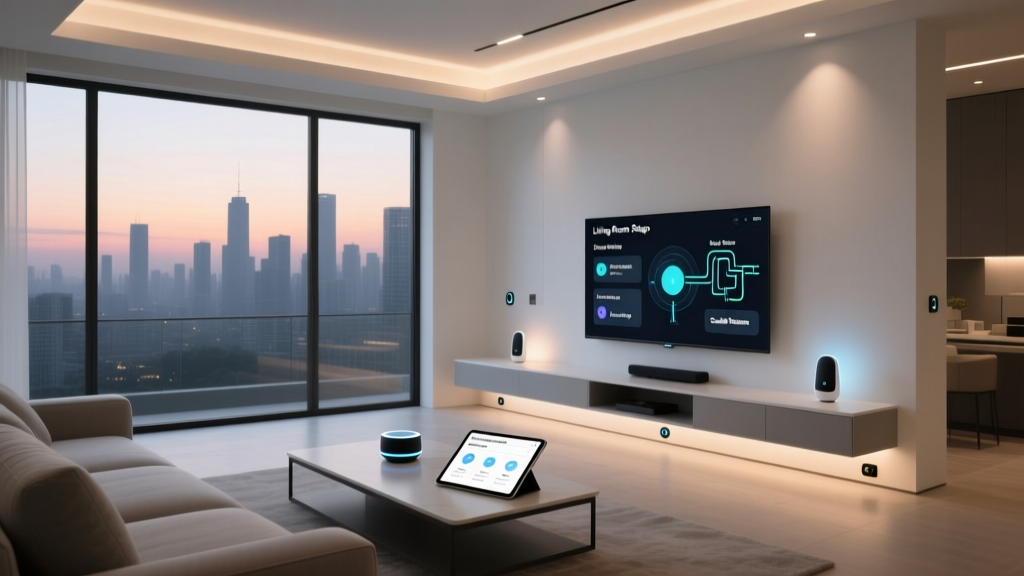
In the living room, the controller must bridge the gap between lighting and entertainment. It should replace the coffee table clutter of remote controls. A hardwired panel like the Brilliant or a custom Home Assistant dashboard integrated with your AV receiver (via IP control or IR blasters) allows you to trigger a 'Game Day' scene that turns on the TV, switches the soundbar to the correct input, and sets the bias lighting behind the TV to match the room's colors.
The Bedroom: Sleep Hygiene & Privacy
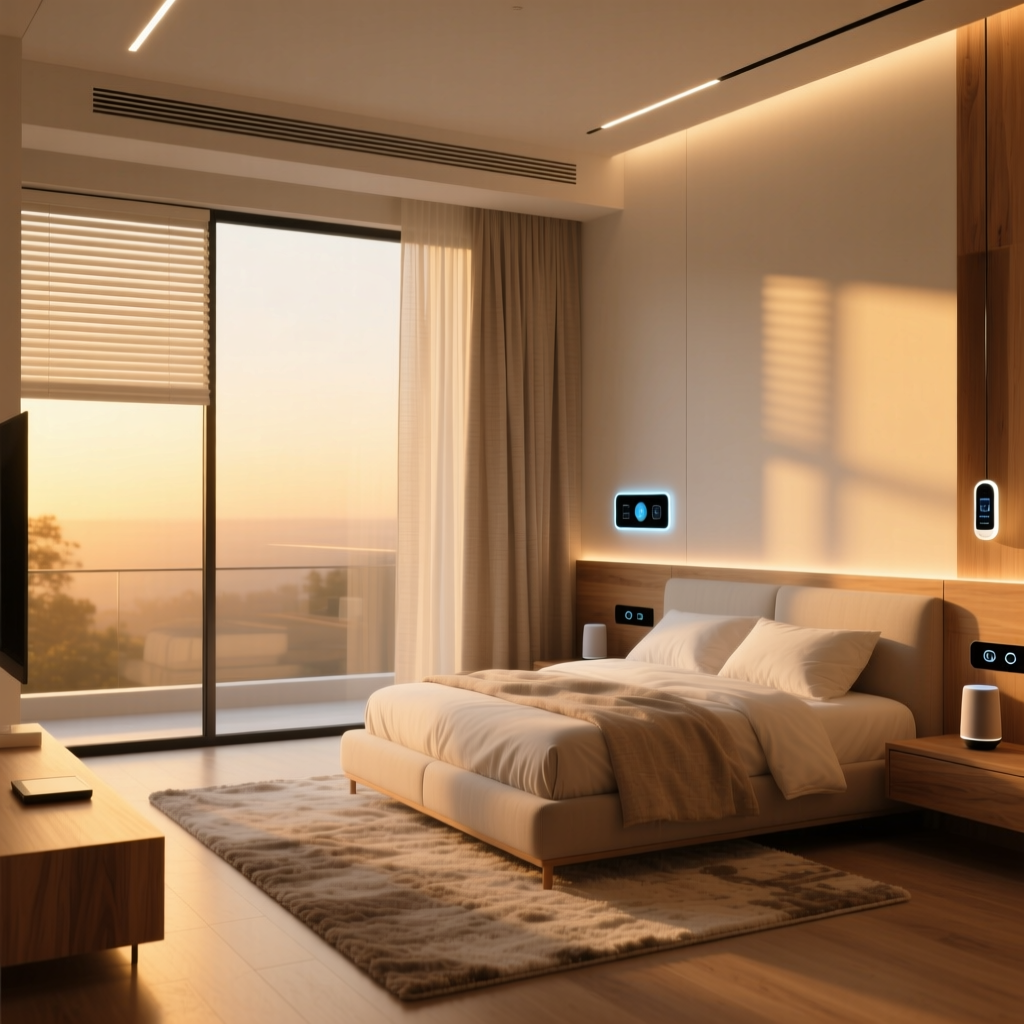
Privacy and sleep hygiene are paramount in the smart bedroom. Avoid controllers with built-in cameras in this space. Instead, opt for a minimalist, low-light OLED touch panel or a high-end tactile keypad like the Lutron Palladiom. The controller should be positioned near the bed for easy access to a 'Sleep' scene, which drops the motorized blackout shades, turns on a dim, warm nightlight, and activates a white noise machine.
The Bathroom: Ventilation & Comfort
Bathroom controllers must be rated for high humidity and should ideally be placed outside the direct splash zone of the shower. The primary functions here are managing heated floors, towel warmers, and exhaust fans. An automation routine linked to the shower's humidity sensor can automatically trigger the exhaust fan via the room controller, preventing mold and mirror fogging without any user intervention.
Frequently Asked Questions (FAQ)
Do I need a neutral wire for a wall-mounted room controller?
Yes, in almost all cases. Unlike a traditional mechanical switch that only interrupts the hot wire to turn a light on or off, a smart room controller is essentially a small computer. It requires a constant flow of electricity to power its touchscreen, Wi-Fi radio, and internal processor. The neutral wire completes this circuit. If your home lacks neutral wires in the switch boxes, you will need to hire an electrician to pull new wiring, or you must rely on battery-powered, plug-in, or PoE alternatives that do not rely on the switch box for power.
Can a smart room controller work without an internet connection?
This depends entirely on the ecosystem you choose. Proprietary cloud-based controllers (like some basic smart displays) may lose most of their functionality if your internet goes down, as they rely on remote servers to process commands. However, local-first systems like Home Assistant, Hubitat, or Control4 are designed to operate entirely on your local network. If you use local protocols like Matter, Zigbee, or Z-Wave, your room controller will continue to operate your lights, blinds, and scenes perfectly even during a total internet outage.
How do I prevent screen burn-in on dedicated room control panels?
Screen burn-in is a valid concern for OLED and LCD panels that display static dashboards 24/7. To prevent this, ensure your controller software supports a 'screensaver' or 'ambient mode' that activates after a period of inactivity. Many advanced dashboards will slowly shift the position of static icons by a few pixels every hour (pixel shifting) or turn the screen off entirely, waking it only when a proximity sensor detects your presence. Always enable auto-dimming and screen timeout features in the device's native settings.
What is the difference between a smart display and a dedicated room controller?
A smart display (like a standard Echo Show or Nest Hub) is primarily a media consumption and voice assistant device that happens to have smart home controls built-in. They are usually tabletop devices powered by a plug. A dedicated room controller (like the Brilliant panel or a Crestron touchscreen) is designed specifically for architectural integration. It is hardwired into the wall, replaces physical switches, features specialized relays for direct load control, and offers a UI built exclusively for environmental management rather than watching videos or making video calls.
Can I integrate third-party Zigbee or Z-Wave devices into a proprietary room controller?
Most off-the-shelf proprietary room controllers are locked to specific ecosystems (like Wi-Fi, Alexa, or Apple HomeKit) and do not have built-in Zigbee or Z-Wave radios. To integrate these devices, you must use a bridging smart home hub. The hub connects to your Zigbee/Z-Wave sensors and exposes them to the cloud or local network, which the room controller then reads via API integrations. If you want native, direct support for all radio protocols without cloud bridging, building a custom Home Assistant dashboard on a wall-mounted tablet is the most robust solution.
Final Thoughts on Centralized Control
Investing in a smart home room controller is the final step in transitioning from a house full of disjointed gadgets to a truly cohesive, intelligent living environment. By carefully selecting the right hardware for your budget, ensuring proper electrical installation, and designing a dashboard that prioritizes usability over complexity, you create an interface that feels like magic. Whether you are waking up to automated blinds in your bedroom or triggering a cinematic lighting scene in your living room, a dedicated wall panel puts the power of your entire home at your fingertips, exactly where you need it.