The Ultimate Guide to Smart Home Room Sensors: Automating Every Space
When most people think of smart home technology, they picture voice assistants, glowing smart bulbs, and automated locks. However, the true magic of a genuinely automated home lies in its ability to anticipate your needs without requiring a single voice command or smartphone tap. This proactive intelligence is entirely dependent on one crucial category of hardware: the smart home room sensor. Sensors act as the eyes, ears, and nervous system of your house, feeding critical environmental and occupancy data to your central hub so that your home can react to you in real-time.
Deploying a smart home room sensor network transforms a collection of remote-controlled devices into a cohesive, responsive ecosystem. Whether you are looking to perfect your circadian lighting, optimize your HVAC efficiency, or create an impenetrable security perimeter, understanding how to select, place, and automate room sensors is the most important step in your smart home journey. In this comprehensive guide, we will break down the types of sensors available, provide a room-by-room installation blueprint, and share advanced automation routines that will elevate your living space.
Budget Tiers: Planning Your Sensor Deployment
Outfitting an entire home with sensors can range from a highly affordable weekend project to a comprehensive, professional-grade installation. To help you plan, we have categorized sensor deployments into three distinct budget tiers. Each tier offers a different level of granularity and automation potential.
Starter Tier: The Essentials ($50 - $150)
The Starter Tier focuses on high-impact, low-cost sensors that solve immediate pain points. At this level, you are primarily relying on basic Passive Infrared (PIR) motion sensors and magnetic contact sensors. These devices are typically battery-powered, utilize the Zigbee or Thread protocols, and require a basic smart home hub to function. The goal here is to automate primary lighting pathways (like hallways and bathrooms) and secure main entry points. While PIR sensors are excellent for detecting movement, they struggle with stationary occupancy, meaning the lights might turn off while you are reading on the couch.
Mid Tier: Comfort & Climate ($150 - $400)
The Mid Tier introduces multi-sensors and environmental monitoring. Instead of just detecting motion, you are now tracking temperature, humidity, and ambient light levels (lux). This tier often includes smart thermostat room sensors, which allow your HVAC system to balance temperatures based on the rooms you are actually occupying rather than the hallway where the thermostat is mounted. You will also introduce water leak sensors under sinks and near water heaters. This tier bridges the gap between basic convenience and true home preservation, offering a massive return on investment through energy savings and disaster prevention.
Pro Tier: True Presence & Environmental Mastery ($400+)
The Pro Tier is for the automation enthusiast who demands perfection. This tier replaces traditional PIR motion sensors with mmWave (millimeter-wave) radar presence sensors. Unlike PIR, mmWave sensors can detect the micro-movements of your breathing, ensuring the lights never turn off while you are sitting still. The Pro Tier also includes dedicated Air Quality Index (AQI) monitors that track VOCs, CO2, and PM2.5 particulates, triggering smart purifiers and HVAC ventilation automatically. Additionally, this tier may involve hardwired, recessed ceiling sensors that are completely invisible, maintaining the architectural aesthetics of your home while providing granular, zone-specific occupancy mapping.
Types of Smart Room Sensors & Recommended Devices
To build a robust automation network, you need to understand the different tools at your disposal. The market is flooded with options, but they generally fall into five core categories. For a deeper dive into specific models, be sure to check out our roundup of the best motion sensors and temperature and humidity sensors.
Motion vs. Presence Sensors
Traditional PIR motion sensors detect changes in infrared heat signatures moving across their field of view. They are inexpensive, battery-efficient, and perfect for hallways, staircases, and walk-in closets where continuous movement is expected. However, they are notoriously flawed for living rooms, offices, and bathrooms where occupants frequently sit still.
Enter mmWave presence sensors. These devices emit high-frequency radar waves and measure the reflection to detect micro-movements, including the rise and fall of a human chest. A smart home room sensor utilizing mmWave technology can tell the difference between an empty room and a room where someone is sleeping or reading. While they consume more power (often requiring USB or hardwired power) and cost more, they are the gold standard for modern lighting and climate automations.
Climate & Environmental Sensors
Temperature and humidity sensors are the backbone of smart climate control. By placing these sensors in the rooms you spend the most time in, you can override the main thermostat's reading and force the HVAC system to condition the occupied space. Advanced environmental sensors go a step further by monitoring barometric pressure, ambient light (lux), and UV indexes, allowing your blinds and circadian lighting systems to adjust based on the exact conditions outside and inside your home.
Air Quality Monitors (AQI)
Indoor air quality is a critical but often overlooked aspect of home health. AQI sensors measure Volatile Organic Compounds (VOCs), Carbon Dioxide (CO2), and fine particulate matter (PM2.5). In a tightly sealed, modern home, CO2 levels can spike rapidly, leading to lethargy and poor sleep. By integrating an AQI sensor into your bedroom or office, you can automate smart vents, ERV/HRV systems, or smart air purifiers to cycle fresh air whenever thresholds are breached.
Contact & Vibration Sensors
Magnetic contact sensors are the oldest trick in the smart home book, but they remain essential. Placed on doors, windows, and even refrigerator drawers, they provide binary open/closed states. Vibration sensors take this further, detecting the specific frequency of glass breaking or a door being forced, adding a critical layer to your security matrix without the privacy concerns of indoor cameras.
Water & Leak Detectors
A smart water sensor is the cheapest insurance policy you will ever buy. These small, puck-like devices feature conductive probes on their base. When water bridges the gap between the probes, the sensor instantly triggers an alarm and can be programmed to shut off a smart water main valve, preventing catastrophic flood damage.
Room-by-Room Sensor Placement & Installation Guide
Knowing which sensor to use is only half the battle; knowing exactly where to place it is what separates a frustrating smart home from a magical one. Let us explore how to deploy a smart home room sensor across the most critical spaces in your house.
The Living Room: Mastering the Multi-Use Space
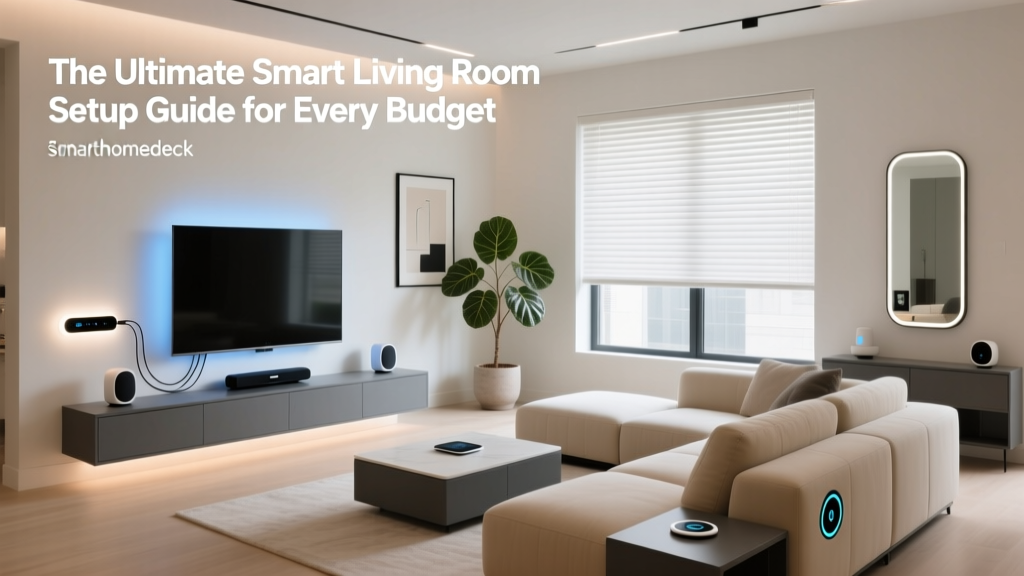
The living room is the most challenging space to automate because it serves multiple purposes: watching television, reading, entertaining, and napping. Relying on a standard PIR motion sensor here will result in the lights abruptly turning off during a movie. The Solution: Mount an mmWave presence sensor on the ceiling or high on a wall, angled toward the primary seating area. Pair this with a lux sensor near the television to measure ambient glare. If the room is occupied and the lux drops below a certain threshold as the sun sets, your smart blinds will automatically close, and the bias lighting behind the TV will fade on.
The Bedroom: Sleep Hygiene & Circadian Rhythms
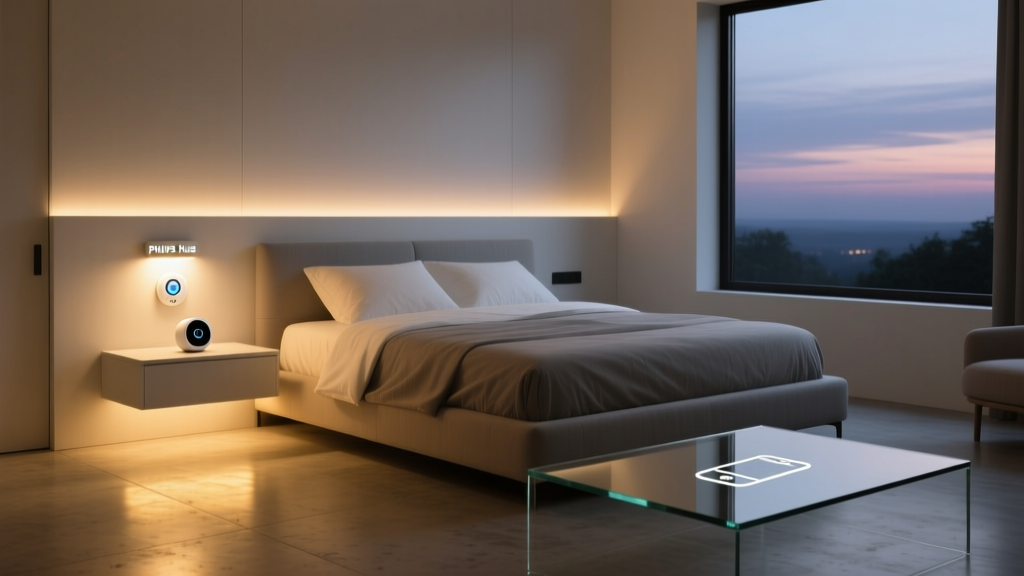
Your smart bedroom should be a sanctuary that promotes rest. Avoid placing bright LED status lights or highly sensitive motion sensors in the direct line of sight of the bed. The Solution: Use a combination of a bedside temperature sensor and an under-bed motion sensor. The temperature sensor ensures your smart thermostat prioritizes the bedroom's climate at night. The under-bed PIR sensor, set to a low lux threshold, will trigger a dim, warm-colored LED strip along the baseboards if you get up to use the restroom, ensuring you do not blind yourself or wake your partner with overhead lighting.
The Kitchen: Safety, Tasking, & Ventilation
The smart kitchen requires a focus on safety and task-oriented automation. The Solution: Place a water leak sensor directly under the sink and behind the refrigerator where the ice maker line runs. For lighting, mount a motion sensor near the entryway, but also consider installing under-cabinet contact sensors or localized motion sensors to trigger task lighting over the countertops when you walk in with your hands full of groceries. Additionally, a humidity and temperature sensor near the stove can automatically trigger your smart range hood or exhaust fan when boiling water or searing meat spikes the room's ambient heat and moisture.
The Bathroom: Humidity Control & Privacy
Bathrooms require strict humidity management to prevent mold and peeling paint, alongside reliable occupancy detection. The Solution: Mount a multi-sensor with a humidity tracker on the ceiling or high on the wall, away from the direct splash zone of the shower. When the humidity rapidly spikes (indicating a shower has started), the automation should turn on the exhaust fan. The fan should remain on until the humidity returns to the baseline level of the adjacent hallway, ensuring all moisture is evacuated. For occupancy, an overhead mmWave sensor is ideal, as it respects privacy (no cameras) while ensuring the lights and fan do not turn off while you are sitting still in the tub.
Hallways & Staircases: The Navigation Arteries
These transitional spaces are perfect for basic, battery-powered PIR sensors. The Solution: Mount sensors at the top and bottom of staircases, and at the entrances to major hallways. Set the automation to trigger a low-brightness pathway lighting scene. If it is nighttime, the lights should illuminate at 10% brightness in a warm amber hue. During the day, they can illuminate at 100% in a cool white tone to match the natural sunlight.
Design, Aesthetics, & Installation Best Practices
One of the most common complaints among smart home enthusiasts is the visual clutter of having small, white plastic pucks stuck to every wall and ceiling. Integrating a smart home room sensor into your interior design requires careful planning and a few clever installation tricks.
Hiding in Plain Sight
If you are building or renovating, consider hardwired, recessed sensors. Many premium sensor brands now offer flush-mount kits that allow the device to sit perfectly level with the drywall, leaving only a tiny, unobtrusive lens visible. For existing homes, look for sensors that offer customizable skins or paintable housings. You can carefully paint the plastic casing to match your ceiling or trim color, but never paint over the sensor lens or the ventilation grilles, as this will blind the PIR element and block temperature readings.
The Art of the Mount
Placement height drastically alters sensor performance. PIR motion sensors should generally be mounted between 6.5 and 8 feet high, angled slightly downward. If mounted too high, they lose sensitivity to smaller movements; if mounted too low, they are easily obstructed by furniture. mmWave sensors, on the other hand, can be mounted lower (around 4 to 5 feet) or even on a desk, as their radar waves can map the volumetric space of a room. Always utilize the included ball-joint mounts to fine-tune the angle after the device is paired and reporting data.
Avoiding False Triggers
Nothing will make you abandon smart home automation faster than lights turning on by themselves. To prevent false triggers, you must understand what confuses your sensors. PIR sensors are triggered by moving heat sources. Do not mount them facing HVAC vents, radiators, or windows that receive direct, shifting sunlight. Furthermore, if you have large pets, ensure you purchase sensors with adjustable sensitivity or specific 'pet immunity' lenses, which ignore heat signatures below a certain weight threshold (usually around 40-50 lbs) by masking the lower portion of the detection zone.
Powerful Automation Routines Using Room Sensors
Hardware is only as good as the software driving it. By combining data from multiple sensors, you can create sophisticated logic gates that make your home feel truly intelligent. Here are four advanced automation routines you can build using platforms like Home Assistant, SmartThings, or Hubitat.
1. The 'True Presence' Media Room Routine
The Goal: Keep the lights off during a movie, but turn them on if the room is empty.
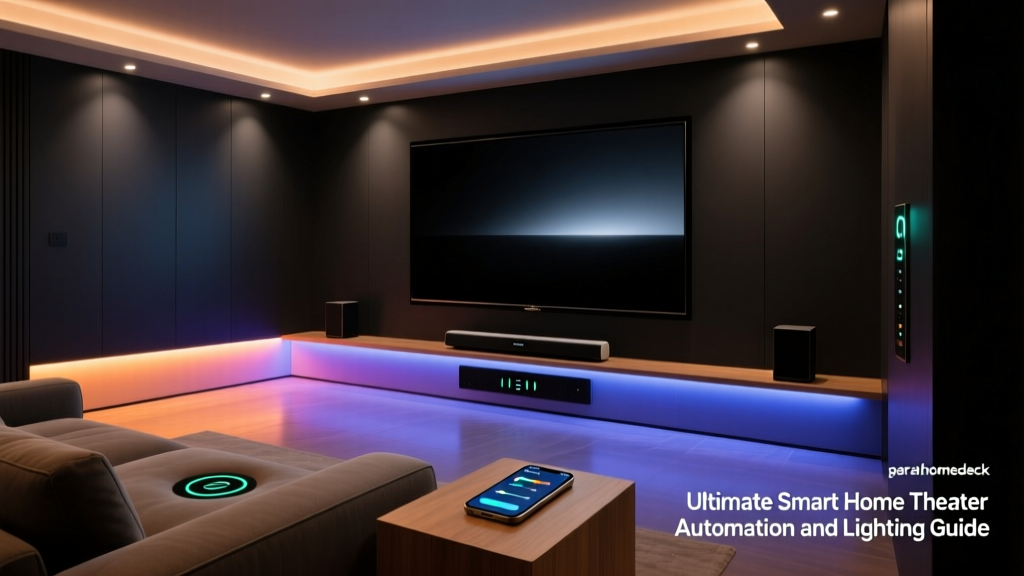
The Logic: IF the mmWave sensor detects presence AND the television smart plug reports high wattage (indicating the TV is on) AND the lux sensor reads low light, THEN keep the main lights off and set bias lighting to 5%. IF the mmWave sensor reports the room is vacant for more than 5 minutes, THEN turn off the TV and all lights. This eliminates the dreaded 'lights turning off in the middle of a quiet movie scene' problem inherent to PIR sensors.
2. Smart Climate Zoning & Eco-Mode
The Goal: Only heat or cool the rooms that are currently occupied.
The Logic: Create a virtual 'Average Occupied Temperature' variable in your hub. IF a room's motion/presence sensor is active, add that room's temperature sensor data to the average. IF a room is vacant for over an hour, remove it from the calculation and close its smart vent (if applicable). Tell your smart thermostat to target this dynamic average. This prevents your HVAC system from wasting energy cooling an empty guest room while you are working in the home office.
3. The Midnight Safe-Path
The Goal: Provide safe navigation without disrupting melatonin production.
The Logic: IF the time is between 11:00 PM and 6:00 AM AND the bedroom door contact sensor opens AND the hallway motion sensor detects movement, THEN turn on the hallway LED strip to 5% brightness, color set to deep amber. IF the bathroom door opens, turn on the bathroom vanity lights to 10% warm white. Once all contact sensors close and motion is clear for 3 minutes, fade all lights to off over a 30-second transition.
4. Shower Mold Prevention Protocol
The Goal: Automatically manage bathroom humidity to protect the home.
The Logic: IF the bathroom humidity sensor detects a rise of more than 15% relative humidity within a 5-minute window (indicating a shower), THEN turn on the smart exhaust fan to 100%. The fan will remain on until the bathroom humidity drops to within 5% of the hallway's baseline humidity. This ensures the fan runs exactly as long as needed to clear the moisture, no matter how long the shower was, and turns off automatically to save energy and reduce noise.
Frequently Asked Questions (FAQ)
What is the difference between PIR motion sensors and mmWave presence sensors?
PIR (Passive Infrared) sensors detect changes in heat signatures moving across their field of view. They are great for walkways but will fail to detect you if you are sitting still, often resulting in the lights turning off while you are reading or watching TV. mmWave (millimeter-wave) sensors use radar technology to detect micro-movements, such as the physical expansion of your chest while breathing. They provide 'true presence' detection, knowing you are in the room even if you are completely motionless.
Do smart room sensors require a separate hub?
It depends on the communication protocol. Wi-Fi and Bluetooth sensors connect directly to your router or phone, but they drain batteries quickly and clutter your network. Sensors utilizing Zigbee, Z-Wave, or Thread (the backbone of the new Matter standard) require a compatible smart home hub or a smart speaker with a built-in border router. Using a hub is highly recommended, as it creates a dedicated, low-power mesh network specifically for your sensors, ensuring instant response times and freeing up your Wi-Fi bandwidth.
How long do smart sensor batteries typically last?
Battery life varies wildly based on the protocol and the sensor type. A standard Zigbee PIR motion sensor or magnetic contact sensor running on a CR2032 coin cell or AA batteries will typically last between 12 and 24 months. However, environmental sensors that poll temperature every minute, or mmWave presence sensors that require continuous radar emission, consume significantly more power. Most mmWave and advanced AQI sensors require a constant USB-C or hardwired power connection to function reliably.
Can room sensors work without an internet connection?
Yes, but only if you utilize a local smart home control system. Platforms like Home Assistant, Hubitat, and Apple HomeKit (with a local hub) process sensor data and execute automations entirely on your local network. If your internet goes down, your motion sensors will still turn on your lights, and your leak sensors will still trigger your water valve. Cloud-dependent ecosystems may experience delays or complete failures during internet outages.
Where is the best place to mount a temperature sensor?
To get accurate readings for your HVAC system, a temperature sensor should be mounted on an interior wall, approximately 4 to 5 feet off the ground (representing the height of a seated human). It must be kept away from direct sunlight, exterior doors, drafty windows, and the direct airflow of HVAC vents or ceiling fans. Placing a sensor on an exterior wall or near a heat-generating appliance will result in skewed data and an uncomfortable home.