Why a Room-by-Room Approach Works Best
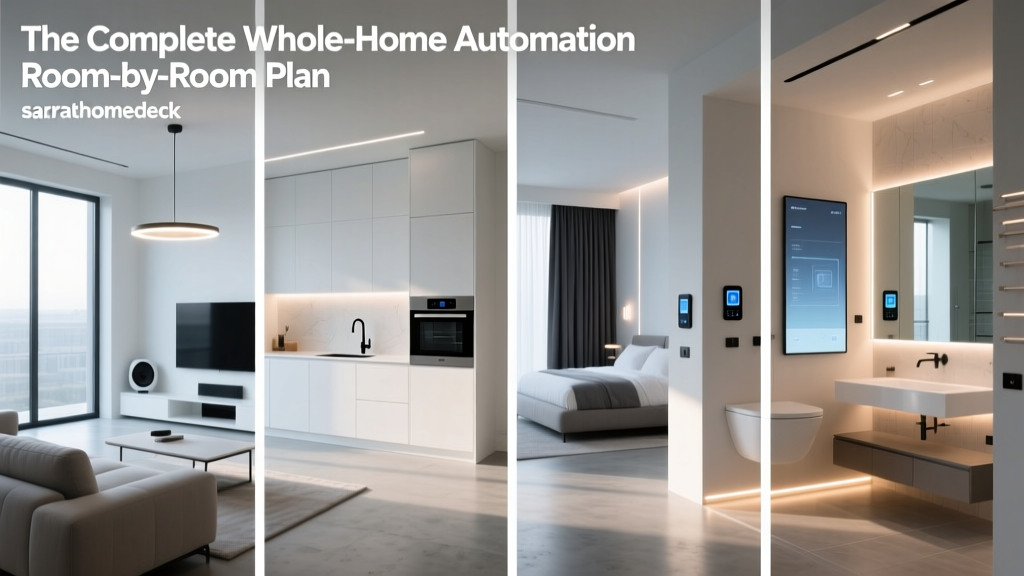
Building a fully integrated smart home can feel like a monumental task, often leading to decision paralysis or incompatible device ecosystems. A phased, room-by-room smart home automation plan allows you to test protocols, refine your routines, and spread out the financial investment. Rather than buying fifty devices at once, you can focus on the unique functional requirements of each space. This whole-home room-by-room automation plan is designed to guide you through transforming your living room, kitchen, bedroom, and peripheral spaces into a cohesive, intelligent ecosystem.
Furthermore, adopting a standardized protocol across your rooms is vital. The Connectivity Standards Alliance (CSA) has championed the Matter standard, ensuring that devices from different manufacturers can communicate seamlessly. By prioritizing Matter and Thread-compatible devices in each room, you future-proof your entire home against ecosystem lock-in and ensure long-term interoperability.
Phase 1: The Living Room (The Central Hub)
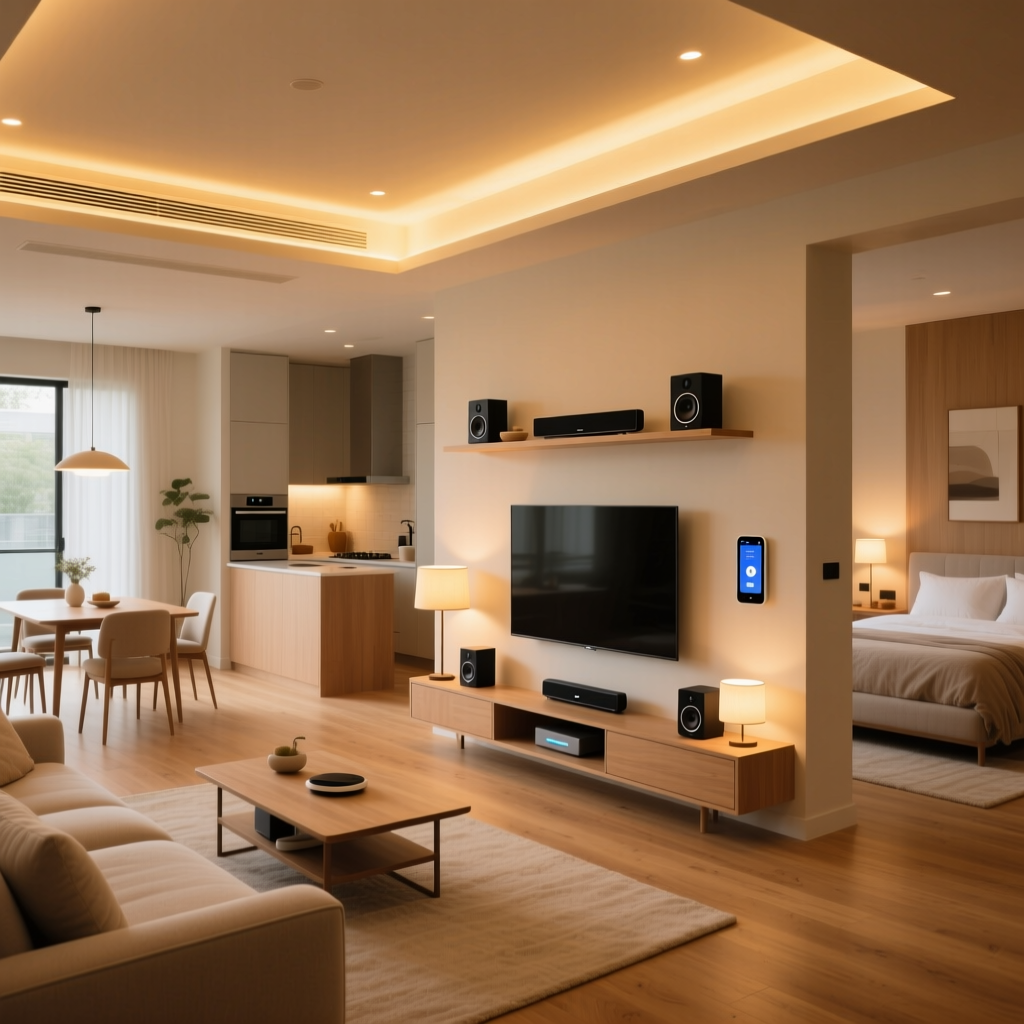
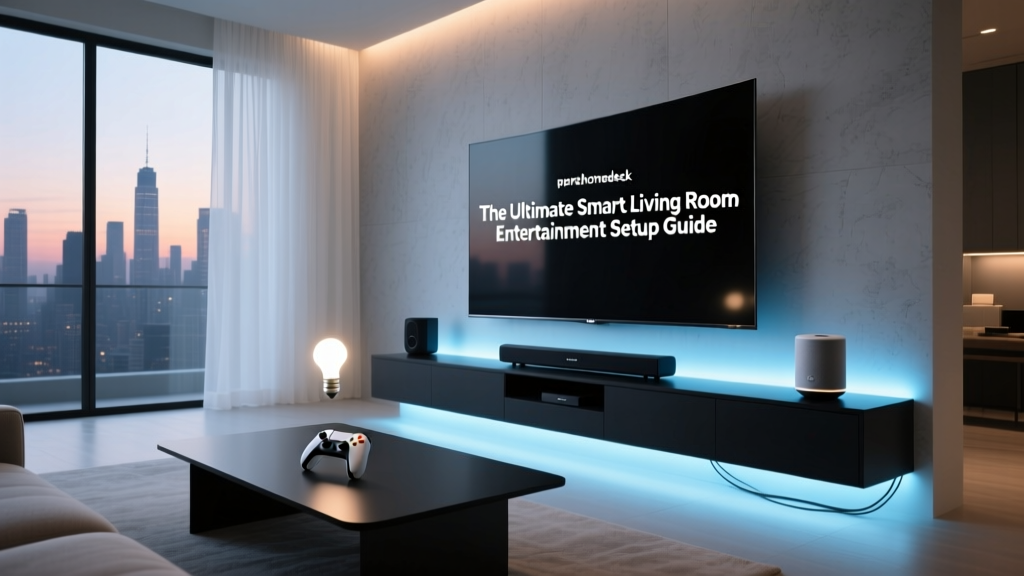
The living room is the entertainment and gathering heart of your home. Automation here should focus on ambiance, media control, and whole-home climate management.
Recommended Devices
- Smart Thermostat: The Ecobee SmartThermostat Premium acts as the brain for your HVAC system. Its remote room sensors ensure the living room stays comfortable during movie nights, regardless of what the hallway thermostat reads.
- Adaptive Lighting: Philips Hue White and Color Ambiance bulbs, paired with a Hue Bridge, allow for dynamic scene setting. Use gradient light strips behind your media console to reduce eye strain during evening viewing.
- Smart Blinds: Lutron Serena wood blinds integrate beautifully with traditional decor while automatically adjusting to block glare on your television screen based on the sun's position.
Installation & Aesthetics
When installing smart switches like the Lutron Caseta dimmers, ensure you have a neutral wire available in your junction boxes. Aesthetically, replace bulky wall-mounted tablets with flush-mount smart displays or rely on discreet motion sensors like the Aqara FP2 Presence Sensor, which uses mmWave radar to detect occupancy without requiring users to wave their arms to trigger lights.
Phase 2: The Kitchen (Safety and Efficiency)
The kitchen is a high-traffic zone where automation should prioritize safety, appliance management, and hands-free control.
Recommended Devices
- Smart Display: The Echo Show 15 or Nest Hub Max serves as a centralized command center. Mount it on the wall or under cabinets to follow recipes, view security feeds, and manage grocery lists via voice.
- Leak Detection: The Moen Flo Smart Water Leak and Freeze Detector is crucial for placing under the sink and behind the dishwasher. It can automatically shut off your main water valve if a catastrophic pipe burst is detected.
- Smart Plugs: Use TP-Link Kasa Smart Plugs with energy monitoring to track the power consumption of older appliances like coffee makers or stand mixers, setting them to turn off automatically after periods of inactivity.
Automation Routines
Create a "Cooking Mode" routine. When triggered by voice or a smart button taped under the counter, the kitchen lights brighten to 100% daylight white (4000K), the smart display opens your recipe app, and the HVAC system kicks into a higher gear to compensate for the heat generated by the oven.
Phase 3: The Bedroom (Rest and Recovery)
Your bedroom automation should be invisible, silent, and entirely focused on promoting circadian health and uninterrupted sleep.
Recommended Devices
- Circadian Lighting: Nanoleaf Essentials Matter-compatible LED strips can be installed behind the headboard. Program them to fade from bright blue-white in the morning to a deep, melatonin-friendly amber at night.
- Sleep Tracking Integration: The Withings Sleep Tracking Mat slides under your mattress. It can trigger a "Deep Sleep" routine when it detects you have fallen asleep, silently turning off adjacent room lights and lowering the smart thermostat by two degrees.
- Smart Air Purifier: The Dyson Purifier Cool Autoreact connects to your network to monitor indoor air quality, automatically increasing fan speed if VOC levels rise from off-gassing furniture or nearby cooking.
Design Considerations
Avoid devices with bright, persistent LED status lights. Cover or disable indicator LEDs on smart plugs and sensors. Opt for smart switches with customizable indicator lights that turn off completely when the room is dark to preserve your sleep environment.
Network Infrastructure: The Backbone of Your Plan
Before purchasing a single smart bulb or sensor, your home network must be prepared to handle the increased bandwidth and device density. A standard ISP-provided router will quickly buckle under the weight of fifty connected devices, leading to dropped connections and unresponsive automations.
Mesh Wi-Fi vs. Dedicated IoT Networks
For a whole-home setup, a Mesh Wi-Fi system like the Eero Pro 6 or TP-Link Deco XE75 is essential to eliminate dead zones in the bedroom and outdoor spaces. More importantly, these systems allow you to create a dedicated IoT (Internet of Things) network. By isolating your smart home devices on a separate SSID from your personal laptops and phones, you enhance security and reduce network congestion.
The Role of Thread and Zigbee Hubs
Wi-Fi is power-hungry and congested. For battery-operated sensors (like the Aqara door sensors or Moen leak detectors), relying on low-power mesh protocols like Zigbee or Thread is critical. Devices like the Amazon Echo (4th Gen) or Apple HomePod Mini act as built-in Thread border routers, creating a robust, self-healing mesh network that ensures your bedroom and kitchen sensors respond in milliseconds without clogging your main Wi-Fi bandwidth.
Budget Tiers: Starter, Mid, and Pro
To help you plan your whole-home rollout, here is a breakdown of investment tiers per room. This structured approach ensures you can scale your system as your budget allows.
| Tier | Living Room | Kitchen | Bedroom | Estimated Total |
|---|---|---|---|---|
| Starter | Smart Bulbs, Basic Hub ($150) | Smart Plug, Mini Display ($80) | Smart Plug, Basic Timer ($40) | $270 |
| Mid | Smart Switches, Thermostat ($450) | Leak Sensor, Wall Display ($350) | Circadian Bulbs, Air Monitor ($250) | $1,050 |
| Pro | Motorized Blinds, mmWave Sensor ($1,200) | Auto Shutoff Valve, Premium Hub ($800) | Sleep Tracker, Motorized Drapes ($900) | $2,900+ |
Visualizing Your Return on Investment
One of the most compelling reasons to execute a room-by-room automation plan is the potential for energy savings. According to the U.S. Department of Energy, upgrading to automated lighting controls and efficient bulbs drastically reduces household energy consumption. Furthermore, the EPA's Energy Star program notes that certified smart thermostats alone can save homeowners roughly 8% on heating and cooling bills annually. When combined with smart lighting and automated plug management, the savings compound across different zones of your home.
Below is a visualization of the estimated annual energy savings by room when implementing a comprehensive mid-tier automation setup.
Estimated Annual Energy Savings by Room
Cross-Room Automation Routines
The true magic of a whole-home plan emerges when rooms communicate with one another. Here are three advanced routines to implement once your individual rooms are set up:
1. The "Away" Protocol
Triggered by your phone's geofencing leaving a 1-mile radius. The living room thermostat drops to an eco-mode (65°F), the kitchen leak sensors elevate their alert priority to "Immediate Push Notification," and all interior lights simulate a randomized occupancy pattern to deter intruders.
2. The "Goodnight" Cascade
Triggered by a bedside button or voice command. The living room and kitchen lights fade out over 30 seconds. The front door smart lock engages, the garage door sensor verifies it is closed, and the bedroom air purifier shifts to silent night mode.
3. The "Morning Wake" Sequence
Triggered by your bedroom sleep tracker detecting light sleep phases near your target wake time. The bedroom smart blinds slowly raise over 10 minutes to let in natural light. Simultaneously, the kitchen smart plug turns on the coffee maker, and the living room thermostat begins pre-heating the main living spaces.
Design and Aesthetic Considerations
Technology should serve your home's design, not detract from it. When executing your room-by-room plan, prioritize devices that blend into the architectural style of your space.
- Color Matching: Many smart switch manufacturers, like Leviton and Lutron, offer color-matching kits. Ensure your smart switches match your existing trim and outlet covers.
- Sensor Placement: Avoid mounting bulky motion sensors in the center of the ceiling. Utilize corner mounts or integrate mmWave presence sensors into bookshelves or behind picture frames where they can still detect micro-movements.
- Cable Management: For wall-mounted smart displays in the kitchen or living room, invest in in-wall power kits to hide power cords, maintaining a clean, gallery-like aesthetic.
Conclusion
A whole-home room-by-room automation plan transforms the daunting prospect of smart home installation into a manageable, rewarding journey. By tackling the living room, kitchen, and bedroom with specific, tailored device selections, you build a foundation of comfort, safety, and energy efficiency. Remember to prioritize open standards like Matter, invest in quality hubs, and design your routines to enhance your daily life rather than complicate it. Start with one room, master its automations, and expand your intelligent ecosystem at your own pace.