Transforming your traditional house into a connected, intelligent living space is one of the most rewarding home improvement projects you can undertake. A well-designed smart home offers unparalleled convenience, enhanced security, and significant energy savings. However, with thousands of devices on the market, knowing where to start can feel overwhelming. This comprehensive smart home setup guide will walk you through the entire installation process, from choosing the right ecosystem to configuring advanced automations.
Difficulty Level: Moderate
Estimated Time: 4 to 8 Hours (depending on the number of devices and home size)
Tools & Products Needed
Before you begin tearing into walls or unboxing gadgets, gather the essential tools and hardware required for a smooth installation. Having everything on hand will save you time and frustration.
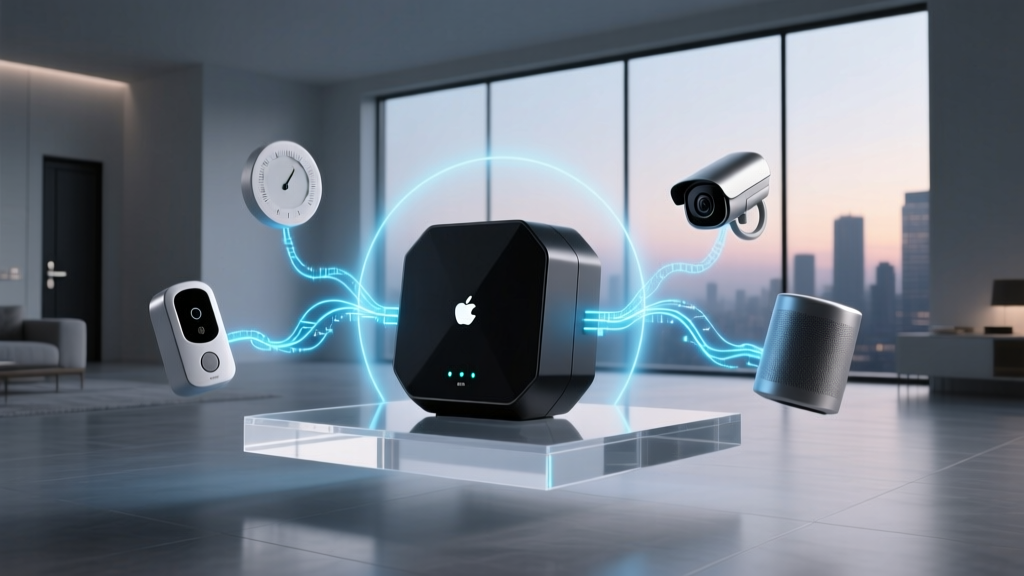
- Smart Home Hub / Ecosystem Controller: The brain of your operation (e.g., Amazon Echo, Google Nest Hub, Apple HomePod, or a dedicated Hubitat/Home Assistant server).
- Mesh Wi-Fi Router System: Essential for blanket coverage and handling dozens of IoT connections.
- Smart Lighting: Smart bulbs for lamps and smart switches for hardwired overhead lighting.
- Smart Plugs: For automating dumb appliances like coffee makers, fans, and holiday lights.
- Smart Thermostat: To optimize your HVAC usage and learn your temperature preferences.
- Security Devices: Smart locks, video doorbells, and indoor/outdoor cameras.
- Installation Tools: Phillips and flathead screwdrivers, wire strippers, voltage tester (non-contact), wire nuts, and electrical tape.
- Smartphone or Tablet: Fully updated to the latest OS for seamless app pairing.
Step 1: Choose Your Smart Home Ecosystem & Hub
The first and most critical decision in your smart home setup guide journey is selecting your primary ecosystem. Your ecosystem dictates which devices you can buy, how they communicate, and the voice assistant you will use to control them. The major players include Amazon Alexa, Google Home, Apple HomeKit, and enthusiast platforms like Home Assistant.
Amazon Alexa offers the widest compatibility with third-party devices and is generally the most budget-friendly route. Google Home excels in natural language processing and integrates flawlessly if you rely heavily on Google services. Apple HomeKit prioritizes privacy and local processing but requires compatible (and often pricier) hardware. For the ultimate control and local-only processing, Home Assistant is the gold standard, though it requires a steeper learning curve.
Once you have chosen your ecosystem, you need a central hub. While many modern devices connect directly to Wi-Fi, a dedicated smart home hub utilizing protocols like Zigbee, Z-Wave, or Thread is highly recommended. These low-power mesh networks keep your Wi-Fi bandwidth free for streaming and gaming while ensuring your smart devices respond instantly, even if your internet connection drops.
Step 2: Upgrade Your Network Infrastructure
A smart home is only as good as the network it runs on. Connecting 40+ IoT devices to a standard ISP-provided router is a recipe for dropped connections, lagging video streams, and unresponsive lights. Upgrading your network is a non-negotiable step in any serious smart home installation.
Invest in a high-quality mesh Wi-Fi system. Mesh networks use multiple nodes placed throughout your home to eliminate dead zones, ensuring that the smart lock on your back door and the camera in your detached garage maintain a strong signal. When setting up your mesh system, take advantage of the IoT or Guest network feature. Creating a separate 2.4 GHz SSID specifically for your smart home devices isolates them from your primary computers and phones, providing a massive boost to both network security and overall bandwidth efficiency.
Pro Tip: Most smart home devices (especially plugs, bulbs, and switches) only operate on the 2.4 GHz band because it offers better range and wall penetration. During setup, temporarily disable your router's 5 GHz band or use a dedicated 2.4 GHz IoT network to prevent pairing errors.
Step 3: Install Core Smart Devices (Lighting & Plugs)
Lighting is the most noticeable and impactful category to automate. You have two main paths: smart bulbs and smart switches. Smart bulbs are perfect for color-changing accents and floor lamps. Simply screw them in, turn the physical switch on, and pair them via your hub's app. However, for overhead and hardwired lighting, smart switches are the superior choice. They maintain physical control for guests and family members while offering smart functionality.
How to Install a Smart Light Switch:
- Cut the Power: Go to your electrical panel and turn off the breaker for the room you are working in. Verify the power is off using a non-contact voltage tester.
- Remove the Old Switch: Unscrew the faceplate and the existing switch. Pull it gently out of the gang box.
- Identify the Wires: You will typically see a Line (power from the breaker), a Load (power to the light fixture), a Ground (bare copper or green), and a Neutral (white) wire. Note: Most smart switches require a neutral wire to stay powered on for Wi-Fi/Zigbee communication.
- Connect the Smart Switch: Follow the manufacturer's wiring diagram. Connect Line to Line, Load to Load, Neutral to Neutral, and Ground to Ground using wire nuts.
- Secure & Test: Carefully push the wires back into the box, screw the switch into place, attach the faceplate, and restore power at the breaker.
For appliances that don't require hardwiring, deploy smart lighting accessories and smart plugs. Smart plugs are the ultimate plug & play solution. Use them to automate coffee makers, window AC units, and decorative lamps. Group these devices into 'Rooms' within your smart home app to make voice commands and bulk automations much easier to manage.
Step 4: Set Up Security & Climate Control
With the basics in place, it is time to focus on home protection and energy efficiency. smart security devices provide peace of mind whether you are asleep upstairs or vacationing across the globe.
Smart Locks & Doorbells: Install a smart lock on your primary entry door. Most models replace your existing deadbolt and require just a screwdriver and a few minutes to install. Pair it with a Wi-Fi video doorbell. When configuring the doorbell, ensure you adjust the motion detection zones in the app to ignore passing cars and swaying trees, which will save you from constant false notifications.
Climate Control: Upgrading to one of the best smart thermostats pays for itself over time through energy savings. Before removing your old thermostat, take a photo of the wiring. Modern smart thermostats use a C-wire (common wire) for continuous power. If your home lacks a C-wire, many manufacturers include a power extender kit in the box that installs at your furnace control board. Once installed, enable the eco-modes and geofencing features so the system automatically adjusts the temperature when the last person leaves the house.
Step 5: Create Automations & Routines
The true magic of a smart home isn't controlling devices with your phone; it's the devices controlling themselves. Automations and routines allow your home to react to triggers like time of day, sensor states, or location data.
Start with simple, high-impact routines:
- Good Morning: Triggered at 6:30 AM. Slowly fades up the bedroom lights, turns on the smart plug connected to the coffee maker, and reads the daily weather forecast.
- Leaving Home: Triggered via geofencing when all registered smartphones leave a 1-mile radius. Locks the smart deadbolt, arms the security cameras, turns off all interior lights, and sets the thermostat to Eco mode.
- Movie Night: Triggered by a voice command. Dims the living room lights to 20%, turns on the TV via a smart IR blaster or HDMI-CEC integration, and lowers the smart blinds.
- Security Alert: Triggered if an outdoor camera detects a person after 11 PM. Flashes the porch light red, turns on all interior lights, and sends a critical notification to your phone.
Explore advanced installation guides and community forums to discover complex logic trees, such as using contact sensors on windows to automatically shut off the HVAC system if a window is left open for more than five minutes.
Troubleshooting Common Smart Home Setup Issues
Even with meticulous planning, you will likely encounter a few hiccups during your installation. Here is how to solve the most common smart home setup issues.
Device Won't Connect to Wi-Fi
As mentioned earlier, 90% of connection failures happen because the user's phone is connected to a 5 GHz network while the device requires 2.4 GHz. Temporarily disable the 5 GHz band on your router, or walk further away from the router (where the 5 GHz signal drops off but the 2.4 GHz remains) during the pairing process.
Smart Switch is Flickering or Buzzing
This usually occurs when a smart dimmer switch is paired with incompatible LED bulbs. Smart dimmers require 'dimmable' LED bulbs. Check the manufacturer's compatibility list and ensure the bulb is fully seated. If the issue persists, adjust the dimmer's minimum and maximum brightness thresholds in the device settings app.
Hub Pairing Failures (Zigbee/Z-Wave)
If your hub cannot find a new Zigbee or Z-Wave device, the mesh network might be congested, or the device is too far from the nearest repeater. Plug a smart plug (which acts as a repeater) into an outlet halfway between the hub and the new device, wait a minute for the mesh to update, and try pairing again.
Automations are Delayed
Cloud-dependent automations can suffer from latency. If your lights take three seconds to turn on after opening a door, consider migrating to a local-processing hub like Home Assistant or Hubitat. Local processing ensures automations trigger in milliseconds, completely independent of external server outages.
Frequently Asked Questions
Do I really need a smart home hub?
While many modern devices connect directly to Wi-Fi or utilize Bluetooth, a dedicated smart home hub is highly recommended for a robust setup. Hubs utilize specialized protocols like Zigbee, Z-Wave, and Thread, which create a local mesh network. This reduces Wi-Fi congestion, extends battery life on wireless sensors, and allows your automations to continue running even if your internet connection goes down.
Will my smart home devices work if the internet goes down?
It depends on your setup. Devices relying purely on cloud processing (like many budget Wi-Fi cameras and basic smart plugs) will lose remote access and advanced features. However, devices connected to a local hub (Zigbee/Z-Wave) or platforms like Apple HomeKit and Home Assistant will continue to function locally. Your physical switches will still work, and local automations (like a motion sensor turning on a light) will execute without an internet connection.
How do I secure my smart home network from hackers?
Security starts at the router level. Always change the default administrator password on your router and IoT devices. Enable WPA3 or WPA2-AES encryption on your Wi-Fi. Most importantly, segment your network by placing all smart home devices on a dedicated 'IoT' or 'Guest' network. This prevents a compromised smart bulb from giving a bad actor access to your personal computers and sensitive data.
Can I mix and match different smart home brands?
Yes, but it requires the right bridge. You can mix Philips Hue, Lutron, Ecobee, and Yale devices by connecting them all to a unifying platform like Amazon Alexa, Google Home, Apple HomeKit, or Home Assistant. The upcoming Matter standard is also making cross-brand compatibility much easier, allowing devices from different manufacturers to communicate natively without relying on cloud-to-cloud integrations.
What is the best smart home ecosystem for beginners?
For most beginners, Amazon Alexa or Google Home are the best starting points. They offer the widest variety of compatible hardware, frequent sales on entry-level devices, and very user-friendly mobile apps. If you are deeply entrenched in the Apple ecosystem and prioritize privacy above all else, Apple HomeKit is a fantastic, albeit slightly more expensive, alternative that offers seamless integration across iPhones, iPads, and Apple Watches.