Best Smart Home Setup: The Ultimate Installation Guide
Building a smart home is one of the most rewarding upgrades you can make to your living space. A well-designed smart home setup automates daily routines, improves energy efficiency, enhances security, and adds a layer of convenience that quickly becomes indispensable. Whether you are starting from scratch or upgrading an existing system, this comprehensive guide walks you through every step of creating the best smart home setup possible.
Below, we cover everything from selecting the right hub and ecosystem to installing smart lighting, security devices, climate controls, and advanced automations. By the end of this guide, you will have a fully functional, interconnected smart home that responds to your lifestyle.
Project Overview
Difficulty Level: Intermediate
Estimated Time: 6–10 hours (spread across a weekend)
Cost Range: $500–$2,500+ depending on device selection
Skills Required: Basic Wi-Fi networking, smartphone proficiency, light electrical work (optional for hardwired devices)
Tools & Products You Will Need
Before diving into the installation, gather the following tools and products. Having everything on hand will streamline your setup process and prevent frustrating delays.
Essential Tools
- Smartphone or tablet (iOS or Android)
- Phillips & flathead screwdrivers
- Power drill with assorted bits
- Wire strippers & electrical tape (for hardwired devices)
- Voltage tester
- Ladder or step stool
- Measuring tape
- Pencil & notepad for planning
Core Smart Home Products
- Smart Hub / Bridge: A central controller such as Samsung SmartThings, Hubitat Elevation, or an Amazon Echo with built-in Zigbee
- Smart Speaker / Voice Assistant: Amazon Echo, Google Nest Audio, or Apple HomePod
- Smart Lighting: Smart bulbs (Philips Hue, LIFX), smart switches (Lutron Caséta, Kasa), or smart plugs
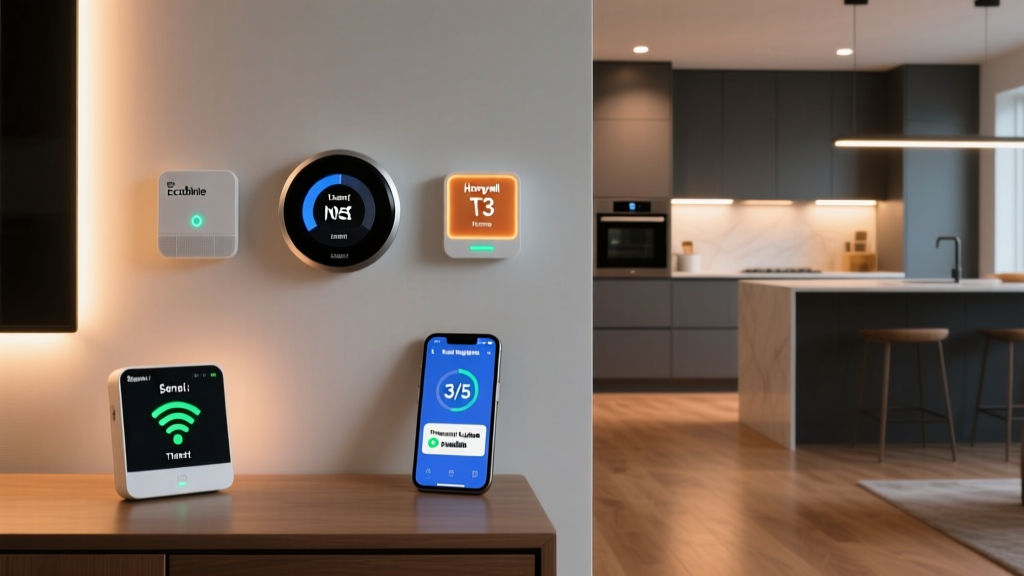
- Smart Thermostat: Ecobee, Google Nest Learning Thermostat, or Honeywell Home T9
- Smart Lock: August Wi-Fi Smart Lock, Yale Assure, or Schlage Encode
- Smart Security Cameras: Ring, Arlo, Eufy, or Google Nest cameras
- Smart Doorbell: Ring Video Doorbell, Google Nest Doorbell, or Eufy Video Doorbell
- Sensors: Motion sensors, door/window contact sensors, water leak sensors
- Smart Plugs: For controlling lamps, fans, & other non-smart devices
- Mesh Wi-Fi System: Eero, Google Nest Wifi, or TP-Link Deco for reliable whole-home coverage
- Smart Blinds / Shades: Lutron Serena, SwitchBot Curtain, or IKEA Fyrtur (optional)
- Smart Smoke / CO Detectors: Google Nest Protect or First Alert Onelink (optional)
For a deeper look at compatible devices & recommendations, visit our smart home devices guide to compare options across every category.
Step 1: Plan Your Smart Home Layout & Choose Your Ecosystem
The foundation of the best smart home setup starts long before you unbox a single device. Proper planning ensures that every component works together seamlessly, avoids connectivity dead zones, and serves a genuine purpose in your daily life.
Map Out Your Home
Walk through every room in your home & make a list of what you want to automate. Consider the following for each space:
- Living Room: Smart lighting scenes, media control, voice assistant, smart plugs for lamps & entertainment equipment
- Kitchen: Smart display for recipes & timers, smart plug for coffee maker, leak sensor under the sink
- Bedrooms: Smart bulbs with scheduling, smart blinds for wake-up routines, temperature sensors
- Bathrooms: Humidity-triggered fan control, leak sensors near the toilet & washing machine
- Entryways: Smart lock, video doorbell, motion-activated lights, contact sensors on doors
- Garage: Smart garage door controller, security camera, motion sensor
- Outdoor Areas: Security cameras, smart landscape lighting, smart sprinkler controller
Choose Your Primary Ecosystem
Selecting the right ecosystem is one of the most important decisions you will make. The three dominant platforms are:
Amazon Alexa: Offers the widest device compatibility, excellent routines, & affordable hardware. Best for users who want maximum flexibility & third-party support.
Google Home: Excels at natural language processing, integrates deeply with Google services (Calendar, Maps, YouTube), & provides a clean interface. Ideal for Android users & those invested in Google services.
Apple HomeKit: Prioritizes privacy & security, offers a polished experience through the Home app, & integrates beautifully with Siri. Best for households that are fully invested in the Apple ecosystem.
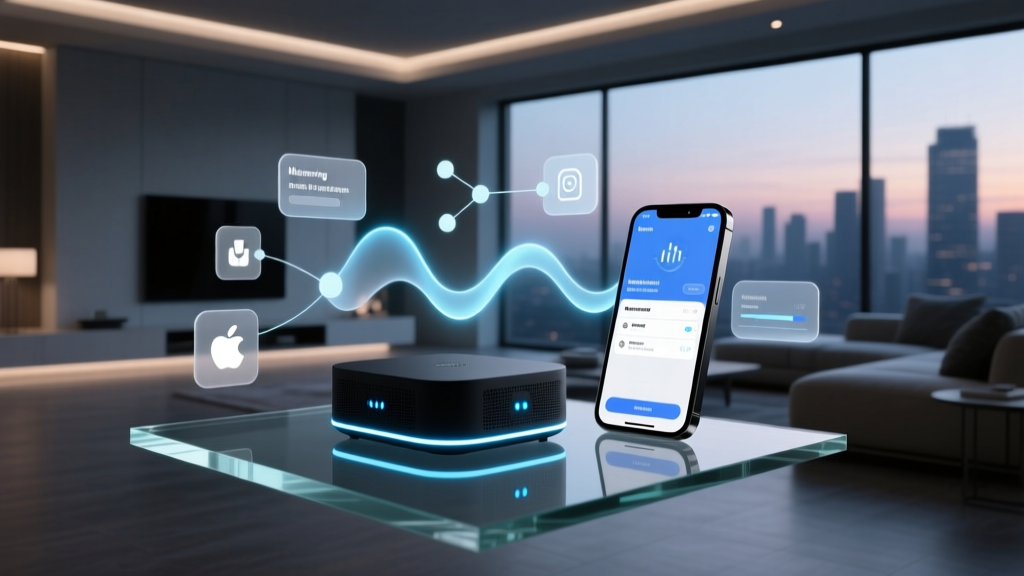
Regardless of which platform you choose, look for devices that support Matter, the universal smart home standard that ensures cross-platform compatibility. Matter-enabled devices work across Alexa, Google Home, Apple HomeKit, & Samsung SmartThings simultaneously, future-proofing your investment.
If you are unsure which platform is right for you, our ecosystem comparison guide breaks down the pros & cons of each option in detail.
Set Up a Dedicated Network
Smart home devices can quickly overwhelm a standard router. For the best smart home setup, invest in a mesh Wi-Fi system that provides consistent coverage throughout your home. Consider creating a separate SSID (network name) or VLAN specifically for IoT devices. This approach:
- Reduces congestion on your primary network used for streaming & work
- Improves security by isolating smart devices from personal computers & phones
- Makes troubleshooting easier when a device drops offline
Place your smart hub in a central location to maximize wireless range for Zigbee, Z-Wave, or Thread devices. Avoid placing it near microwaves, cordless phones, or thick concrete walls that can interfere with signals.
Step 2: Install Your Smart Hub, Router & Voice Assistants
With your plan in place, it is time to set up the backbone of your smart home: the hub, network, & voice control layer.
Install Your Mesh Wi-Fi System
- Unbox & connect the primary node to your modem using the included Ethernet cable. Plug it into power.
- Download the companion app (e.g., Eero, Google Home, or TP-Link Deco) & follow the on-screen setup wizard.
- Name your networks. Create a primary network for phones, laptops, & tablets, & a secondary network (or guest network) for smart home devices.
- Place satellite nodes in areas where coverage is weak. Most apps provide signal strength indicators to help you find optimal placement. A good rule of thumb is to place nodes no more than two rooms apart.
- Run a speed test in every room to confirm consistent coverage. Aim for at least 25 Mbps in areas where smart cameras & displays will operate.
Set Up Your Smart Hub
- Connect the hub to power & to your router via Ethernet (if supported). Ethernet connections are more reliable than Wi-Fi for hubs.
- Open the hub's app & create your account. Follow the pairing instructions to connect it to your Wi-Fi network.
- Update firmware immediately. Manufacturers frequently release updates that improve stability & add device support.
- Enable integrations with your chosen voice assistant (Alexa, Google Assistant, or Siri) through the hub's app settings.
Configure Your Smart Speakers & Displays
- Plug in your smart speaker or display in the desired location. Popular placements include the kitchen counter, bedside table, & living room shelf.
- Use the companion app to connect the speaker to your Wi-Fi network & assign it to a room.
- Enable voice match so the assistant recognizes individual household members & provides personalized responses.
- Test voice commands like "Turn on the living room lights" or "What is the temperature inside?" to confirm connectivity with your hub.
For tips on getting the most out of voice assistants, check out our voice assistant setup guide.
Step 3: Install Smart Lighting Throughout Your Home
Smart lighting is often the first category people tackle, & for good reason: it delivers immediate, visible results & sets the tone for your entire smart home experience. There are three main approaches, & you can mix & match them based on your needs.
Option A: Smart Bulbs
Smart bulbs like Philips Hue or LIFX screw directly into existing fixtures & offer millions of colors, dimming, & scheduling.
- Turn off the light switch & remove the existing bulb.
- Screw in the smart bulb & turn the switch back on.
- Open the bulb manufacturer's app & follow the pairing process. Hue bulbs require the Hue Bridge; LIFX bulbs connect directly to Wi-Fi.
- Assign each bulb to a room & give it a descriptive name (e.g., "Bedroom Lamp Left").
- Important: The physical wall switch must remain ON for smart bulbs to function. Consider installing switch guards or replacing the switch with a smart switch to prevent accidental shutoffs.
Option B: Smart Switches & Dimmers
Smart switches like Lutron Caséta or Kasa replace your existing wall switches & control all bulbs connected to that circuit, including standard non-smart bulbs.
- Turn off power at the circuit breaker. Use a voltage tester to confirm the wires are not live.
- Remove the existing switch by unscrewing the faceplate & disconnecting the wires. Take a photo of the wiring before disconnecting anything.
- Identify your wiring. Most smart switches require a neutral wire (usually white). If your home was built before the 1980s, you may not have one. In that case, look for switches specifically designed for no-neutral setups, such as certain Lutron Caséta models.
- Connect the smart switch following the manufacturer's wiring diagram: line (hot), load, neutral, & ground.
- Secure the switch in the wall box, attach the faceplate, & restore power at the breaker.
- Open the app & pair the switch to your hub or Wi-Fi network.
Option C: Smart Plugs
For lamps, fans, holiday lights, & other plug-in devices, smart plugs offer the simplest installation.
- Plug the smart plug into a wall outlet.
- Plug your device (lamp, fan, etc.) into the smart plug.
- Open the companion app & add the plug to your network.
- Name the plug descriptively & assign it to a room.
Create Lighting Scenes & Schedules
Once all your smart lights are installed, create scenes that adjust multiple lights simultaneously:
- Morning: Bedroom lights gradually brighten to simulate sunrise over 15 minutes
- Movie Night: Living room lights dim to 10% & shift to warm amber
- Goodnight: All lights turn off except a dim hallway nightlight
- Away: Randomize lights in different rooms to simulate occupancy
Explore more creative lighting ideas in our smart lighting inspiration gallery.
Step 4: Set Up Smart Security, Climate Control & Sensors
With your network, hub, & lighting in place, it is time to add the devices that protect your home, optimize comfort, & enable intelligent automations.
Install Smart Security Cameras
- Choose camera locations based on your home's vulnerabilities: front door, back door, driveway, garage, & ground-floor windows.
- Mount outdoor cameras at a height of 8–10 feet, angled slightly downward. Use the included mounting hardware & a power drill to secure the bracket.
- For wired cameras, run power cables through walls or along soffits. For battery-powered cameras, simply attach the magnetic mount & snap the camera into place.
- Connect each camera to your Wi-Fi network through the manufacturer's app.
- Configure motion zones to focus on high-traffic areas & avoid false alerts from passing cars or swaying trees.
- Enable notifications for motion detection, person detection, & package delivery alerts where supported.
- Set up local or cloud storage based on your preference. Local storage (SD card or NAS) avoids subscription fees; cloud storage provides off-site backup.
Install Your Smart Doorbell
- Turn off power to your existing doorbell at the breaker.
- Remove the old doorbell button & disconnect the two wires.
- Connect the wires to the smart doorbell's terminals. Most video doorbells work with existing low-voltage doorbell wiring (16–24V AC).
- Mount the doorbell using the included bracket & screws.
- Restore power & connect the doorbell to your Wi-Fi through the app.
- Adjust motion sensitivity & set up activity zones to minimize false alerts.
Install Your Smart Lock
- Remove your existing deadbolt if you are installing a full replacement lock, or leave it in place if you are using a retrofit lock like the August Wi-Fi Smart Lock that attaches to the interior thumb turn.
- Follow the manufacturer's instructions precisely. Most smart locks include detailed templates & step-by-step guides.
- Calibrate the lock through the app to ensure it fully extends & retracts the deadbolt.
- Set up auto-lock to engage the deadbolt automatically after a set period (e.g., 5 minutes).
- Create unique access codes for family members, dog walkers, or guests. This lets you track who enters & exits your home.
- Integrate with your hub so the lock can participate in automations (e.g., unlocking the door when you arrive home).
Install Your Smart Thermostat
- Turn off power to your HVAC system at the breaker.
- Remove the old thermostat faceplate & take a photo of the wiring. Label each wire according to its terminal (R, W, Y, G, C, etc.).
- Check for a C-wire (common wire). Most smart thermostats require a C-wire for continuous power. If you do not have one, many thermostats include a C-wire adapter that installs at your furnace or air handler.
- Install the new baseplate on the wall, threading the wires through the center.
- Connect each wire to the corresponding terminal on the smart thermostat base.
- Snap on the faceplate & restore power at the breaker.
- Follow the on-screen setup to connect to Wi-Fi, set your schedule, & enable eco modes.
- Install remote temperature sensors in bedrooms or other areas where you spend the most time. This ensures the thermostat heats or cools based on occupied rooms rather than the hallway where it is mounted.
Deploy Sensors Throughout Your Home
Sensors are the nervous system of a smart home. They detect changes in the environment & trigger automations automatically.
- Motion sensors: Place in hallways, staircases, & bathrooms to trigger lights when someone enters & turn them off after a period of inactivity.
- Door/window contact sensors: Install on exterior doors & ground-floor windows to trigger security alerts when opened unexpectedly.
- Water leak sensors: Place near water heaters, washing machines, dishwashers, & under sinks to receive instant alerts about leaks before they cause damage.
- Temperature & humidity sensors: Place in rooms that tend to run hot or cold to inform your thermostat's decisions.
Most sensors use adhesive backing for tool-free installation. Simply peel, stick, & pair through your hub's app.
For a full breakdown of home security options, read our smart home security guide.
Step 5: Build Powerful Automations & Routines
The true magic of a smart home is not controlling devices individually — it is making them work together automatically. Automations & routines transform your collection of devices into a cohesive, intelligent system that anticipates your needs.
Essential Automations to Set Up
1. Good Morning Routine
- Trigger: Weekday alarm goes off (or at a set time)
- Actions: Bedroom lights gradually brighten, thermostat adjusts to daytime temperature, smart plug turns on the coffee maker, smart blinds open, & a smart speaker reads your calendar & weather forecast
2. Leaving Home Routine
- Trigger: Last person's phone leaves the geofence perimeter (or manual voice command)
- Actions: All lights turn off, thermostat switches to eco mode, doors lock, security cameras arm, garage door closes, & robot vacuum begins cleaning
3. Arriving Home Routine
- Trigger: First person's phone enters the geofence perimeter
- Actions: Front door unlocks, entryway lights turn on, thermostat resumes comfort settings, & a welcome message plays on the smart speaker
4. Goodnight Routine
- Trigger: Voice command ("Goodnight") or scheduled time
- Actions: All lights turn off, doors lock, thermostat lowers to sleep temperature, security cameras activate, & white noise plays in the bedroom
5. Security Alert Automation
- Trigger: Door/window sensor opens while the system is armed
- Actions: All interior lights flash on, security cameras begin recording, smart speaker announces the alert, & a notification is sent to your phone
Advanced Automation Tips
- Use conditions to make automations smarter. For example, only turn on lights at sunset if someone is home.
- Layer automations so one routine can trigger another. Your "Goodnight" routine can trigger a delayed "All Off" automation 30 minutes later as a safety net.
- Leverage sensor data for passive automations. A humidity sensor in the bathroom can trigger the exhaust fan automatically after a shower.
- Use presence detection from your phone's GPS, your hub's geofencing, or a dedicated presence sensor to trigger location-based automations.
- Test every automation thoroughly after creating it. Trigger it manually & observe whether all actions execute correctly & in the right order.
Need inspiration for more automations? Browse our automation ideas library for dozens of real-world examples.
Troubleshooting Common Smart Home Setup Issues
Even the best smart home setup can encounter hiccups during installation. Here are solutions to the most common problems.
Device Will Not Connect to Wi-Fi
- Ensure you are connecting to a 2.4 GHz network. Many smart home devices do not support 5 GHz Wi-Fi.
- Move the device closer to the router during initial setup, then relocate it after pairing.
- Check that your Wi-Fi password does not contain special characters that some devices cannot process.
- Restart your router & try again.
Smart Switch Does Not Work After Installation
- Verify that power is restored at the circuit breaker.
- Double-check all wire connections. A loose neutral wire is the most common cause of malfunction.
- Confirm that the switch is compatible with your wiring configuration (single-pole vs. three-way, neutral required vs. no-neutral).
- Reset the switch by holding the reset button for 10–15 seconds & re-pair it.
Hub Cannot Discover Devices
- Ensure the device is within range of the hub. Zigbee & Z-Wave have a typical range of 30–60 feet indoors.
- Power-cycle the hub by unplugging it for 30 seconds & plugging it back in.
- Check for firmware updates on both the hub & the device you are trying to add.
- Remove & re-add the device in the hub's app. Some devices require a factory reset before re-pairing.
Automations Are Not Triggering
- Verify that all conditions are met. A geofence-based automation will not trigger if location services are disabled on your phone.
- Check that the devices involved in the automation are online & responsive.
- Review the automation log in your hub's app. Most platforms provide a history of triggered & failed automations with error details.
- Simplify the automation. Remove conditions one at a time to identify which condition is blocking the trigger.
Voice Commands Are Not Recognized
- Confirm that the device names in your smart home app match what you are saying. If a light is named "Bedroom Ceiling," saying "Turn on the bedroom light" may not work.
- Check that the device is linked to your voice assistant. Re-link it through the voice assistant's app settings.
- Speak clearly & pause briefly after the wake word before issuing your command.
If you are dealing with persistent connectivity problems, our troubleshooting center covers advanced diagnostics for every major platform.
Frequently Asked Questions
What is the single best smart home hub to start with?
The best hub depends on your ecosystem preference. For most users, the Samsung SmartThings Station or Hubitat Elevation offers the broadest device compatibility with support for Zigbee, Z-Wave, Thread, & Matter. If you are already invested in Amazon Alexa, an Echo device with a built-in Zigbee hub (like the Echo Show 10) can serve double duty as both a smart display & a hub. Apple users may prefer an Apple TV 4K or HomePod mini as their HomeKit hub. The key is choosing a hub that supports the wireless protocols used by your devices.
Do I need a professional to install my smart home setup?
Most smart home devices are designed for DIY installation & can be set up by anyone comfortable using a smartphone app & basic tools. Smart plugs, bulbs, cameras, sensors, & most smart locks can be installed without professional help. However, you may want to hire an electrician for hardwired smart switches if you are not comfortable working with electrical wiring, or for running low-voltage cables for wired security cameras. A professional smart home installer can also help with complex integrations & custom programming if you want a highly tailored system.
How many smart devices can my Wi-Fi network handle?
Most modern mesh Wi-Fi systems can handle 100–250 connected devices without issue. However, performance depends on your router's capabilities, your internet plan's bandwidth, & how much data each device consumes. Security cameras that stream continuously use the most bandwidth, while sensors & smart switches use very little. If you plan to connect more than 50 devices, a mesh system with a dedicated IoT network is strongly recommended. Additionally, using a hub with Zigbee, Z-Wave, or Thread offloads traffic from your Wi-Fi network since those devices communicate through the hub's dedicated radio rather than your router.
Is a smart home setup worth the investment?
A well-planned smart home setup delivers value in several ways. Smart thermostats typically save 10–15% on heating & cooling costs, which can amount to hundreds of dollars per year. Smart lighting reduces electricity usage through scheduling & motion-based control. Smart security devices may qualify you for homeowners insurance discounts of 5–20%. Beyond financial savings, the convenience of voice control, automated routines, & remote monitoring adds a quality-of-life improvement that most users find they cannot live without once they experience it. Start with a few high-impact devices (thermostat, smart lock, a few smart lights) & expand gradually as you see the benefits.
How do I keep my smart home secure from hackers?
Security should be a top priority for any smart home. Follow these best practices: change default passwords on every device & hub immediately after setup; enable two-factor authentication (2FA) on all smart home accounts; keep all device firmware & hub software up to date; place IoT devices on a separate Wi-Fi network or VLAN from your personal devices; disable remote access features you do not use; choose devices from reputable manufacturers that provide regular security updates; & review connected device permissions periodically to revoke access for apps & services you no longer use. For a comprehensive guide, visit our smart home security resource page.
Final Thoughts
Building the best smart home setup is a journey, not a one-time project. Start with the essentials — a reliable network, a capable hub, smart lighting, & a smart thermostat — then expand into security, sensors, & advanced automations as you become more comfortable with the technology. The modular nature of modern smart home platforms means you can add devices at your own pace without ripping out what you have already installed.
The most important principle is to choose devices that work together within a unified ecosystem & to invest in products that support open standards like Matter, Zigbee, Z-Wave, & Thread. This ensures that your smart home remains compatible, expandable, & future-proof for years to come.
Ready to start building? Browse our recommended starter kits to find a curated bundle that matches your budget & goals, or explore our complete library of smart home guides for in-depth tutorials on every aspect of home automation.