The Psychology of the First Smart Device
Entering the world of home automation can feel like stepping into a labyrinth of protocols, ecosystems, and hardware. With thousands of products on the market, the most common question DIY installers and homeowners ask is: Which smart device should I buy and install first? Your first device is more than just a gadget; it is a proof of concept for your home network, a test of your DIY skills, and the foundation of your growing ecosystem. Choosing the wrong device can lead to frustration, network congestion, and abandoned projects. Choosing the right one delivers an immediate 'quick win,' building the confidence needed to tackle whole-home automation.
In this comprehensive guide, we will break down the best entry-point devices, compare their installation requirements, and provide step-by-step instructions to ensure your first smart home setup is a flawless success.
The Top Contenders for Your First Install
When selecting your inaugural smart home device, you must balance impact with complexity. Here are the three most common starting points, ranked by ease of installation.
1. Smart Plugs: The Ultimate Quick Win
Smart plugs are universally recommended as the best first smart home device. They require zero wiring, cost between $10 and $25, and can make almost any 'dumb' appliance smart. By plugging a lamp, coffee maker, or fan into a smart plug like the Kasa Smart Plug Mini (EP10) or the Wyze Plug, you instantly gain app control, scheduling, and voice assistant integration.
- Pros: No tools required, highly affordable, immediate gratification.
- Cons: Only works with devices that have a physical 'on' switch that can remain toggled on.
- Best For: Renters, beginners, and testing network compatibility.
2. Smart Bulbs: Instant Ambiance and Control
If you want to change the mood of a room without wiring a switch, smart bulbs are the answer. Products like the Philips Hue White or Wyze Bulb Color screw directly into existing fixtures. They offer dimming, color-changing capabilities, and circadian rhythm scheduling.
- Pros: Rich feature set, easy physical installation, great for multi-room scenes.
- Cons: The 'dumb switch' problem (if someone flips the wall switch, the smart bulb loses power and goes offline).
- Best For: Bedrooms, living rooms, and lamps that are rarely turned off at the wall.
3. Smart Thermostats: High Impact, Higher Complexity
For those who want immediate financial ROI, a smart thermostat is the way to go. According to the U.S. Department of Energy, smart thermostats can save homeowners up to 10% to 15% on heating and cooling costs by learning schedules and optimizing HVAC usage. However, installing a device like the Ecobee SmartThermostat or Google Nest Learning Thermostat requires dealing with low-voltage wiring and potentially installing a C-wire (Common wire).
- Pros: Significant energy savings, high daily utility, increases home value.
- Cons: Requires basic electrical knowledge, potential C-wire issues, higher upfront cost ($100-$250).
- Best For: Homeowners ready for a weekend DIY project with long-term financial benefits.
Device Comparison Matrix
Use this table to determine which device aligns with your current skill level and budget.
| Device Type | Avg. Cost | Setup Time | Hub Required? | Wiring Needed? |
|---|---|---|---|---|
| Smart Plug (e.g., Kasa EP10) | $12 - $25 | 3 - 5 mins | No (Wi-Fi) | No |
| Smart Bulb (e.g., Wyze Color) | $15 - $50 | 5 - 10 mins | No (Wi-Fi/BT) | No |
| Smart Switch (e.g., Lutron Caseta) | $50 - $70 | 20 - 30 mins | Yes (Bridge) | Yes (Line/Load) |
| Smart Thermostat (e.g., Nest) | $120 - $250 | 45 - 60 mins | No (Wi-Fi) | Yes (Low Voltage) |
Visualizing the Setup Commitment
Understanding the time investment required for different devices can help you plan your installation day. The chart below illustrates the average time it takes a first-time DIYer to unbox, wire (if applicable), connect to Wi-Fi, and configure automations for various entry-level devices.
Average Setup Time for First Smart Devices
Crucial Pre-Installation Step: Network Preparation
The number one reason first-time smart home installations fail is Wi-Fi band incompatibility. The vast majority of entry-level smart plugs and bulbs operate exclusively on the 2.4GHz Wi-Fi band. This band is used because it offers superior wall penetration and requires cheaper, lower-power chips than 5GHz.
Modern mesh routers (like Eero, Orbi, or Google Nest Wi-Fi) use 'band steering,' combining 2.4GHz and 5GHz into a single network name (SSID). When your phone (connected to 5GHz) tries to pass the Wi-Fi credentials to a smart plug (which only understands 2.4GHz), the handshake fails.
How to Prepare Your Network for Setup:
- Check your Router Settings: Log into your router app and see if you can temporarily disable the 5GHz band or enable a dedicated 'IoT Network' or 'Guest Network' that is strictly 2.4GHz.
- The Distance Trick: If you cannot split your bands, walk to the farthest corner of your yard or driveway. 5GHz has a shorter range than 2.4GHz. By forcing your phone to drop to the 2.4GHz band due to distance, you can complete the setup handshake, and the device will remember the credentials when you walk back inside.
- Use Bluetooth Setup: Many newer devices (like Kasa and Tapo) use Bluetooth Low Energy (BLE) for the initial handshake, bypassing the 2.4GHz app-to-router limitation entirely. Ensure your phone's Bluetooth is enabled during setup.
Step-by-Step: Installing Your First Smart Plug
Let us walk through the exact process of setting up a standard Wi-Fi smart plug (using the Kasa ecosystem as a baseline).
- Download the App & Create an Account: Download the manufacturer's app. Create an account and verify your email. This ensures you can recover your devices if you lose your phone.
- Plug in the Device: Insert the smart plug into a standard wall outlet. Wait for the LED indicator to begin blinking rapidly (usually amber or green), indicating it is in pairing mode.
- Initiate Pairing: Open the app, tap the '+' icon, and select 'Smart Plug'. The app will scan for Bluetooth beacons or prompt you to connect your phone to the plug's temporary setup Wi-Fi network.
- Pass Wi-Fi Credentials: Select your home's 2.4GHz network and enter your Wi-Fi password. Pro Tip: Ensure your Wi-Fi password does not contain special characters that some legacy IoT chips struggle to parse.
- Name and Assign: Give the plug a logical name. Use a standardized naming convention like
[Room] [Device](e.g., 'Living Room Corner Lamp'). This is critical for voice assistant integration later. - Create Your First Automation: Set a simple schedule, such as turning the lamp on at sunset and off at 11:00 PM, to immediately experience the value of the device.
Step-by-Step: Installing Your First Smart Bulb
Smart bulb installation is physically simple but requires behavioral changes regarding wall switches.
- Power Down: Turn off the physical wall switch or the breaker to the fixture to ensure safety.
- Install the Bulb: Screw the smart bulb into the socket. Ensure it is hand-tight but not over-tightened, which can damage the internal antenna.
- Power Up and Wait: Turn the switch back on. The bulb will power up and typically blink three times to indicate it is ready for pairing.
- App Configuration: Open the app and follow the on-screen prompts to add the bulb. If using Philips Hue, you may need to scan the QR code on the bulb's base to add it to your Hue Bridge via Zigbee.
- Group and Scene Setup: Group the bulb with others in the same room. Create a 'Movie Night' scene that dims the bulb to 20% and sets a warm white color temperature (2700K).
The Household Acceptance Factor: If you install smart bulbs in a shared space, consider installing a smart switch or a wireless remote (like the Hue Dimmer) over the physical wall switch. If a guest flips the physical switch, your smart bulb goes offline, breaking your automations and frustrating the household.
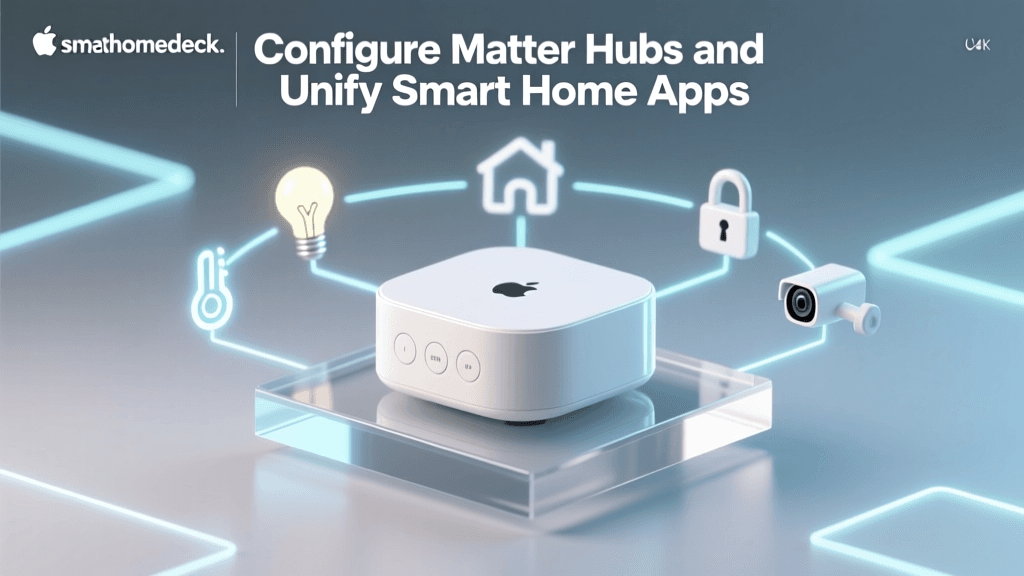
Ecosystem Lock-In and the Matter Standard
Before buying your first device, you must decide which voice assistant or smart home platform will serve as your 'command center.' The big three are Amazon Alexa, Google Home, and Apple HomeKit. Historically, buying a device meant locking yourself into a proprietary ecosystem. However, the smart home landscape is evolving rapidly.
The Connectivity Standards Association (CSA) developed the Matter protocol to solve this exact problem. Matter is an open-source, royalty-free standard that allows devices to communicate seamlessly across different ecosystems. When buying your first device today, look for the 'Matter' logo on the packaging. A Matter-compatible smart plug or bulb will work natively with Apple, Google, Amazon, and Samsung SmartThings simultaneously, future-proofing your investment and eliminating ecosystem anxiety.
Security and Privacy Best Practices
IoT devices are notorious for weak default security. As you bring your first device online, adopt these best practices recommended by cybersecurity experts, including guidelines outlined by the National Institute of Standards and Technology (NIST):
- Change Default Passwords: If your device hub or camera has a default PIN or password, change it immediately.
- Enable Two-Factor Authentication (2FA): Always enable 2FA on your smart home app accounts (Kasa, Wyze, Hue, etc.) to prevent unauthorized access to your home's controls.
- Firmware Updates: During setup, the app will likely prompt a firmware update. Never skip this. Manufacturers patch critical security vulnerabilities in these early updates.
- Network Segmentation: If your router supports it, place all IoT devices on a 'Guest' or 'IoT' VLAN. This prevents a compromised smart plug from accessing your personal computers or network-attached storage (NAS).
Common Beginner Mistakes to Avoid
Even with the simplest devices, first-timers often stumble over the same hurdles. Avoid these common pitfalls:
- Overloading Smart Plugs: Always check the amperage rating. A standard smart plug is rated for 10A to 15A. Never plug a high-draw appliance like a space heater, window AC unit, or microwave into a standard smart plug, as it can melt the housing and cause a fire.
- Ignoring Physical Switch Habits: As mentioned, smart bulbs require constant power. If you install a smart bulb in a hallway where people constantly flip the switch, the automation will break. Use smart switches for high-traffic areas instead.
- Buying Proprietary Hubs Too Early: Do not buy a dedicated Zigbee or Z-Wave hub (like SmartThings or Hubitat) for your very first device. Start with Wi-Fi or Bluetooth-enabled devices to learn the ropes of app configuration and automations before introducing mesh network complexity.
- Poor Device Naming: Naming your first plug 'TP-Link_Smart_Plug_01' will cause nightmares when you try to use voice commands later. Use natural language names like 'Kitchen Coffee Maker' so Alexa or Siri can easily parse your requests.
Conclusion
Choosing your first smart home device is about balancing instant gratification with foundational learning. For 90% of beginners, a Wi-Fi smart plug is the undisputed champion of first installs. It requires no tools, costs less than a takeout dinner, and immediately introduces you to the core concepts of scheduling, remote control, and voice integration. Once you have mastered the plug and optimized your 2.4GHz network, you will have the confidence to move on to smart bulbs, switches, and eventually whole-home climate control. Take your time, prioritize network security, and enjoy the first step into the future of home automation.