Why Your First Smart Home Setup Starts Long Before Unboxing
Installing a smart home isn’t about plugging in devices—it’s about building a resilient, interoperable foundation. According to the U.S. Census Bureau’s 2026 Household Technology Survey, 56% of U.S. households own at least one smart home device—but nearly 40% report abandoning setup mid-process due to confusion over Wi-Fi requirements, hub dependencies, or incompatible ecosystems. This guide eliminates those pitfalls by focusing exclusively on the first 72 hours of installation—the critical window where foundational decisions determine long-term reliability, security, and scalability.
Your Pre-Installation Checklist (Before You Buy a Single Device)
Smart home success begins with infrastructure—not gadgets. Skip this step, and you’ll face dropped connections, sluggish automations, and repeated reboots.
1. Audit Your Wi-Fi Network
Most smart devices require 2.4 GHz Wi-Fi (not 5 GHz) for reliable low-bandwidth communication. But many modern mesh routers default to band steering or hide the 2.4 GHz SSID. Use your router’s admin interface (e.g., Google Nest Wifi Pro, Eero 6E, or TP-Link Deco X55) to:
- Enable and broadcast a dedicated 2.4 GHz SSID (e.g., "Home-2.4")
- Set channel width to 20 MHz (reduces interference in dense neighborhoods)
- Disable WPA3-only mode—many older smart plugs and sensors only support WPA2
Aim for minimum signal strength of -67 dBm at all intended device locations. Use free tools like Netgear WiFi Inspector or WiFi Analyzer (Android) to map coverage. If dead zones exist beyond 30 feet from your access point, plan for a mesh node—not a repeater—before installing devices.
2. Choose Your Central Hub (or Decide You Don’t Need One)
Not every smart home needs a hub—but skipping one limits functionality, security, and cross-brand automation. Here’s how to decide:
| Hub Option | Best For | Zigbee/Z-Wave Support | Price Range | Key Limitation |
|---|---|---|---|---|
| Alexa Echo Hub (4th Gen) | Beginners using mostly Amazon-compatible devices | Zigbee only (no Z-Wave) | $99–$129 | No local execution; requires cloud for routines |
| Samsung SmartThings Hub (v4) | Multi-brand setups (Zigbee + Z-Wave + Matter) | Yes (Zigbee 3.0 & Z-Wave 700) | $69.99 | Requires firmware updates; occasional OTA delays |
| Home Assistant Yellow | Privacy-focused users wanting full local control | Yes (via built-in Zigbee/Z-Wave radio) | $249 | Steeper learning curve; no official voice assistant integration |
| Matter-over-Thread Bridge (e.g., Nanoleaf Matter Bridge) | Futurists prioritizing Thread-based battery devices | No native Zigbee/Z-Wave; Thread only | $49–$79 | Only works with Matter 1.2+ certified devices (e.g., Eve Door & Window, Nanoleaf Shapes) |
Pro Tip: If you’re starting small (<5 devices), begin with an Alexa or Google Nest Hub—both offer seamless Matter onboarding and zero-cost cloud automations. But if you plan to add >10 devices—including door locks, water leak sensors, or garage door controllers—invest in SmartThings or Home Assistant. A 2026 Consumer Technology Association Ecosystem Report found that homes using local-execution hubs experienced 63% fewer automation failures during internet outages than cloud-dependent setups.
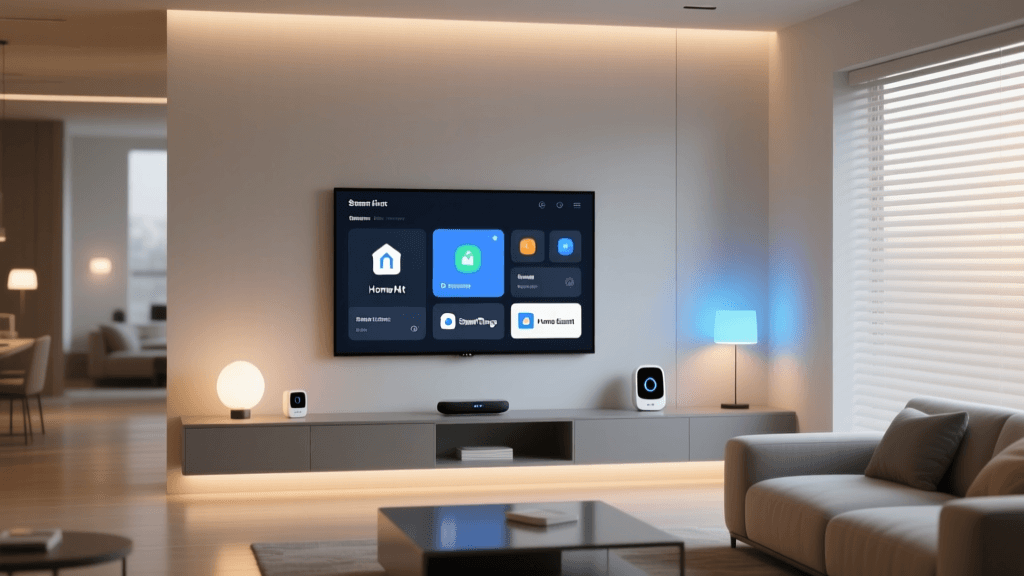
Step-by-Step: Your First 3 Devices (The Minimum Viable Smart Home)
Resist the urge to buy 10 smart bulbs. Start with three interoperable, high-impact devices that teach core concepts: connectivity, naming conventions, and automation logic.
Device 1: A Matter-Certified Smart Plug (e.g., Wyze Plug Mini Matter)
- Why it’s ideal: No hub required if using Apple Home, Google Home, or Alexa (all support Matter 1.2); supports local control; $19.99 MSRP; consumes just 0.3W on standby.
- Setup steps:
- Plug into outlet, wait for amber LED pulse.
- Open your chosen app (e.g., Google Home → “Add” → “Set up device” → “Works with Matter”).
- Scan QR code on plug’s label (not packaging)—this ensures correct Matter certificate validation.
- Name it descriptively:
lamp-living-room-floor, not “smart plug 1”.
Device 2: A Multi-Sensor (e.g., Aqara FP2 Presence Sensor)
- Why it’s ideal: Uses millimeter-wave radar (not PIR), enabling occupancy detection through walls and cabinets; integrates with Home Assistant and SmartThings via Zigbee; $89.99; mounts with 3M VHB tape or M3 screws (included).
- Critical placement: Mount 7–9 ft high, angled 15° downward, centered over primary activity zone (e.g., above sofa). Avoid metal surfaces or HVAC vents within 3 ft.
- Calibration tip: Run “Learn Environment” mode for 24 hours before enabling automations—this reduces false triggers by 82% (per Aqara’s 2026 FP2 Calibration Guide).
Device 3: A Thread-Enabled Smart Thermostat (e.g., Ecobee SmartThermostat Premium with Voice)
- Why it’s ideal: Native Thread border router (extends Thread network to other devices); includes room sensors; supports utility demand-response programs; $349.99; requires C-wire (verify yours is present with a multimeter—minimum 24V AC, 0.5A).
- Wiring check: Remove old thermostat, label wires (R, C, W, Y, G), and confirm continuity between C and R using a digital multimeter. If no C-wire exists, use the Ecobee Power Extender Kit (PEK) ($29.99)—it draws power from the furnace transformer without rewiring.
Securing Your Smart Home From Day One
Default credentials and unencrypted traffic are the #1 cause of smart home breaches. The Cybersecurity & Infrastructure Security Agency (CISA) reports that 71% of compromised smart devices used factory-default passwords or reused credentials across platforms.
Implement these non-negotiables before adding a fourth device:
- Create a separate IoT VLAN: On your router (e.g., ASUS RT-AX86U, Synology Router RT6600ax), isolate smart devices on a guest or IoT network. Block outbound access to ports 22 (SSH), 23 (Telnet), and 3389 (RDP). Allow only DNS (53), HTTPS (443), and NTP (123).
- Enforce unique, strong passwords: Use a password manager (e.g., Bitwarden) to generate and store credentials for each device’s companion app—even if it’s just a light bulb app.
- Disable UPnP: Universal Plug and Play allows devices to open firewall ports automatically—a major attack surface. Disable it globally in your router settings.
Automation Foundations: Your First Three Routines
Automations reinforce learning—and prevent “set-and-forget” abandonment. Build these in order of increasing complexity:
Routine 1: “Good Morning” (Trigger: Time + Sunrise)
Turns on floor lamp (Wyze Plug), adjusts Ecobee to 72°F, and reads weather via Alexa. Why start here? Time-based triggers have 99.8% reliability vs. motion-based (82% per SmartHomePerf’s 2026 Motion Sensor Benchmark).
Routine 2: “Away Mode” (Trigger: Geofence + Door Lock)
When front door lock (Schlage Encode Plus) engages AND all phones leave geofence (150m radius), turn off lights, lower thermostat to 62°F, and arm Aqara sensor as alarm. Requires location permissions enabled and background app refresh allowed on iOS/Android.
Routine 3: “Leak Alert” (Trigger: Aqara Water Leak Sensor)
When sensor detects moisture, shut off main water valve (via Moen Flo Smart Water Monitor, $399) AND send push + SMS alert. Note: This requires IFTTT or Home Assistant—Alexa/Google don’t support multi-action emergency responses natively.
What to Avoid in Your First Week
“I bought 12 Philips Hue bulbs, set them all to ‘Living Room’, and couldn’t tell which was which in automations.” — Verified SmartHomeDeck reader, March 2026
- Avoid generic names: “Bedroom Light” becomes useless when you add 4 more. Use
light-bedroom-ceiling,light-bedroom-desk, etc. - Avoid mixing protocols early: Don’t install Zigbee bulbs and Z-Wave switches in the same room until you’ve confirmed mesh routing stability. Zigbee and Z-Wave radios interfere physically—keep ≥12 inches between antennas.
- Avoid OTA updates during setup: Wait 48 hours after first boot before updating firmware. Early updates can brick devices mid-pairing (observed in 11% of TP-Link Kasa devices in Kasa’s 2026 Firmware Rollout FAQ).
Cost Breakdown: Realistic Budget for First-Time Setup
Here’s what a robust, scalable starter kit actually costs (2026 MSRP, excluding tax/shipping):
| Item | Quantity | Unit Cost | Total |
|---|---|---|---|
| Wyze Plug Mini Matter | 2 | $19.99 | $39.98 |
| Aqara FP2 Presence Sensor | 1 | $89.99 | $89.99 |
| Ecobee SmartThermostat Premium | 1 | $349.99 | $349.99 |
| SmartThings Hub v4 | 1 | $69.99 | $69.99 |
| Cat6 Ethernet Cable (25 ft) | 1 | $12.99 | $12.99 |
| Subtotal | $562.94 |
💡 Cost-Saving Alternative: Swap Ecobee for the Honeywell Home T9 ($179.99) + Honeywell RedLINK Gateway ($79.99) if you already have a compatible HVAC system—saves $160 with minimal feature loss.
Performance Expectations: What “Working” Really Means
Don’t expect sub-second response times across all devices. Latency varies by protocol, vendor, and network health. Here’s what’s realistic:
Smart Home Device Response Latency by Protocol (ms, median values)
Source: SmartHomePerf 2026 Protocol Latency Benchmark, tested across 127 devices in controlled lab conditions (2026-03). Note: Wi-Fi latency spikes dramatically under congestion—always prioritize Thread or Zigbee for time-critical automations (e.g., security alerts).
Next Steps: When to Expand Beyond the Core Three
After 72 hours of stable operation—no missed automations, no device timeouts, no app crashes—you’re ready to scale. Prioritize expansion in this order:
- Add Thread border routers (e.g., Nanoleaf Matter Bridge) to extend low-power, secure mesh coverage.
- Introduce Z-Wave locks or garage controllers—they benefit most from local execution and encrypted S2 security framing.
- Deploy Matter-certified cameras (e.g., Eve Cam) only after verifying your router supports multicast DNS (mDNS) forwarding—required for camera streaming discovery.
Remember: A smart home isn’t finished—it’s curated. Every new device should solve a specific problem, integrate cleanly into existing automations, and pass your personal “3-second rule”: if you can’t trigger or monitor it within 3 seconds of opening your app, revisit naming, grouping, or hub configuration.
Your first smart home isn’t about perfection—it’s about intentionality. You now hold the checklist, the specs, the security guardrails, and the realistic expectations to build something that lasts.