Why Your Smart Hub and Network Are the Foundation
When embarking on a smart home installation, the excitement of unboxing new gadgets often overshadows the most critical step: building a robust foundation. A smart home is only as reliable as the network that connects it and the hub that commands it. Without a dedicated smart home hub and a properly configured mesh Wi-Fi network, you will inevitably face dropped connections, delayed automation routines, and frustrating offline devices.
This comprehensive guide walks you through the essential steps of selecting, installing, and configuring your smart home hub and network infrastructure. Whether you are retrofitting a single room or wiring a whole-home automation system, understanding the interplay between protocols like Zigbee, Z-Wave, Thread, and Wi-Fi is paramount for long-term success.
Choosing the Right Smart Hub for Your Ecosystem
The smart hub acts as the brain of your installation, translating commands from your phone or voice assistant into the specific radio frequencies your devices understand. While many modern devices connect directly to Wi-Fi, relying solely on your router for dozens of smart bulbs, sensors, and switches will quickly overwhelm its processing capacity and degrade your internet speeds.
When selecting a hub, you must consider protocol compatibility, local processing capabilities, and ecosystem lock-in. The recent rollout of the Matter standard by the Connectivity Standards Alliance has begun to unify the industry, but legacy devices still heavily rely on Zigbee and Z-Wave. A multi-protocol hub ensures you are not left behind as the industry transitions.
Top Hub Contenders for DIY Installers
| Hub Model | Supported Protocols | Local Processing | Estimated Cost | Best For |
|---|---|---|---|---|
| Homey Pro (2023) | Zigbee, Z-Wave, Thread, Matter, Wi-Fi, BLE, IR | Yes (Cloud backup optional) | $399 | Cross-ecosystem power users |
| Hubitat Elevation C-8 | Zigbee 3.0, Z-Wave 800, Matter, LAN | Yes (100% Local) | $149 | Privacy-focused automation nerds |
| Apple TV 4K (3rd Gen) | Thread, Matter, Wi-Fi, BLE | Yes (HomeKit Secure Video) | $129 - $149 | Apple HomeKit & Thread networks |
| Amazon Echo (4th Gen) | Zigbee 3.0, Matter, Wi-Fi, BLE | Partial (Sidewalk/Cloud dependent) | $99 | Budget Alexa-centric setups |
Step-by-Step Smart Hub Installation
Physical placement of your smart home hub is just as important as its software configuration. Radio frequency (RF) signals are susceptible to interference from physical obstructions and competing electronic devices.
1. Optimal Physical Placement
Place your hub in a central, elevated location within your home. Avoid placing it inside metal enclosures, behind large aquariums, or near microwaves and cordless phone bases, which operate on the congested 2.4GHz spectrum and can severely degrade Zigbee and Wi-Fi signals. If your hub features an Ethernet port, hardwire it directly to your primary router or a network switch. This frees up Wi-Fi bandwidth and ensures lightning-fast command execution.
2. Initial Network Configuration
Connect the hub to power and your network. Download the manufacturer's companion app and create an account. During the setup phase, assign a static IP address to your hub via your router's DHCP reservation settings. This prevents the hub's IP address from changing during a router reboot, which can break local API integrations with platforms like Home Assistant or advanced automation scripts.
3. Firmware and Protocol Updates
Before pairing a single device, ensure the hub's firmware is fully updated. For hubs with dedicated Zigbee and Z-Wave antennas, the radio firmware is often updated separately from the main OS. Allow the hub to sit idle for 15-20 minutes after the initial setup to download the latest device handlers and security patches.
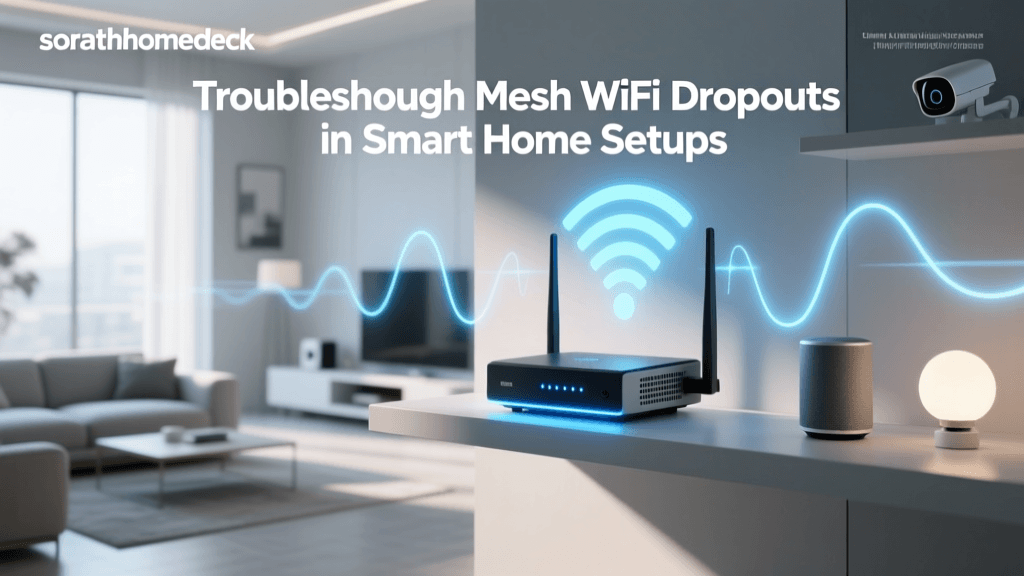
Upgrading to a Mesh Wi-Fi Network for Smart Homes
Standard ISP-provided routers are typically designed to handle 20 to 30 devices. A modern smart home can easily exceed 100 connected devices, including smart plugs, bulbs, thermostats, and security cameras. When the device limit is breached, the router drops connections, leading to 'unresponsive' devices in your smart home app.
Upgrading to a Mesh Wi-Fi system distributes the network load across multiple nodes, eliminating dead zones and providing seamless roaming. Systems like the Eero Pro 6E or TP-Link Deco XE75 utilize dedicated backhaul bands to communicate with each other, ensuring that your smart devices maintain a strong connection regardless of which node they are closest to.
Node Placement and Backhaul Strategy
For the best performance, place mesh nodes no more than two rooms apart. Avoid daisy-chaining nodes (Node A -> Node B -> Node C); instead, connect them in a star topology to the primary router. If your home is wired with Ethernet, utilize wired backhaul by connecting each mesh node via Cat6 Ethernet cables. This dedicates 100% of the Wi-Fi spectrum to your smart devices and mobile phones, drastically reducing latency.
Network Segmentation: Protecting Your IoT Devices
Security is a paramount concern in smart home installations. IoT devices are notoriously vulnerable to exploitation because they rarely receive long-term security updates and often lack robust encryption. If a malicious actor compromises a cheap smart plug, they could potentially pivot to your personal computers or NAS drives on the same network.
To mitigate this risk, the CISA IoT Security Guidelines strongly recommend network segmentation. You can achieve this in two primary ways:
1. The Guest Network Method (Beginner)
Most consumer mesh routers (like Google Nest Wi-Fi or Eero) allow you to create a 'Guest Network.' Enable this feature, connect all your IoT devices to the Guest Network, and ensure the 'Allow devices on Guest Network to communicate with each other' setting is toggled OFF if your devices don't require local LAN control. Keep your phones, laptops, and smart hubs on the primary network.
2. VLAN Configuration (Advanced)
For prosumers using Ubiquiti UniFi, TP-Link Omada, or pfSense routers, creating a dedicated IoT VLAN (Virtual Local Area Network) is the gold standard. Create an 'IoT VLAN' (e.g., VLAN 20) and configure your router's firewall to block all traffic originating from VLAN 20 to your primary 'Trusted VLAN' (VLAN 10), while allowing established/related return traffic. This ensures your smart devices can reach the internet for cloud features but cannot initiate connections to your personal data.
Adding Your First Devices to the Hub
With your hub and network configured, it is time to pair your devices. A methodical approach to pairing will save you hours of troubleshooting later.
Batch Pairing and Naming Conventions
Do not pair devices randomly. Work room by room. Install all the physical hardware in a single room, then use your hub's app to scan for new devices. As each device is discovered, immediately assign it a logical name and room. Use a consistent naming convention such as '[Room] [Device Type] [Location]' (e.g., 'Kitchen Light Over Sink', 'Living Room Sensor Motion'). This naming structure is crucial when building voice assistant routines or writing automation logic, as it makes devices easily searchable.
Understanding Mesh Routing for Zigbee and Thread
Unlike Wi-Fi, Zigbee and Thread create their own independent mesh networks. Mains-powered devices (like smart plugs and hardwired light switches) act as 'routers' or 'repeaters,' extending the range of the network. Battery-powered devices (like door sensors and motion detectors) are 'end devices' that must connect to a router or the hub. When installing devices, always pair mains-powered repeaters first, starting from the hub and working outward to the edges of your home. Pair battery-powered sensors last, ensuring they have a strong mesh signal to latch onto.
Troubleshooting Common Hub and Network Issues
Even the most meticulously planned installations encounter hiccups. Here is how to diagnose and resolve the most common smart home setup issues.
Issue: Zigbee Devices Keep Dropping Offline
Cause: 2.4GHz Wi-Fi interference. Zigbee and Wi-Fi both operate on the 2.4GHz band. If your Wi-Fi router is broadcasting on Wi-Fi channels that overlap with your Zigbee hub's channel, the signals will collide.
Solution: Log into your Wi-Fi router and lock the 2.4GHz band to Channel 1, 6, or 11. Then, check your smart hub's settings to see which Zigbee channel it is using. Ideally, if Wi-Fi is on Channel 1, Zigbee should be on Channel 15 or 20. If Wi-Fi is on Channel 11, Zigbee should be on Channel 25. Furthermore, ensure you have enough Zigbee repeaters (smart plugs) distributed throughout the home to strengthen the mesh routing paths.
Issue: Mesh Wi-Fi Nodes Frequently Disconnect
Cause: Wireless backhaul congestion or physical obstructions like brick walls or large metal appliances blocking the line-of-sight between nodes.
Solution: Relocate the disconnected node closer to the primary router or an intermediate node. If your home's construction features heavy materials like concrete or plaster with metal lath, wireless mesh will struggle. In these scenarios, you must utilize MoCA (Multimedia over Coax Alliance) adapters or run Cat6 Ethernet to provide a wired backhaul connection. The Wi-Fi Alliance EasyMesh certification ensures that nodes from different manufacturers can communicate efficiently, but physical barriers still dictate signal propagation.
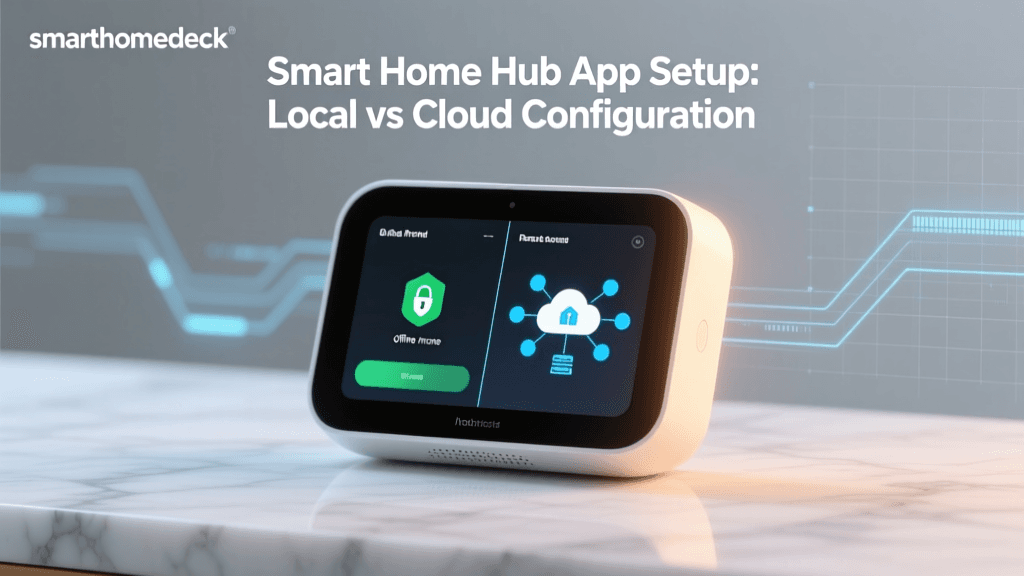
Issue: Automations Trigger with High Latency
Cause: Cloud-dependent processing. If your hub relies on cloud servers to process a 'When motion detected, turn on light' routine, any internet latency will delay the action.
Solution: Audit your automation rules. Ensure that both the trigger device (e.g., motion sensor) and the action device (e.g., smart bulb) are connected to the same local hub (like Hubitat or Homey) rather than relying on cross-platform cloud integrations (like linking a Ring sensor to a Philips Hue bulb via IFTTT). Local processing executes in milliseconds, providing the instant response users expect from a premium smart home.
Conclusion: Building for the Future
Setting up a smart home hub and mesh network is an investment in your home's digital infrastructure. By prioritizing local control, segmenting your network for security, and understanding the physics of RF mesh routing, you create a resilient system that can scale with your needs. As you expand from a few smart bulbs to comprehensive whole-home automation, this robust foundation will ensure your home remains responsive, secure, and genuinely smart for years to come.