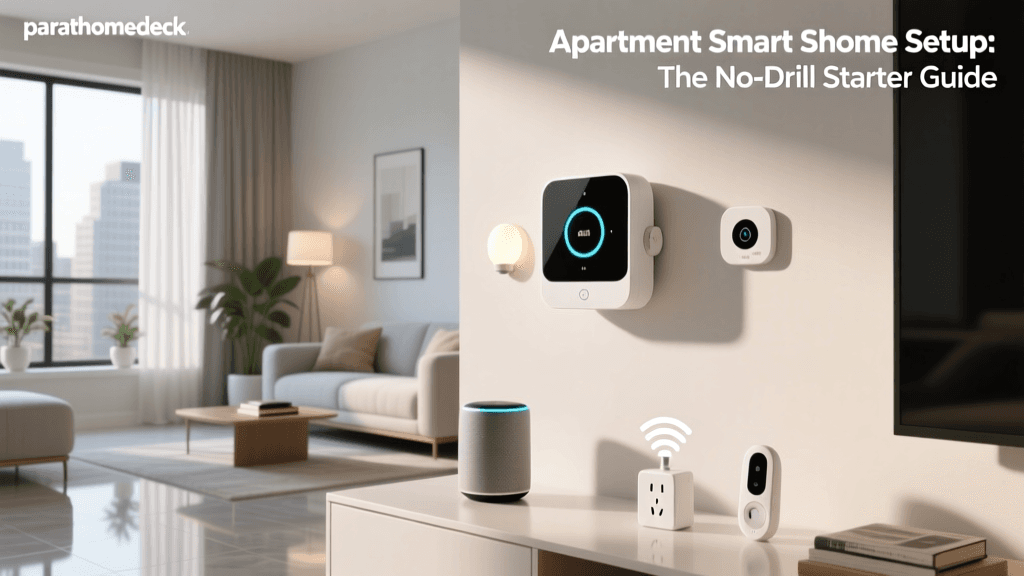
The Renter’s Dilemma: Smart Tech Without Losing Your Deposit
Setting up a smart home in a rental property or apartment presents a unique set of challenges. Unlike homeowners, renters must navigate strict lease agreements that typically prohibit drilling into drywall, replacing hardwired fixtures, or altering exterior-facing hardware. However, the rise of non-destructive, battery-powered, and retrofit smart home devices has made it entirely possible to build a robust, automated living space without risking your security deposit.
This comprehensive guide will walk you through the best renter-friendly installation methods for lighting, security, smart locks, and climate control. We will focus on damage-free mounting techniques, network optimization for shared apartment buildings, and the crucial move-out reversal process.
Damage-Free Smart Lighting Installation
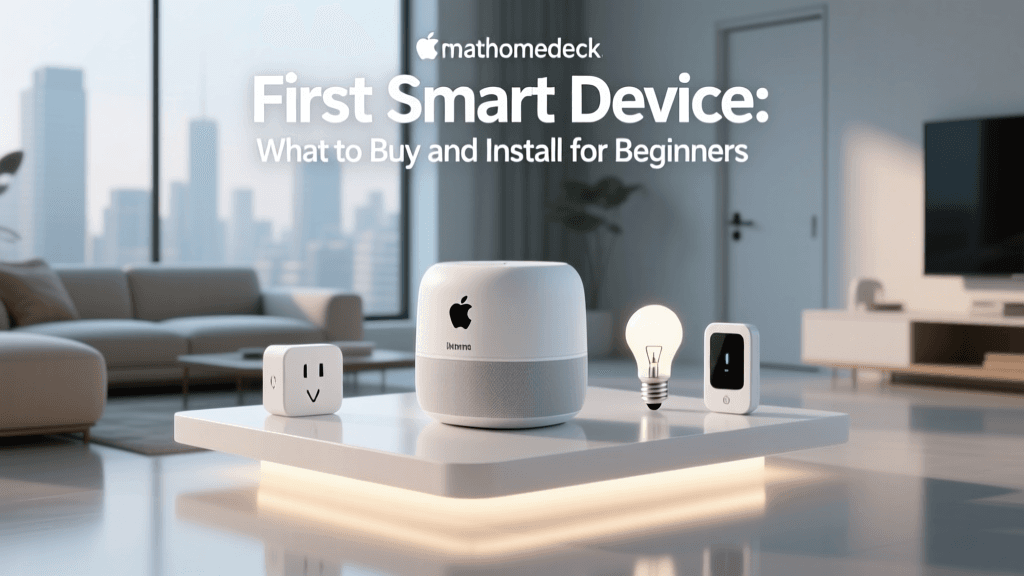
Hardwired smart switches require neutral wires, proper grounding, and permanent alterations to your wall boxes—making them a poor choice for most rentals. Instead, renters should focus on smart bulbs, smart plugs, and adhesive LED light strips.
Smart Bulbs and Plugs
For overhead fixtures and lamps, smart bulbs like the Philips Hue White and Color Ambiance or the budget-friendly Wyze Bulb Color are ideal. They screw directly into existing sockets and connect via Wi-Fi or a dedicated hub. For dumb lamps, smart plugs (such as the Kasa Smart Plug Mini) allow you to schedule lighting or trigger them via voice assistants without touching the lamp's internal wiring.
Adhesive LED Light Strips: The 3M Tape Challenge
LED light strips from brands like Govee or Philips Hue are fantastic for adding ambient under-cabinet or behind-TV lighting. However, the 3M VHB (Very High Bond) tape used on the back of these strips is notorious for peeling paint and drywall paper upon removal. To install them safely:
- Clean the surface: Wipe the mounting area with isopropyl alcohol and let it dry completely.
- Use an intermediary layer: Apply painter's tape or clear packing tape to the wall first, then apply the LED strip's adhesive to the tape. Alternatively, use 3M Command Strip hooks or specialized adhesive mounting clips designed for LED strips.
- Heat during removal: When it is time to move, use a hairdryer on medium heat to soften the adhesive before slowly peeling it back at a 45-degree angle.
No-Drill Security and Camera Setups
Security is a top priority, but mounting cameras to the exterior of an apartment building or drilling into interior walls is usually forbidden. Fortunately, the market offers several no-drill alternatives.
The Video Doorbell Workaround
If you live in an apartment, you likely cannot replace the main entry doorbell. The Ring Peephole Cam is a brilliant solution. It replaces the existing optical peephole on your door without requiring any drilling or wiring. The interior battery pack simply plugs into the back of the camera through the peephole sleeve, providing 1080p video, two-way talk, and motion zones.
Indoor and Balcony Cameras
For indoor monitoring or covered balcony security, battery-powered cameras like the Blink Outdoor or Ring Stick Up Cam Battery are excellent. Instead of using the included screw-in wall mounts, utilize adhesive camera mounts or tension-rod window mounts. Brands like Wasserstein make specialized, damage-free adhesive mounts specifically rated for the weight of popular smart cameras. Always ensure the surface is smooth, non-porous, and clean before applying adhesive mounts to glass or tile.
Smart Locks That Won't Void Your Lease
Exterior-facing hardware is strictly regulated by landlords and building management. Replacing your entire deadbolt is usually a violation of your lease and a fire code hazard. The solution is a retrofit smart lock.
Devices like the August Wi-Fi Smart Lock or the Yale Approach Retrofit install exclusively on the interior side of your door. They replace the existing thumb-turn while leaving the exterior deadbolt and keyhole completely untouched. This means your landlord's master key will still work, and the building's exterior aesthetic remains unchanged.
Installation Steps for Retrofit Locks:
- Remove the interior thumb-turn using a Phillips head screwdriver.
- Attach the smart lock's mounting plate using the existing screws.
- Align the smart lock's motor with the deadbolt tailpiece.
- Secure the smart lock to the mounting plate (usually via magnetic or twist-lock mechanisms).
- Calibrate the lock via the companion app to ensure it recognizes the locked and unlocked positions.
Pro Tip: Before purchasing a retrofit lock, ensure your deadbolt tailpiece has a flat edge or a specific shape compatible with the lock's adapter kit, and verify that you have at least 1.5 inches of clearance between the thumb-turn and any nearby window panes or alarm panels.
Climate Control for Renters
Most apartments rely on centralized HVAC systems or older, wall-mounted thermostats that landlords are hesitant to replace. While the U.S. Department of Energy notes that smart thermostats can significantly reduce energy consumption and lower utility bills, installing a Nest or Ecobee often requires a C-wire and landlord permission.
If you have a window AC unit or a portable split-system, a smart AC controller like the Sensibo Sky or Mysa Smart Thermostat for AC is the perfect workaround. These devices use infrared (IR) signals to mimic your AC's remote control, allowing you to schedule cooling, set geofencing triggers, and monitor temperature via your smartphone. For electric space heaters, a heavy-duty smart plug rated for 15A (like the Kasa Smart Plug with Energy Monitoring) can provide automated scheduling and safety shut-offs.
Network and Hub Configuration in Shared Buildings
Apartment buildings are notorious for Wi-Fi congestion. Dozens of overlapping networks can cause severe interference on the 2.4GHz band, leading to dropped connections for your smart bulbs and cameras.
Optimizing Your Network
To ensure a stable smart home in a dense living environment, avoid relying solely on Wi-Fi for every device. Instead, invest in a Zigbee or Thread/Matter hub, such as the Aeotec Smart Home Hub or the Amazon Echo (4th Gen) which has a built-in Zigbee radio. These protocols create a separate, low-interference mesh network for your sensors, locks, and lights, reserving your Wi-Fi bandwidth for high-data devices like security cameras.
Furthermore, security is paramount in shared living spaces. The Federal Trade Commission (FTC) strongly advises securing IoT devices by changing default passwords and keeping firmware updated. In a multi-tenant building, ensure your router's guest network is enabled for smart devices, isolating them from your personal computers and smartphones to prevent lateral network attacks from compromised neighboring networks. For more advanced security protocols, the Cybersecurity and Infrastructure Security Agency (CISA) provides excellent guidelines on securing home IoT ecosystems against external vulnerabilities.
Renter-Friendly Device Comparison
| Device Category | Recommended Product | Installation Method | Avg. Cost | Lease Compliance |
|---|---|---|---|---|
| Smart Lighting | Philips Hue White & Color | Screw-in / Smart Plug | $50 - $200 | 100% Compliant |
| Video Doorbell | Ring Peephole Cam | Peephole Replacement | $199 | Usually Compliant |
| Smart Lock | August Wi-Fi Smart Lock | Interior Retrofit | $229 | 100% Compliant |
| Climate Control | Sensibo Sky AC Controller | IR Blaster (Freestanding) | $119 | 100% Compliant |
| Security Camera | Blink Indoor (Gen 4) | Adhesive Mount / Shelf | $79 | 100% Compliant |
Visualizing the Cost of a Renter-Friendly Smart Home
One of the major advantages of a renter-friendly setup is the lower upfront cost. Because you are avoiding hardwired installations, electrical panel upgrades, and professional contractor fees, the barrier to entry is significantly reduced. Below is a comparison of average upfront costs between a standard homeowner installation and a renter-friendly setup.
Average Upfront Costs: Renter vs Homeowner Smart Setups
The Move-Out Protocol: Reversing Your Setup
The ultimate test of a renter-friendly smart home is how cleanly it can be dismantled. Failing to properly remove devices can result in deductions from your security deposit for paint touch-ups or hardware replacement.
The Dental Floss Trick for Adhesive Removal
If you used heavy-duty adhesive strips for cameras or LED mounts, never pull them directly off the wall. Instead, take a piece of unflavored dental floss or fishing line, wrap it around your fingers, and use a sawing motion behind the mount to slice through the foam tape. Once the mount is off, roll the remaining adhesive residue with your thumb or use a citrus-based adhesive remover (test on a hidden area first) to wipe the wall clean.
Device Reset and Data Privacy
Before packing up, perform a factory reset on all devices. This is especially critical for smart locks and cameras. Remove your devices from your cloud accounts (e.g., Ring, August, Hue) to ensure the next tenant cannot accidentally access your network or data. Finally, keep all original screws, thumb-turns, and mounting plates in a labeled Ziploc bag taped to the back of the device itself. When reinstalling your original dumb hardware, use the original screws to avoid stripping the door's hinge or deadbolt holes.
By choosing retrofit hardware, utilizing non-destructive mounting techniques, and optimizing your network for high-density living, you can enjoy the full benefits of a modern smart home while keeping your landlord happy and your security deposit fully intact.