The Renter's Dilemma: Security vs. Security Deposit
Living in an apartment or rental property often means compromising on security. Traditional smart home installations require drilling holes for hardwired cameras, replacing existing door hardware, and running cables through walls—actions that can instantly void your lease or cost you your entire security deposit. However, the rise of non-destructive, renter-friendly smart home technology has completely changed the landscape. Today, you can build a comprehensive, whole-home security ecosystem without picking up a single power tool.
According to Wirecutter's top security system picks, modern wireless sensors and retrofit locks now rival hardwired systems in reliability and response time. This guide will walk you through the exact products, network configurations, and installation techniques required to secure your apartment while keeping your landlord happy and your walls pristine.
Core Components of a No-Drill Security System
To build a robust security perimeter in a rental, you need three main components: access control, visual monitoring, and perimeter breach detection. Here is how to achieve each without causing property damage.
1. Retrofit Smart Locks
Most landlords forbid the removal of existing deadbolts because it compromises the master key system and fire safety compliance. The solution is a retrofit smart lock. Devices like the August Wi-Fi Smart Lock (approx. $230) or the SwitchBot Lock Pro (approx. $150) install entirely on the inside of your door. They replace only the interior thumb-turn, leaving the exterior lock and your landlord's keys completely untouched.
The SwitchBot Lock Pro is particularly notable for renters because it uses a high-strength 3M VHB adhesive plate combined with a mechanical clamp, requiring zero screws. It also supports the Matter protocol, ensuring future-proof compatibility with Apple Home, Alexa, and Google Home.
2. Peel-and-Stick Cameras
Drilling holes for security cameras is a major lease violation. Instead, utilize compact cameras mounted via heavy-duty adhesive strips. The Wyze Cam v3 (approx. $50) and the Blink Mini (approx. $40) are lightweight, indoor-friendly options that can be mounted using 3M Command Strips or Nano-suction tape. For outdoor balcony monitoring, the Ring Stick Up Cam Battery can be secured to railings using no-drill zip-tie mounts or tension pole mounts that wedge between the floor and ceiling.
3. Door and Window Sensors
Contact sensors are the backbone of apartment security. The Aqara Door and Window Sensor P2 (approx. $30) utilizes Thread/Matter connectivity and features a slim profile that adheres to door frames using pre-applied double-sided tape. Because they are battery-operated and wireless, you can place them on sliding glass doors, bedroom windows, and even refrigerator doors to monitor for unauthorized access or left-open hazards.
Product Comparison Matrix
| Device Category | Recommended Product | Est. Cost | Mounting Method | Hub Required? |
|---|---|---|---|---|
| Retrofit Lock | SwitchBot Lock Pro | $150 | 3M VHB Tape + Clamp | No (Wi-Fi/BLE) |
| Indoor Camera | Wyze Cam v3 | $50 | Command Strips / Base | No (Wi-Fi) |
| Balcony Camera | Ring Stick Up Cam (Battery) | $100 | No-Drill Rail Mount | No (Wi-Fi) |
| Contact Sensor | Aqara Sensor P2 | $30 | Adhesive Tape | Yes (Thread Border Router) |
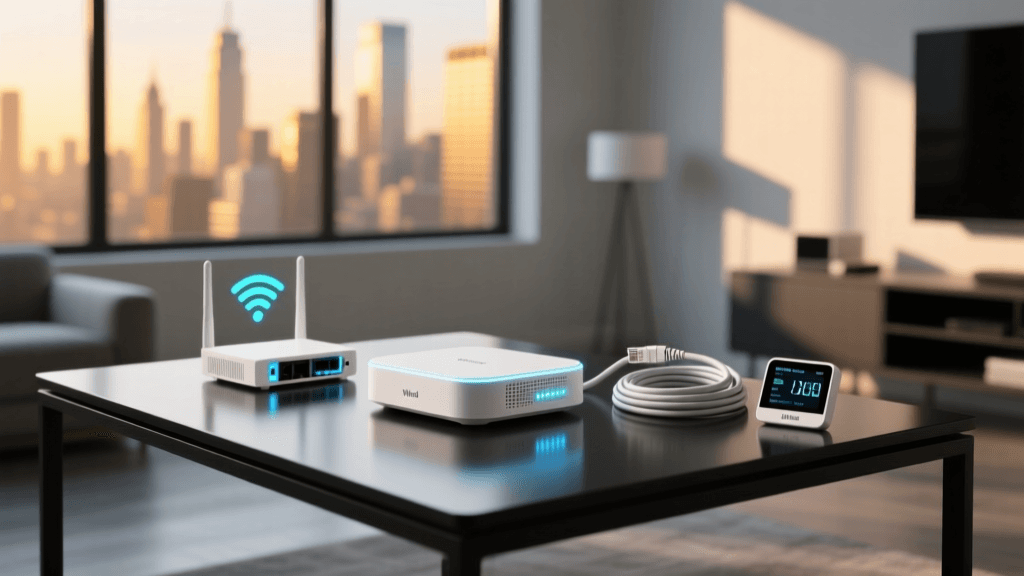
Overcoming Apartment Network Hurdles
One of the most overlooked aspects of apartment smart home setup is network congestion. Multi-family dwellings are notorious for overlapping Wi-Fi channels, especially on the 2.4GHz band, which is required by 90% of smart home devices. Furthermore, some luxury apartment complexes use "managed Wi-Fi" with captive portals (a web page login), which smart home devices cannot navigate.
The Travel Router Trick
If your apartment uses a captive portal or blocks IoT device communication via client isolation, purchase a travel router like the GL.iNet GL-AXT1800 (Slate AX). You connect this router to the apartment's Wi-Fi or ethernet port, log into the captive portal once using your phone, and the router creates a private, isolated local network (SSID) for all your smart devices. This bypasses apartment network restrictions and ensures your cameras and locks never drop offline due to neighbor interference.
Why Thread and Zigbee Matter in Apartments
As highlighted in CNET's comprehensive smart lock and security guide, relying entirely on Wi-Fi for smart home devices in an apartment is a recipe for dropped connections. By choosing Thread-enabled devices (like the Aqara P2 sensors) or Zigbee devices, you offload traffic from your congested Wi-Fi router. These protocols create a low-power mesh network that operates independently of your primary internet bandwidth, ensuring that if your apartment's Wi-Fi drops, your local automations (like a motion sensor triggering a smart bulb) still function perfectly.
Visualizing the Cost Savings
Traditional security systems often come with hidden costs that penalize renters. Below is a visualization comparing the average first-year costs of a traditional wired apartment security system versus a renter-friendly DIY setup.
Bar chart comparing first-year costs of traditional vs DIY renter security systems
Step-by-Step No-Drill Installation Workflow
Proper installation of adhesive-mounted devices is critical. If you skip surface preparation, your camera will end up on the floor in the middle of the night. Follow this exact workflow for every peel-and-stick device in your apartment.
Step 1: Surface Preparation
Never apply adhesive directly to dusty or freshly painted walls. Clean the mounting area with isopropyl alcohol (70% or higher) and a microfiber cloth. This removes oils, dust, and residue. Allow the surface to dry completely for at least five minutes.
Step 2: The 24-Hour Cure Rule
The biggest mistake renters make is applying a Command Strip and immediately attaching the camera. Adhesives require time to bond with the microscopic pores of the wall paint. Apply the adhesive strip to the wall, press firmly for 30 seconds, and wait a full 24 hours before attaching the device or applying any weight to the mount.
Step 3: Calibrating Retrofit Locks
When installing a SwitchBot or August lock, ensure your door is properly aligned before calibration. If you have to lift or push your door hard to get the deadbolt to engage, the smart lock's motor will burn out trying to force the bolt. Adjust your door hinges or strike plate slightly (using existing screws) to ensure the bolt slides in with zero friction before initiating the smart lock's auto-calibration sequence.
Automations for Apartment Living
Once your hardware is installed, the real magic happens in the software. Because you cannot hardwire doorbells or outdoor floodlights, you must rely on battery-powered triggers and smart plugs.
- The Fake TV Deterrent: Use a smart plug (like the Kasa EP25) connected to a lamp or a specialized "FakeTV" light. Set an automation to turn it on at random intervals between 8 PM and 11 PM when your phone's GPS shows you are away from the apartment.
- Balcony Breach Alert: Pair a battery-powered motion sensor on your balcony with your indoor smart lights. If motion is detected outside after midnight, set your indoor Philips Hue or Govee lights to flash red, acting as a visual alarm that startles intruders without triggering a building-wide noise complaint.
- Leak Detection: Apartments above you are a flood risk. Place a $15 smart water leak sensor (like the YoLink or Aqara Water Sensor) under your kitchen sink and behind your toilet. Connect it to an automation that sends a critical alert to your phone and triggers a smart water shut-off valve if your plumbing allows for it.
The Move-Out Protocol: Reversing Your Setup
When your lease ends, removing your smart home setup must be done carefully to avoid drywall damage. Never simply yank a camera or sensor off the wall, as this will peel the paint and drywall paper, guaranteeing a deduction from your security deposit.
The Dental Floss and Heat Method
To safely remove heavy adhesive mounts (like those used for the SwitchBot Lock or camera wall mounts):
- Use a hair dryer on a medium heat setting to warm the adhesive area for 60 seconds. This softens the chemical bond of the VHB tape.
- Take a piece of strong dental floss or fishing line, wrap it around your fingers, and slide it behind the mount.
- Use a gentle sawing motion to slice through the foam core of the adhesive tape.
- Once the device is removed, roll the remaining adhesive residue off the wall using your thumb and a citrus-based adhesive remover (like Goo Gone). Apply the remover to a cloth first, never directly to the wall, to prevent staining the paint.
Final Thoughts on Renter Security
Securing a rental property no longer requires a degree in electrical engineering or a willingness to sacrifice your security deposit. By leveraging retrofit hardware, Thread-based mesh networks, and proper adhesive curing techniques, you can build a security system that is entirely portable. When it is time to move to your next apartment or starter home, your entire security ecosystem can be packed into a single box and reinstalled in your new space in under an hour. For further reading on optimizing your network for smart devices, CNET's guide to securing smart home networks offers excellent tips on firewall rules and VLANs that advanced renters can implement on their own routers.