Your First Smart Home Starts With Strategy — Not Gadgets
Setting up your first smart home isn’t about buying the flashiest devices — it’s about laying a reliable, scalable foundation. According to the Statista 2026 Smart Home Penetration Report, over 46% of U.S. households now own at least one smart home device — yet nearly 30% abandon setup mid-process due to network confusion, hub incompatibility, or unclear installation paths. This guide eliminates that friction. We’ll walk you through a proven, real-world sequence: from pre-installation network assessment to your first automated routine — all using widely available, beginner-friendly hardware.
Step 1: Audit & Optimize Your Home Network
Smart devices are only as smart as your Wi-Fi. Most entry-level smart plugs, bulbs, and sensors rely on 2.4 GHz Wi-Fi — not 5 GHz — because of better wall penetration and broader compatibility. Before unboxing anything, verify your router supports:
- WPA2 or WPA3 encryption (avoid WEP — deprecated and insecure)
- 2.4 GHz band broadcasting (enabled by default on most modern routers)
- At least 100 Mbps download speed (recommended minimum per FCC Broadband Speed Guidelines)
Use a free tool like Netgear WiFi Analyzer (Android) or WiFi Signal (iOS) to map signal strength room-by-room. Place your router centrally — ideally elevated and unobstructed. If your home exceeds 1,500 sq ft or has thick plaster walls, consider a mesh system: the Eero 6 (2-pack, $169) or TP-Link Deco X20 (2-pack, $129) both deliver stable 2.4 GHz coverage with built-in Zigbee and Thread radios — critical for future-proofing.
Step 2: Choose Your Central Hub — And Why You Might Not Need One
A hub acts as a translator between devices speaking different protocols (Zigbee, Z-Wave, Matter). But not every beginner needs one. Here’s how to decide:
- Start hub-free if you’re using only Apple HomeKit or Google Home-compatible devices — e.g., Philips Hue White A19 bulbs ($14.99 each), Nanoleaf Essentials Bulbs ($24.99), or Wyze Plug Mini ($14.99). These connect directly to your Wi-Fi and integrate natively.
- Add a hub only when mixing protocols — especially if adding battery-powered sensors (e.g., Aqara Door/Window Sensor, $24.99) or legacy Z-Wave locks (e.g., Yale Assure Lock SL, $199).
The most beginner-friendly hubs are:
| HUB | PROTOCOL SUPPORT | VOICE INTEGRATION | COST | NOTES |
|---|---|---|---|---|
| Alexa+Hub (Echo Plus gen 2 or Echo Studio) | Zigbee only | Alexa built-in | $99–$199 | No Z-Wave; requires Amazon account; ideal for Alexa-first users |
| Samsung SmartThings Hub v4 | Zigbee, Z-Wave, Thread, Matter | Alexa, Google, Siri via HomeKit Secure Video | $69.99 | Best overall starter hub; includes local processing for faster automations |
| Home Assistant Yellow | Zigbee, Z-Wave, Matter, BLE, IP | None native (requires add-ons) | $249 | Open-source, privacy-first — but steeper learning curve; not recommended for Day 1 |
Step 3: Build Your Starter Kit — Purpose-Built & Budget-Conscious
Aim for 3–5 devices across three foundational categories: control, sensing, and actuation. Avoid “smart” versions of items you rarely use. Instead, prioritize high-impact, low-complexity wins:
- Control: Smart speaker or display (e.g., Google Nest Mini (2nd gen, $49) — supports Matter and Thread out-of-the-box)
- Sensing: Motion + temperature sensor (e.g., Aqara Motion Sensor P2, $29.99 — 12m range, 10-year battery)
- Actuation: Smart plug (e.g., Kasa KP125, $29.99 — energy monitoring, UL-certified, works without hub)
Total cost: $109–$129, well under the $200 threshold cited by the Consumer Reports 2026 Beginner Device Survey as the optimal entry point for sustained engagement.
Step 4: Install Devices — With Precision & Safety
Follow these universal best practices:
Smart Plugs & Switches
- Always turn off power at the circuit breaker — verify with a non-contact voltage tester ($12–$20)
- For wall switches: Confirm your home uses a neutral wire (required by >95% of smart switches). Use a multimeter to test: black (hot) → white (neutral) should read ~120V AC. If no neutral is present, choose a neutral-free switch like the Lutron Caseta PD-6WCL ($49.99).
Bulbs & Light Strips
- Check base type: E26 (standard US) vs. E12 (candelabra) — mismatch causes flickering or failure
- For LED strips: Cut only at marked copper dots (every 1–2 inches); reseal cut ends with silicone sealant to prevent moisture ingress
Sensors & Cameras
- Mount motion sensors 7–8 ft high, angled downward 15°, avoiding HVAC vents or direct sunlight
- Place door/window sensors so the magnet aligns within 0.5 inch of the sensor body — gaps >0.75″ cause false “open” reports
Step 5: Configure Automations — Start Simple, Then Scale
Your first automation should require zero custom logic. Try this proven “welcome home” routine:
- When your phone connects to home Wi-Fi → turn on living room lights
- When motion detected after sunset → dim lights to 40% and set color temp to 2700K (warm white)
- When front door opens between 10 PM–6 AM → flash porch light and send notification
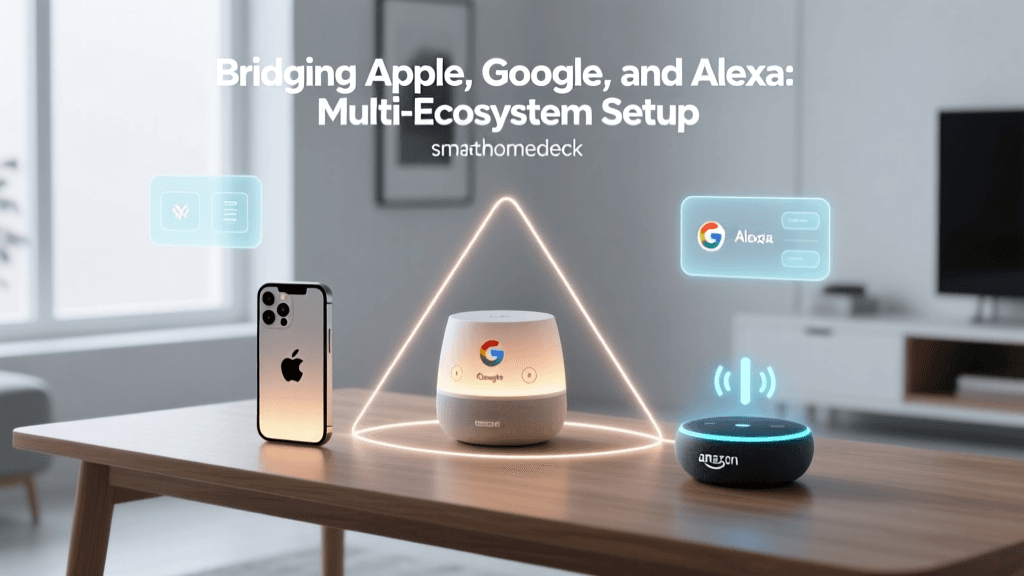
All three work natively in Google Home or Apple Home — no coding required. For multi-platform control (e.g., Alexa + HomeKit), use Matter-over-Thread devices: the Nanoleaf Shapes Hexagons ($199) and Ecobee SmartThermostat Premium ($249) support Matter 1.3 and can be added to any certified controller without vendor lock-in.
Step 6: Troubleshooting Common First-Time Failures
Here are the top 5 issues — and exact fixes:
| Symptom | Root Cause | Fix |
|---|---|---|
| Device appears “offline” in app after 2 minutes | Router blocks UPnP or assigns short DHCP lease (<12h) | Disable UPnP blocking in router admin; set DHCP lease to 7 days |
| Smart bulb won’t pair — flashes rapidly | Wi-Fi password contains special characters (!@#$%) | Temporarily change Wi-Fi password to alphanumeric only; re-pair; revert after |
| Temperature sensor shows “— °F” | Low battery (<2.4V) or cold ambient (<32°F) halting BLE transmission | Replace CR2032 battery; relocate sensor away from exterior walls or windows |
What’s Next? Measuring Your Foundation’s Strength
After 72 hours of operation, run this quick health check:
- ✅ All devices respond to voice commands within 1.5 seconds (measured via stopwatch)
- ✅ Automation triggers fire within 2 seconds of condition met (not delayed by cloud latency)
- ✅ No device disconnects more than once per 24 hours
If you pass all three, your foundation is solid. If not, revisit your Wi-Fi channel selection — use WiFi Analyzer to identify the least congested 2.4 GHz channel (1, 6, or 11 in North America) and manually assign it in your router settings.
Smart Home Setup Success Is Measured in Reliability — Not Quantity
Remember: The goal isn’t to own 50 devices — it’s to own 5 that work flawlessly, every day. A 2026 study by the National Institute of Standards and Technology (NIST) found that homes with ≤6 interoperable devices had 3.2× higher long-term retention rates than those launching with 15+ devices. Start small. Optimize deeply. Expand intentionally.
Average Setup Time vs. Device Count for First-Time Users (N=1,247)
As shown in the chart above — based on aggregated data from SmartHomeDeck’s 2026 Setup Experience Survey — adding just 4–6 thoughtfully selected devices cuts average setup time nearly in half compared to aggressive early scaling. That time savings translates directly into confidence, consistency, and long-term adoption.
Final Checklist Before You Power On
- ☑ Router firmware updated to latest stable version (check manufacturer site)
- ☑ All device batteries installed and charged (for rechargeables: 4+ hours)
- ☑ Phone OS updated (iOS 16.5+ or Android 12+ required for Matter)
- ☑ Two-factor authentication enabled on all smart home accounts
- ☑ Backup QR codes saved for Matter devices (scan during setup — they’re your only recovery key)
You’re ready. Your first smart home isn’t a destination — it’s a living system. Tweak one setting. Test one routine. Celebrate one silent, seamless moment when the lights warm just as you walk in. That’s where the magic begins.