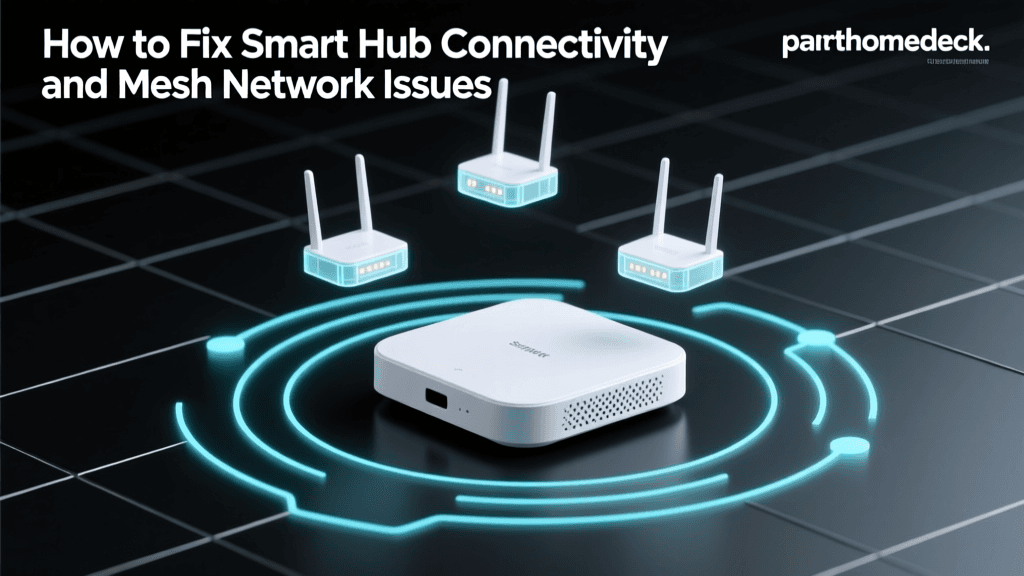
The Foundation of a Reliable Smart Home
Setting up a smart home without a central hub is like building a house without a foundation. While Wi-Fi-enabled devices and cloud-dependent ecosystems offer a quick entry point into home automation, they quickly lead to network congestion, delayed response times, and privacy concerns. A dedicated central smart home hub processes logic locally, ensuring your automations run instantly—even if your internet connection goes down. Whether you are outfitting a single apartment or wiring a multi-story home, mastering the installation and configuration of a central hub is the most critical step in your smart home journey.
In this comprehensive, step-by-step guide, we will walk through the physical installation, network isolation, mesh building, and automation configuration required to deploy a robust smart home hub. We will focus on local-first processing hubs that support industry-standard protocols like Zigbee, Z-Wave, and the emerging Connectivity Standards Alliance (CSA) Matter Protocol, ensuring your setup is both future-proof and highly responsive.
Step 1: Selecting Your Central Hub Hardware
Before running cables or configuring networks, you must choose the right hardware for your specific needs. The market is currently dominated by a few key players that prioritize local execution over cloud reliance. Your choice will dictate which protocols you can use natively and how complex your automation logic can become.
- Home Assistant Green: The premier choice for DIY enthusiasts who want maximum customization. It runs the open-source Home Assistant OS and requires a separate USB dongle for Zigbee/Z-Wave, but offers unparalleled integration capabilities.
- Hubitat Elevation C-8: A powerhouse for local processing with built-in Zigbee 3.0 and Z-Wave Plus V2 radios. It uses a rule-based engine that is highly efficient for complex, multi-condition automations without needing to write raw code.
- Aeotec Smart Home Hub: A versatile, hybrid hub that bridges local Z-Wave/Zigbee execution with cloud-based voice assistant integrations, making it a great middle-ground for beginners.
| Hub Model | Native Protocols | Processing Type | Estimated Price Range |
|---|---|---|---|
| Home Assistant Green | Ethernet, Thread (via add-on) | 100% Local (Open Source) | $99 - $129 |
| Hubitat Elevation C-8 | Zigbee 3.0, Z-Wave Plus V2 | 100% Local (Proprietary OS) | $149 - $159 |
| Aeotec Smart Home Hub | Zigbee, Z-Wave, Wi-Fi | Hybrid (Local/Cloud) | $129 - $139 |
| Samsung SmartThings Station | Matter, Thread, Wi-Fi | Cloud-Dependent | $79 - $99 |
For this installation guide, we will assume you are deploying a local-first hub like the Home Assistant Green Official Hardware or the Hubitat Elevation, as these provide the most robust foundation for whole-home automation.
Step 2: Physical Installation and Optimal Placement
The physical location of your hub dictates the health of your entire wireless mesh network. A common mistake among DIY installers is hiding the hub in a basement server rack, a metal media enclosure, or behind a television. Radio frequency (RF) signals, particularly the 2.4GHz spectrum used by Zigbee and Wi-Fi, are easily degraded by physical obstructions and electromagnetic interference.
Optimal Placement Guidelines
- Centralize the Hub: Place the hub in the geographic center of your home. If you live in a two-story house, the ideal location is on the first floor, near the ceiling, or on the second floor, near the floorboards.
- Elevation Matters: Position the hub 3 to 5 feet off the ground. This helps the omnidirectional antennas broadcast over furniture and avoids signal absorption by human bodies and large appliances.
- Avoid Metal and Glass: Keep the hub at least 3 feet away from metal enclosures, mirrors, and large glass windows, which can reflect or absorb RF signals.
- Use Wired Ethernet: Always connect your hub to your router or network switch via a Cat6 Ethernet cable. Relying on Wi-Fi for the hub's backhaul introduces unnecessary latency and points of failure.
Pro Tip: Never plug a Zigbee or Z-Wave USB coordinator directly into the back of a router, NAS, or mini-PC. The electromagnetic interference (EMI) from USB 3.0 ports can reduce your Zigbee range from 30 feet to less than 3 feet. Always use a 3-to-6-foot USB 2.0 extension cable to move the coordinator away from the noise source.
Step 3: Network Configuration and IoT Isolation
Once your hub is physically installed and connected via Ethernet, the next critical step is network configuration. Smart home devices are notoriously insecure and often lack regular firmware updates. Connecting them directly to your primary network—where your laptops, smartphones, and NAS drives reside—is a significant security risk.
Setting Up an IoT VLAN
If you are using a prosumer router system like Ubiquiti UniFi, TP-Link Omada, or pfSense, you should create a dedicated Virtual Local Area Network (VLAN) specifically for IoT devices.
- Create VLAN 20 (IoT): Assign a specific subnet (e.g., 192.168.20.x) to your smart home devices.
- SSID Isolation: Create a dedicated Wi-Fi network (e.g., MyHome_IoT) that bridges only to this VLAN. Connect all Wi-Fi-based smart plugs, bulbs, and appliances to this SSID.
- Firewall Rules: Block the IoT VLAN from initiating connections to your main LAN (VLAN 1). However, allow the main LAN to initiate connections to the IoT VLAN so you can access device web interfaces and your central hub.
- mDNS Reflection: Multicast DNS (mDNS) does not cross VLAN boundaries by default. You must enable an mDNS reflector or repeater in your router settings so that voice assistants (like Apple HomePod or Sonos speakers) on your main network can discover and cast to IoT devices on the isolated network.
For your central hub, assign a Static IP address or a DHCP reservation in your router. This ensures that if the hub reboots, its IP address remains constant, preventing broken webhooks and API integrations.
Step 4: Building Your Zigbee, Z-Wave, and Matter Mesh
With the hub online and the network secured, it is time to pair your devices. Understanding the topology of mesh networks is vital for a stable installation. According to the CSA Zigbee Specifications, mesh networks rely on routing nodes to pass signals from end devices back to the coordinator (your hub).
Understanding Device Roles
- Coordinators: The brain of the network (your hub's USB dongle or internal radio). You only have one per network.
- Routing Nodes (Repeaters): Any device plugged into mains power (wall outlets, smart plugs, hardwired light switches, smart bulbs). These devices stay awake 24/7 and route signals for other devices, expanding the mesh.
- End Devices: Battery-powered sensors (motion, door/window, temperature). These sleep to conserve battery and must connect to the nearest Routing Node, not necessarily the hub.
The Pairing Sequence
Do not pair devices randomly. To build a strong mesh, follow this sequence:
- Install Mains-Powered Devices First: Go room by room and install smart switches, smart plugs, and hardwired bulbs. Pair them to the hub. This creates a dense web of routing nodes.
- Allow the Mesh to Settle: Wait 15 to 30 minutes after pairing mains-powered devices. The network needs time to update its routing tables and establish optimal paths.
- Pair Battery Sensors in Place: Bring your hub closer to the installation area if possible, or use a mobile app to initiate pairing while standing next to the sensor's final physical location. This forces the sensor to latch onto the nearest, strongest routing node rather than a distant one.
Smart Home Hub Local Device Capacity Comparison
As visualized above, local-first hubs like Home Assistant and Hubitat can handle significantly more concurrent devices than cloud-reliant or ecosystem-locked hubs, making them ideal for whole-home installations exceeding 100 endpoints.
Step 5: Designing Local Automation Workflows
The true power of a central hub lies in its automation engine. Cloud-based automations (like standard Alexa Routines) require a signal to travel from your sensor, to the cloud, through a logic server, and back down to your smart bulb. This introduces a 500ms to 2-second delay. Local automations execute in milliseconds.
Anatomy of a Smart Automation
When configuring your hub, structure your automations using the Trigger-Condition-Action (TCA) framework:
- Triggers: The event that starts the automation. (e.g., Motion sensor changes from 'Clear' to 'Detected').
- Conditions: The rules that must be true for the action to fire. (e.g., Time is between Sunset and Sunrise AND Illuminance sensor is below 50 lux).
- Actions: What the hub actually does. (e.g., Turn on Hallway Lights to 50% brightness, wait 3 minutes, turn off).
By utilizing numeric state conditions (like lux levels) rather than simple time-based conditions, you create dynamic, context-aware environments that adapt to the actual physical state of your home, saving energy and improving the user experience.
Step 6: Troubleshooting Interference and Mesh Dropouts
Even with perfect placement, you may encounter devices that frequently drop off the network or report stale states. Troubleshooting a smart home mesh requires a methodical approach to RF interference and routing tables.
Common Issues and Solutions
- Zigbee and Wi-Fi Channel Overlap: Zigbee operates on the 2.4GHz spectrum, which it shares with Wi-Fi and Bluetooth. If your Wi-Fi router is set to Channel 6, it will obliterate Zigbee channels 14 through 18. Solution: Set your Wi-Fi router to Channel 1 or 11, and set your Zigbee coordinator to Channel 15, 20, or 25 to ensure the frequencies do not overlap.
- Z-Wave S2 Inclusion Failures: Z-Wave Plus V2 uses S2 security, which requires a PIN code or physical button press on the device during pairing. If a device fails to pair, it is often due to a timeout. Solution: Use a Z-Wave USB stick on a long extension cable to bring the controller within 2 feet of the device for the initial S2 handshake, then move it back to the hub.
- Matter over Thread Latency: If you are integrating Matter devices via Thread Border Routers (like an Apple TV or Nest Hub), ensure the border routers are evenly distributed. Thread relies on IPv6 mesh routing; if a border router is offline, the Thread network must dynamically re-route, which can cause temporary latency spikes.
Performing a Mesh Heal
If you have moved furniture, added new appliances, or relocated the hub, your Zigbee and Z-Wave routing tables may be outdated. Most hub interfaces (especially Hubitat and Home Assistant via ZHA/Z-Wave JS) feature a "Heal Network" or "Optimize Mesh" button. Initiate a network heal at 2:00 AM when battery devices are likely to be awake for scheduled check-ins. This forces every routing node to recalculate the most efficient path back to the coordinator.
Conclusion
Installing a central smart home hub is a transformative project that elevates your living space from a collection of disconnected gadgets into a cohesive, intelligent environment. By carefully selecting local-processing hardware, strategically placing your coordinators, isolating your IoT traffic on a dedicated VLAN, and methodically building your mesh network, you guarantee a system that is fast, secure, and resilient. Take the time to configure your automation logic using local triggers and conditions, and your smart home will operate seamlessly in the background, exactly as it was designed to do.