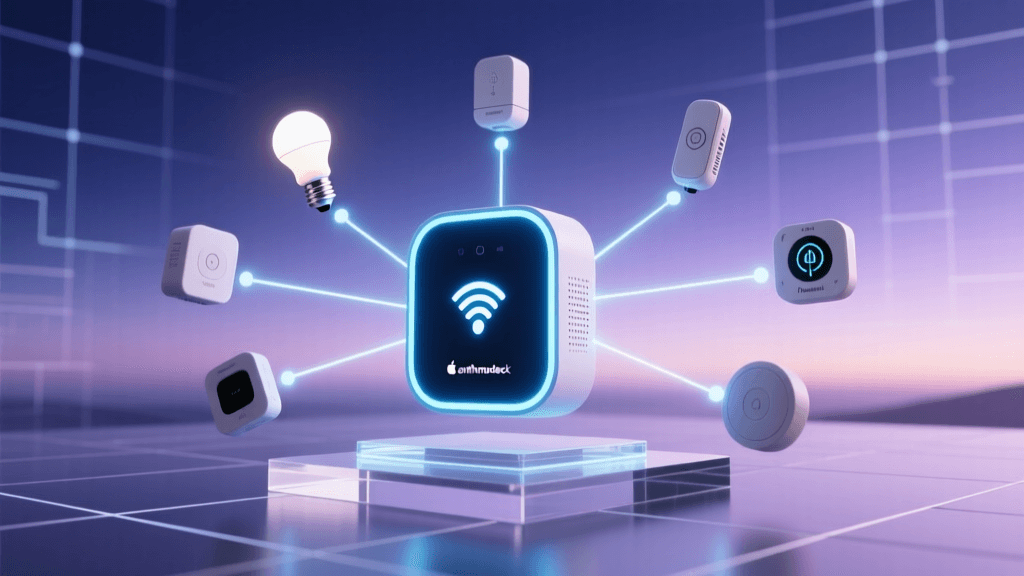
Introduction: The Smart Home Installation Dilemma
Building a smart home is no longer just about buying a few Wi-Fi plugs and calling it a day. Today's comprehensive home automation systems involve hardwired smart switches, PoE (Power over Ethernet) camera networks, centralized hubs, and complex HVAC integrations. As homeowners look to upgrade their living spaces, a critical question inevitably arises: should you tackle the installation yourself, or hire a professional?
The decision largely comes down to a complex matrix of upfront costs, hidden expenses, time investment, and safety considerations. While the DIY route promises significant savings on labor, it often introduces hidden costs in the form of specialized tools, trial-and-error material purchases, and potential home repairs. On the flip side, professional installation guarantees code compliance and system reliability, but commands a premium hourly rate. In this comprehensive guide, we will break down the true costs of professional versus DIY smart home installation, examining specific device categories, labor rates, and long-term value.
The True Cost of DIY Smart Home Installation
Material Costs vs. Hidden Expenses
When most DIYers calculate their budget, they only look at the retail price of the smart devices. A Lutron Caseta smart switch might cost $60, and an Ecobee SmartThermostat might retail for $250. However, the hidden expenses of DIY installation can quickly erode these perceived savings.
- Specialized Tools: You will need a non-contact voltage tester ($20), wire strippers ($25), a multimeter ($40), and potentially a fish tape for running new wires through walls ($30).
- Wiring Adapters: Older homes often lack a C-wire (common wire) required by modern smart thermostats. Purchasing a C-wire adapter or an external 24V transformer adds $15 to $40 to your project.
- Remediation Costs: If you accidentally damage drywall while fishing wires, or if you need to repaint after swapping out a bulky smart switch for a standard one, drywall repair kits and paint can add $50 to $100 per room.
Time Investment and Opportunity Cost
Time is money. A professional electrician can swap out a standard single-pole switch for a smart switch in about 15 minutes. For a first-time DIYer, turning off the breaker, verifying the power is off, identifying the line and load wires, reading the manual, and mounting the device can easily take 60 to 90 minutes per switch. If you are upgrading 15 switches across your home, you are looking at a weekend-long project. Furthermore, troubleshooting network connectivity issues or hub pairing failures can add hours of frustration to the process.
Hiring a Professional: What to Expect
Average Hourly Rates and Flat Fees
Professional smart home installation typically falls into two categories: licensed electricians and custom AV/low-voltage integrators (such as CEDIA-certified professionals).
- Licensed Electricians: Ideal for hardwired smart switches, smart breaker panels, and thermostat wiring. The national average hourly rate for an electrician ranges from $75 to $150 per hour, with most requiring a minimum service call fee of $150 to $250.
- AV Integrators: Ideal for whole-home audio, Control4 or Savant hub programming, and complex network racks. Integrators typically charge between $125 and $250 per hour for labor and programming.
The Value of Warranties and Code Compliance
When you hire a licensed professional, their work is backed by a labor warranty and must adhere to local electrical codes. If a DIY wiring job causes a short circuit that damages your HVAC control board, your homeowner's insurance may deny the claim due to unpermitted, unlicensed electrical work. A professional ensures that neutral wires are properly pigtailed, boxes are not overfilled, and all connections meet National Electrical Code (NEC) standards.
Cost Comparison: DIY vs. Professional Installation
To provide a clear picture of the financial differences, let us examine three common smart home upgrade scenarios. The table below outlines the estimated costs for both DIY and professional routes, factoring in materials, tools, and labor.
| Project Scope | DIY Estimated Cost | Professional Estimated Cost | DIY Time | Pro Time |
|---|---|---|---|---|
| Smart Thermostat (e.g., Nest Learning) | $250 (Device only) | $450 - $550 (Device + Labor) | 2 - 4 Hours | 1 - 2 Hours |
| 10 Hardwired Smart Switches (e.g., Lutron) | $650 (Devices + Tools) | $1,850 - $2,200 (Devices + Labor) | 12 - 16 Hours | 4 - 6 Hours |
| 4-Camera PoE Security System (Hardwired) | $800 (Kit + Wire) | $2,400 - $3,200 (Kit + Labor) | 15 - 20 Hours | 8 - 12 Hours |
| Central Smart Hub & Network Rack Setup | $500 (Hardware) | $1,500 - $2,500 (Hardware + Config) | 10+ Hours | 5 - 8 Hours |
Device-Specific Installation Challenges
Smart Thermostats and the C-Wire Dilemma
Installing a smart thermostat seems straightforward until you remove your old faceplate and realize you only have four wires, and none of them are connected to the 'C' terminal. Modern smart thermostats require a continuous 24V power source to run their Wi-Fi radios and vibrant displays. According to the U.S. Department of Energy, proper thermostat setup and programming can save up to 10% a year on heating and cooling, but only if the device functions reliably without dropping offline due to power stealing. A DIYer might attempt to use a C-wire adapter at the furnace control board, which requires opening the HVAC unit and risking a blown fuse. A professional HVAC technician or electrician will safely run a new thermostat wire from the attic or basement, ensuring reliable power and protecting your expensive HVAC equipment.
Smart Lighting and 3-Way Switches
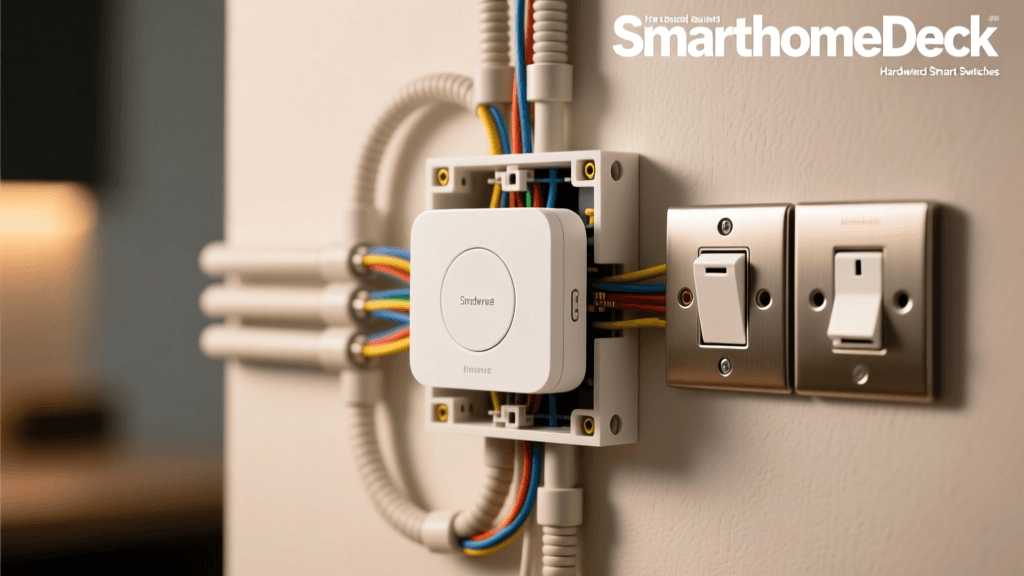
Single-pole switches are relatively easy to wire. However, 3-way and 4-way switches (where multiple switches control the same light) are notorious DIY pitfalls. Traditional 3-way circuits use 'traveler' wires that can be confusing to identify without a multimeter. Smart lighting systems like Lutron Caseta bypass this issue by using a single smart switch and wireless Pico remotes, but this requires capping off old traveler wires safely in the wall box. Miswiring a 3-way circuit can result in a short circuit, tripped breakers, or even a fire hazard.
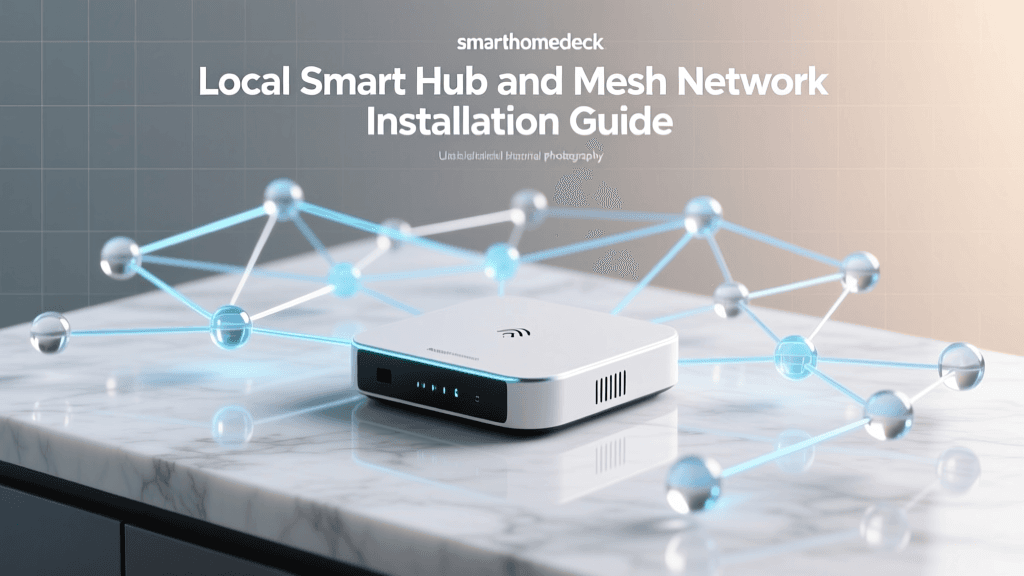
Networking Infrastructure: The Backbone of Smart Homes
A smart home is only as reliable as the network it operates on. While DIYers often rely on consumer mesh Wi-Fi systems like Eero or Orbi, these systems can struggle with the sheer volume of IoT devices on a network. A professional integrator will typically install a hardwired network backbone using enterprise-grade equipment like Ubiquiti UniFi or TP-Link Omada. This involves running Cat6 Ethernet cables to strategic locations for hardwired access points, terminating the cables into a structured media enclosure, and configuring VLANs (Virtual Local Area Networks) to isolate insecure IoT devices from your personal computers and phones. The cost of professional Ethernet drops typically ranges from $150 to $300 per location, factoring in labor, materials, and termination. While a DIYer can save money by running their own Cat6 cable, doing so after the drywall is installed often results in damaged walls and suboptimal cable routing.
Safety, Compliance, and the Hidden Risks of DIY
When dealing with mains voltage (120V or 240V), safety must be the paramount concern. The National Fire Protection Association (NFPA) reports that electrical distribution or lighting equipment is consistently one of the leading causes of home structure fires. Loose wire nuts, overloaded junction boxes, and improper grounding are common mistakes made by amateur DIYers rushing to finish a weekend project.
Expert Insight: 'While swapping a plug-in smart bulb carries zero risk, opening a wall box to install a hardwired smart dimmer introduces the risk of arc faults if the connections are not secure. Always use a licensed professional if you are unsure about your home's wiring topology or if your home features outdated knob-and-tube or aluminum wiring.'
Furthermore, many municipalities require permits for electrical modifications. While swapping a like-for-like switch rarely triggers a permit requirement, adding new junction boxes, running new low-voltage or high-voltage lines, or upgrading a breaker panel to support a smart home hub server rack will require inspections. A professional installer handles the permitting process, ensuring your home remains insurable and up to code.
When to DIY and When to Call a Pro
To maximize your budget while ensuring safety, adopt a hybrid approach to your smart home installation. Here is a quick guide to help you decide which tasks to tackle yourself and which to outsource.
Best Devices for DIY Installation
- Plug-in Devices: Smart plugs, smart lamps, and standalone indoor cameras.
- Battery-Powered Sensors: Zigbee or Z-Wave door/window sensors, motion detectors, and smart locks (which only require a screwdriver and no high-voltage wiring).
- Hub Configuration: Setting up software, creating automation routines in Apple HomeKit or Home Assistant, and configuring Wi-Fi networks.
- Simple Single-Pole Switches: If your home is relatively new, has standard color-coded wiring, and you are comfortable using a voltage tester, swapping a single-pole switch is a manageable DIY task.
Devices Requiring Professional Installation
- Hardwired PoE Security Cameras: Running Cat6 cable through exterior walls, attics, and soffits requires specialized drill bits, fish tapes, and weatherproofing knowledge.
- Smart Breaker Panels: Systems like Leviton or Schneider Electric smart panels require working directly inside the main service panel, which carries lethal voltage and requires a licensed electrician.
- Motorized Window Treatments: Hardwired smart blinds require precise measurements, bracket mounting, and routing low-voltage wire to a central power supply.
- Whole-Home Audio: Running speaker wire through walls and ceilings before drywall is laid, or retrofitting it into finished ceilings, is best left to AV integrators.
Conclusion: Budgeting for Your Smart Home
The choice between professional and DIY smart home installation is rarely black and white. DIY installation offers undeniable financial savings on labor and provides a deep, satisfying understanding of how your home's automation ecosystem operates. However, the hidden costs of tools, time, and potential remediation can narrow the gap significantly. Professional installation, while expensive upfront, provides peace of mind, code compliance, and warranties that protect your home and your investment.
For the average homeowner, the most cost-effective strategy is a phased, hybrid approach. Tackle the battery-operated sensors, plug-in devices, and software automations yourself. Save your budget to hire licensed professionals for the high-voltage electrical work, hardwired network infrastructure, and complex HVAC integrations. By understanding the true costs and risks associated with both paths, you can build a smart home that is not only intelligent but also safe, reliable, and built to last.