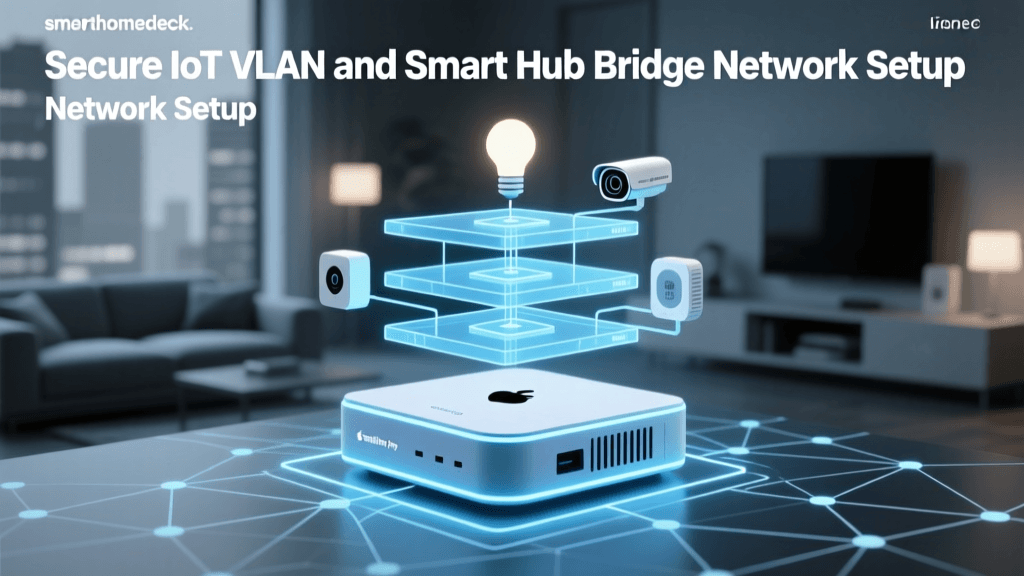
The Shift to Local Control: Why Your Smart Home Needs a Dedicated Hub
Setting up a smart home can often feel like a chaotic puzzle of incompatible apps, laggy responses, and cloud-dependent vulnerabilities. While Wi-Fi-enabled devices and cloud-based ecosystems like Amazon Alexa or Google Home offer a low barrier to entry, they inherently suffer from latency, internet outages, and privacy concerns. For DIY installers and homeowners seeking true reliability, installing a local smart home hub and architecting a dedicated Zigbee or Z-Wave mesh network is the ultimate solution.
Local control means your smart switches, sensors, and automations communicate directly within your home's network, bypassing external servers entirely. According to the National Institute of Standards and Technology (NIST), minimizing external network dependencies for IoT devices significantly reduces the attack surface and enhances overall home cybersecurity. This step-by-step guide will walk you through selecting, installing, and configuring a local hub and mesh network to achieve a bulletproof, whole-home automation system.
Step 1: Hardware Selection and Physical Installation
The foundation of any local smart home is the central hub. Unlike cloud bridges, a local hub processes logic on-site. The two undisputed leaders in the DIY local smart home space are Home Assistant and Hubitat Elevation.
- Home Assistant Green: Priced around $99, this plug-and-play appliance is designed specifically for Home Assistant. It features a robust processor, ample RAM, and a built-in Zigbee radio (Silicon Labs EFR32MG24). It is ideal for users who want deep customization, dashboard creation, and massive add-on support.
- Hubitat Elevation C-8: Priced around $149, Hubitat is renowned for its lightning-fast local rule engine and native support for both Zigbee 3.0 and Z-Wave Plus (800 series). It requires less technical tinkering than Home Assistant but offers slightly less visual customization.
Physical Setup
Regardless of your choice, the physical installation follows a strict protocol to ensure optimal radio performance:
- Central Placement: Place the hub in the geographic center of your home. Avoid metal enclosures, basements, or media cabinets that act as Faraday cages and block RF signals.
- Hardwire the Connection: Always connect your hub to your primary router or core switch via a Cat6 Ethernet cable. Wi-Fi connections for the hub itself introduce unnecessary points of failure.
- USB Extension (If applicable): If you are using USB dongles (like the Sonoff Zigbee 3.0 USB Dongle Plus or Aeotec Z-Wave stick) plugged into a Raspberry Pi or Mini PC, use a 1-meter USB 2.0 extension cable. This elevates the antenna away from the motherboard's USB 3.0 ports, which are notorious for generating 2.4GHz interference.
Step 2: Network Segmentation and IoT VLAN Setup
Before pairing hundreds of IoT devices, you must secure your network. Smart home devices are notoriously insecure, often lacking robust firmware update mechanisms. The Federal Trade Commission (FTC) strongly recommends segmenting IoT devices from your primary network where personal computers and smartphones reside.
Creating an IoT VLAN
If you have a prosumer router (such as a UniFi Dream Router, TP-Link Omada, or pfSense box), create a dedicated VLAN specifically for IoT and Smart Home traffic.
- SSID Configuration: Create a 2.4GHz-only Wi-Fi network named "Home-IoT" and bind it to your new VLAN. Disable Wi-Fi 6 (802.11ax) features on this specific SSID, as many older smart plugs and bulbs struggle to handshake with WPA3 or AX protocols.
- mDNS and Firewall Rules: To allow your smartphone to cast to local devices or discover the hub, enable mDNS (Multicast DNS) reflection across VLANs. Set firewall rules to block the IoT VLAN from initiating connections to your main LAN, while allowing your main LAN to initiate connections to the IoT VLAN.
- DHCP Reservations: Assign static IP addresses (via DHCP reservation) to your hub, smart TVs, and critical Wi-Fi thermostats. This ensures that local API calls and webhooks never break due to an IP address change.
Step 3: Architecting the Zigbee and Z-Wave Mesh
Unlike Wi-Fi, where every device connects directly to the router, Zigbee and Z-Wave utilize mesh networking. In a mesh network, mains-powered devices act as "routers" or "repeaters," passing signals from battery-powered "end devices" (like door sensors) back to the central hub.
The Connectivity Standards Alliance (CSA), which oversees Zigbee development, notes that a properly routed mesh network can support tens of thousands of nodes while maintaining low power consumption for battery devices. However, a poorly planned mesh will result in dropped signals and delayed automations.
Command Latency Comparison
Strategic Repeater Placement
To build a robust mesh, you must strategically place repeaters. Do not rely on battery-powered devices to route traffic; they are designed to sleep to conserve energy.
- Zigbee Repeaters: Smart plugs (like the Innr SP 224 or Third Reality plugs) and hardwired smart switches (like Lutron Aurora or IKEA Tradfri drivers) make excellent Zigbee repeaters. Place one in every major room to create overlapping signal spheres.
- Z-Wave Repeaters: Z-Wave operates on the 908.42 MHz frequency (in the US), which penetrates walls and floors much better than Zigbee's 2.4 GHz signal. However, you still need mains-powered devices like the Aeotec Range Extender 7 or GE Enbrighten Z-Wave toggle switches to ensure the mesh remains dense.
Pro Tip: Avoid placing Zigbee repeaters within 3 feet of your Wi-Fi router or access points. Wi-Fi channels 1, 6, and 11 overlap heavily with Zigbee channels. If your Wi-Fi is on channel 1 or 6, set your Zigbee network to channel 20 or 25 in your hub's settings to prevent signal collision.
Step 4: The Golden Rule of Device Pairing
The most common mistake DIY installers make is attempting to pair a device in its final, installed location. If you are installing a Zigbee door sensor on a back door far from the hub, pairing it in place will force it to connect to a distant, weak signal. The mesh routing table will lock onto that poor path, resulting in a sensor that frequently drops offline.
The "Pair and Move" Method
- Power Up Near the Hub: Bring the device within 5 feet of your central hub. Power it on and initiate the pairing mode.
- Verify Connection: Wait for the hub to interview the device and confirm the endpoints are recognized.
- Move to Final Location: Take the device to its permanent installation spot. Power cycle it (remove and reinsert the battery, or toggle the breaker for a hardwired switch).
- Allow Re-routing: The device will broadcast a "leave" and "rejoin" request. The nearest mains-powered repeater in the new room will catch the signal and update the mesh routing table automatically. This ensures the device uses the strongest possible local node.
Step 5: Hub Comparison and Network Mapping
Choosing the right ecosystem dictates how you will interact with your mesh. Below is a comparison of the top local hubs available for DIY installation.
| Feature | Home Assistant Green | Hubitat Elevation C-8 | Samsung SmartThings V3 |
|---|---|---|---|
| Processing | 100% Local | 100% Local | Cloud-Dependent |
| Zigbee Support |
Mapping and Troubleshooting the Mesh
Once your devices are installed, you must audit the network health. Both Home Assistant (via the ZHA or Zigbee2MQTT integrations) and Hubitat offer mesh visualization tools. Look for the LQI (Link Quality Indicator) and RSSI (Received Signal Strength Indicator).
- LQI: Ranges from 0 to 255. A healthy connection should have an LQI above 100. If a sensor shows an LQI of 30, it is dropping packets. Install a smart plug repeater halfway between the sensor and the nearest routing node.
- Depth: This indicates how many "hops" a signal takes to reach the hub. While Zigbee supports multiple hops, keeping the depth under 3 ensures the lowest possible latency for motion-triggered lighting automations.
Step 6: Creating Local Automations
With the hardware installed and the mesh mapped, the final step is programming local automations. Because your hub processes logic on-site, you can achieve sub-100ms latency for critical routines like security alarms or motion-activated lighting.
Example: The Failsafe Security Routine
In a cloud-based system, an internet outage renders your smart security sensors useless. In a local setup, you can create a routine that triggers a physical siren and flashes smart bulbs red the millisecond a door sensor is tripped, regardless of your ISP's status.
- Trigger: Contact sensor state changes to "Open" while the system is armed.
- Condition: Time is between 11:00 PM and 6:00 AM.
- Action 1: Turn on all interior Zigbee smart bulbs to 100% brightness, color Red.
- Action 2: Activate local Zigbee siren.
- Action 3: Send a local push notification via a self-hosted service like Pushover or Home Assistant Companion App (requires internet only for the final phone alert, but the home's physical reaction remains local).
Conclusion: The Power of a Fully Local Ecosystem
Transitioning from a fragmented, cloud-reliant assortment of smart gadgets to a unified, local smart hub and mesh network is a transformative upgrade. It requires a methodical approach to hardware placement, network segmentation, and mesh routing, but the dividends are immense. By following this step-by-step installation guide, you eliminate cloud latency, protect your family's privacy from data-harvesting servers, and ensure that your home's automation continues to function flawlessly—even when the internet goes down. Whether you choose the boundless flexibility of Home Assistant or the lightning-fast rule engine of Hubitat, mastering local mesh installation is the hallmark of a true smart home professional.