Introduction to Local Smart Home Hub Installation
The modern smart home has evolved far beyond simple Wi-Fi plugs and cloud-dependent applications. Today, homeowners and DIY installers demand reliability, speed, and privacy. This is where a dedicated, local smart home hub becomes the beating heart of your automation ecosystem. Unlike cloud-reliant systems that fail when your internet connection drops, a local hub processes automations directly within your home, ensuring your lights turn on and your security sensors trigger regardless of external network outages.
In this comprehensive, step-by-step guide, we will walk you through the complete installation and configuration of a multi-protocol smart home hub. We will cover hardware selection, network topology, physical placement, and the integration of modern protocols like Matter, Thread, Zigbee, and Z-Wave. Whether you are upgrading from a basic smart speaker setup or building a whole-home automation system from scratch, this guide provides the technical depth and actionable steps required for a professional-grade DIY installation.
Step 1: Selecting the Right Hub Hardware
The first step in any smart home system installation is choosing hardware that supports your current devices while remaining future-proof. The industry is currently undergoing a massive shift toward the Matter standard, spearheaded by the Connectivity Standards Alliance (CSA). However, legacy devices still rely heavily on Zigbee and Z-Wave. Therefore, a hub with multi-protocol support or expandability is essential.
For this installation guide, we are focusing on three powerhouse local hubs favored by advanced DIY installers:
| Feature | Home Assistant Green | Hubitat Elevation C-8 | Aeotec Smart Home Hub |
|---|---|---|---|
| Processor / RAM | Rockchip RK3566 / 4GB | Quad-Core / 2GB | Raspberry Pi 4 / 2GB |
| Native Protocols | Ethernet, Wi-Fi, Thread | Zigbee 3.0, Z-Wave Plus | Z-Wave Plus, Zigbee, Wi-Fi |
| Matter Support | Yes (via Thread/Ethernet) | Yes (via Software Update) | Limited / Beta |
| Local Processing | 100% Local | 100% Local | 100% Local |
| Estimated Cost | $99 - $120 | $149 - $179 | $130 - $150 |
For installations prioritizing the newest Matter and Thread devices alongside extensive customizability, the Home Assistant Green is an outstanding, plug-and-play choice. For homes heavily invested in legacy Z-Wave and Zigbee sensors, the Hubitat Elevation C-8 provides superior native radio performance right out of the box.
Step 2: Network Architecture and VLAN Preparation
Before unboxing your hub, you must prepare your local network. Smart home devices are notorious for having weak security firmware. Connecting them directly to your primary network alongside your personal computers and NAS drives poses a significant cybersecurity risk.
Creating an IoT VLAN
If you are using a prosumer router like a UniFi Dream Machine or a pfSense box, create a dedicated Virtual Local Area Network (VLAN) specifically for IoT devices.
- Subnet Isolation: Assign the IoT VLAN a separate subnet (e.g., 192.168.20.x) from your main network (192.168.1.x).
- Firewall Rules: Block the IoT VLAN from initiating connections to your main LAN. Allow only specific return traffic from your main LAN to the IoT VLAN for management purposes.
- Internet Access: Restrict internet access for the IoT VLAN. Most local sensors (like Zigbee door contacts) do not need WAN access. Only allow WAN access for specific IP addresses that require cloud authentication.
The mDNS Discovery Challenge
Multicast DNS (mDNS) is used by protocols like Chromecast, AirPlay, and Matter for device discovery. However, mDNS broadcasts do not cross VLAN boundaries by default. To solve this, you must configure an mDNS repeater (or reflector) on your router. This allows your smartphone on the main VLAN to discover and commission smart home devices residing on the IoT VLAN without compromising network security.
Step 3: Physical Installation and Power Redundancy
Where you physically place your smart home hub drastically impacts the performance of your mesh networks. Zigbee and Z-Wave operate on the 2.4 GHz and 900 MHz spectrums, respectively. Both are susceptible to interference and physical obstructions.
Optimal Placement Strategies
- Centralize the Hub: Place the hub in the geographic center of your home. Avoid basements or metal utility closets, which act as Faraday cages and block RF signals.
- Elevate the Antennas: Position the hub at least 4 to 5 feet off the ground. This reduces interference from furniture and human bodies (which are mostly water and absorb 2.4 GHz signals).
- Avoid USB 3.0 Interference: If you are adding external USB dongles (like the Sonoff Zigbee 3.0 USB Dongle Plus), be aware that USB 3.0 ports emit massive amounts of 2.4 GHz noise. Always use a 6-foot USB 2.0 extension cable to move the dongle away from the hub's motherboard and router.
Implementing Power Redundancy
A local hub is useless if it loses power during a storm. Install a Mini DC UPS (Uninterruptible Power Supply) to power both your primary router and your smart home hub. A standard 10,000mAh Mini UPS can keep a Home Assistant Green and a Wi-Fi router running for 4 to 6 hours during an outage, ensuring your local security automations and Zigbee motion sensors remain active.
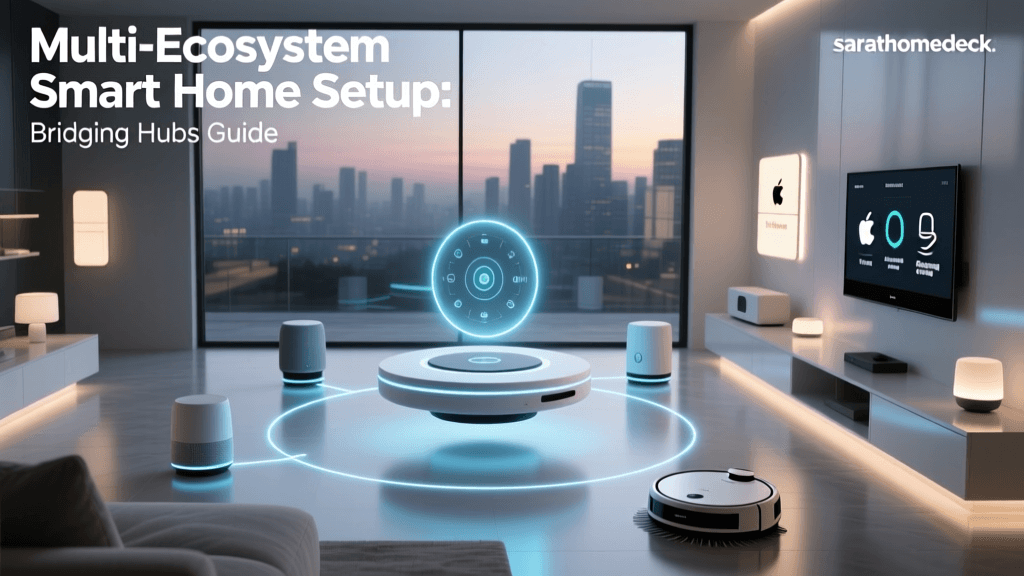
Step 4: Software Initialization and Protocol Bridging
With the hardware mounted and connected via Ethernet to your IoT VLAN switch, it is time to initialize the software. We will use Home Assistant as the reference architecture for this step, given its broad compatibility.
Commissioning Matter and Thread Devices
Matter is the new unifying standard for smart homes, designed to work over Wi-Fi, Ethernet, and Thread. Thread is a low-power, low-latency mesh networking protocol that relies on 'Border Routers' to bridge the Thread mesh to your IP network.
Pro Tip: When commissioning a Matter device, ensure your smartphone is temporarily connected to the exact same 2.4 GHz Wi-Fi network and VLAN as the hub. The initial handshake requires local network discovery, which will fail if your phone is on a 5 GHz guest network or cellular data.
To add a Matter device, navigate to your hub's integration page, select 'Add Device,' and scan the Matter QR code located on the device or its packaging. The hub will generate a secure, encrypted fabric and exchange keys locally.
Integrating Legacy Z-Wave Networks
While Matter handles new purchases, many DIY installers have dozens of existing Z-Wave devices. Z-Wave remains a powerhouse for security sensors and smart locks due to its 900 MHz frequency, which penetrates walls far better than 2.4 GHz signals. According to the Z-Wave Alliance, Z-Wave Plus V2 offers significantly improved range and battery life.
To integrate Z-Wave, plug your Z-Wave USB stick into the hub (using the aforementioned extension cable). Initiate 'Inclusion Mode' on the hub, then physically triple-press the button on your Z-Wave sensor. For security devices like smart locks, ensure you select 'S2 Authenticated' inclusion to guarantee AES-128 encryption.
Step 5: Optimizing the Mesh Network Topology
Unlike Wi-Fi, where every device connects directly to the router, Zigbee and Z-Wave rely on mesh networking. In a mesh network, mains-powered devices (like smart plugs and wired light switches) act as 'routers' or 'repeaters,' passing signals from battery-powered 'end devices' (like temperature sensors) back to the hub.
Strategic Repeater Placement
As visualized in the chart above, latency increases with every 'hop' a signal must take to reach the hub. Thread (Matter) handles hops with exceptional efficiency due to its IPv6 native architecture, while Zigbee and Z-Wave can suffer from noticeable delays if a signal must traverse 4 or 5 repeaters.
- The Rule of Three: Ensure every battery-powered end device has at least three mains-powered routers within its direct range. This provides redundant routing paths if one repeater fails or loses power.
- Healing the Mesh: After adding or moving multiple Z-Wave or Zigbee repeaters, initiate a 'Mesh Heal' or 'Network Repair' from your hub's dashboard. This forces the devices to recalculate their optimal routing tables based on the new physical layout.
- Avoiding Routing Loops: Never place two Zigbee hubs (e.g., a SmartThings hub and a Home Assistant hub) on the same channel in the same house. They will attempt to claim the same devices, creating routing loops and causing devices to drop off the network unpredictably.
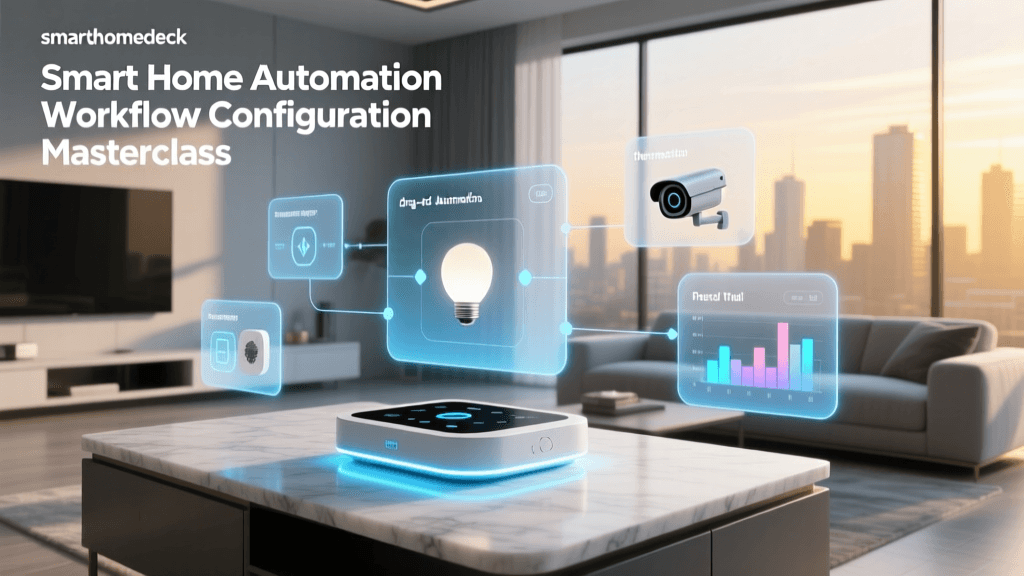
Step 6: Building Your First Local Automation Workflow
The true value of a dedicated smart home hub is realized in its automation engine. Cloud-based routines often suffer from 1 to 3 seconds of latency. Local automations execute in milliseconds.
Creating a Motion-Triggered Lighting Routine
Let us build a practical, high-speed automation: turning on the hallway lights when motion is detected, and turning them off after 2 minutes of inactivity.
- Trigger: Select your Zigbee or Thread motion sensor. Set the trigger condition to 'Occupancy Detected'.
- Condition (Optional but Recommended): Add an illuminance (lux) condition. Set the automation to only fire if the ambient light level is below 50 lux. This prevents the lights from turning on during the middle of a sunny day, saving energy.
- Action 1: Select your smart bulbs or wired smart switch. Set action to 'Turn On' and specify color temperature (e.g., 2700K warm white for evening).
Action 2 (The Wait and Turn Off): Add a 'Wait for Trigger' action. Set it to wait for the motion sensor to change to 'Clear' or 'No Occupancy'. Add a 'Delay' of 2 minutes. Finally, add the action to 'Turn Off' the lights.
Testing and Refining
Walk through the hallway and observe the latency. With a well-optimized local mesh network, the lights should illuminate in under 200 milliseconds—feeling practically instantaneous. If you experience delays, check your mesh hop count and ensure your Zigbee channel (Channels 15, 20, or 25) is not overlapping with your primary 2.4 GHz Wi-Fi channels.
Conclusion
Installing a centralized, multi-protocol smart home hub is a transformative project that elevates your living space from a collection of gimmicky gadgets to a cohesive, intelligent environment. By carefully selecting your hardware, isolating your IoT network via VLANs, optimizing physical placement, and respecting the physics of RF mesh networks, you build a foundation that is both robust and future-proof. As the Matter standard continues to mature and Thread border routers become ubiquitous in modern smart speakers and hubs, your local installation will seamlessly integrate the next generation of devices without missing a beat. Take your time during the planning and mesh-healing phases, and you will be rewarded with a smart home that operates with the reliability and speed of hardwired commercial systems.