The Smart Security Dilemma: DIY vs. Professional Installation
Securing your home with smart technology is one of the most impactful upgrades you can make, offering peace of mind, remote monitoring, and potential insurance discounts. However, every homeowner eventually faces a critical crossroads: should you tackle the installation yourself, or hire a professional integrator? The decision goes far beyond the initial price tag. It encompasses long-term subscription fees, hardware longevity, network infrastructure requirements, and the sheer value of your weekend time.
In this comprehensive guide, we break down the true costs of DIY versus professional smart security installation. We will examine specific product ecosystems like Ring, SimpliSafe, ADT, and Vivint, analyze the hidden infrastructure costs, and provide a data-driven comparison to help you choose the right path for your home.
The True Cost of DIY Smart Security Installation
Do-It-Yourself (DIY) smart security systems have exploded in popularity, driven by user-friendly mobile apps, wireless connectivity, and competitive hardware pricing. Brands like Ring Alarm Pro, SimpliSafe, and Arlo dominate this space by eliminating the traditional installation fee. However, 'free installation' simply means you are the unpaid laborer.
Hardware and Upfront Expenses
A standard DIY security kit (base station, keypad, 4-6 door/window sensors, and one motion detector) typically ranges from $200 to $350. Adding outdoor smart cameras, such as the Arlo Pro 4 or Ring Spotlight Cam, will add $100 to $200 per camera. If you opt for a smart lock like the Yale Assure Lock 2 or August Wi-Fi Smart Lock, expect to add another $150 to $250 to your initial hardware bill.
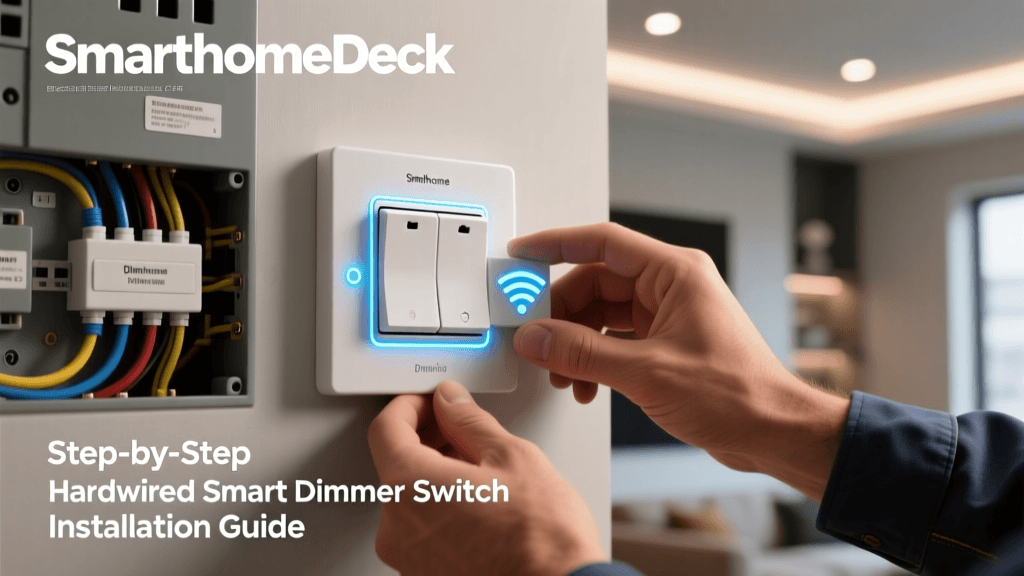
The Hidden DIY Costs: Tools and Infrastructure
While the hardware is wireless, mounting it is not. You will need specific tools to ensure a clean, secure installation:
- Power Drill & Masonry Bits: Essential for mounting outdoor cameras on brick, stucco, or siding.
- Fish Tapes & Wire Strippers: Required if you are replacing an existing hardwired doorbell with a smart video doorbell like the Google Nest Doorbell (Wired).
- Network Upgrades: Wireless cameras are notorious bandwidth hogs. If your current router struggles to reach the exterior walls of your home, you may need to invest in a Wi-Fi 6 Mesh system like the Eero Pro 6E or Netgear Orbi, adding $200 to $400 to your project cost.
Pro-Tip: When mounting outdoor security cameras, the optimal height is between 8 and 10 feet. This provides a wide field of view for facial capture while keeping the device out of reach from potential vandals.
Professional Installation: The Premium Route
Professional installation is the traditional route, dominated by industry giants like ADT, Vivint, and Brinks Home Security. When you choose this route, you are paying for expertise, custom low-voltage wiring, and a unified, professionally monitored ecosystem.
Labor, Activation, and Equipment Markups
Professional installation fees typically range from $99 to $250 for basic setups, but can easily exceed $500 for large, multi-story homes requiring extensive wire fishing through drywall. Furthermore, professional companies often 'subsidize' the equipment cost, rolling it into a 36-to-60-month contract. While your upfront equipment cost might be $0, you are ultimately paying a premium for the hardware over the life of the contract.
When Professional Installation is Non-Negotiable
There are specific scenarios where DIY is simply not viable, and professional installation becomes a necessity:
- Hardwired PoE (Power over Ethernet) Cameras: Running Cat6 cables through attics and exterior walls to a central NVR (Network Video Recorder) requires specialized low-voltage wiring skills.
- Complex Alarm Panels: Integrating hardwired smoke detectors, glass-break sensors, and Z-Wave locks into a central, fire-coded control panel.
- Historic or Masonry Homes: Drilling into thick plaster, lath, or solid masonry without causing structural or aesthetic damage requires professional masonry bits and patching expertise.
Side-by-Side Cost Comparison
To visualize the financial commitment, let's compare a typical mid-sized home setup using a popular DIY system versus a traditional professional installation.
| Feature | DIY System (e.g., Ring, SimpliSafe) | Professional System (e.g., ADT, Vivint) |
|---|---|---|
| Upfront Equipment | $250 - $600 | $0 - $1,200 (often financed) |
| Installation Fee | $0 (Your Time & Tools) | $99 - $300+ |
| Monthly Monitoring | $10 - $20 / month | $35 - $65+ / month |
| Contract Required | No (Month-to-Month) | Yes (typically 36-60 months) |
| Relocation | Easy, take it with you | Difficult, requires pro move fee |
| Cloud Storage | $4 - $10 / month (Optional) | Often included in premium tiers |
5-Year Cumulative Cost Visualization
The following chart illustrates the total cost of ownership over a 5-year period, factoring in upfront hardware, installation fees, and monthly monitoring subscriptions. Notice how the lower monthly fees and lack of activation costs make DIY significantly more economical over time.
Hidden Costs and Pitfalls to Watch Out For
Whether you choose DIY or Professional, the smart home ecosystem is rife with hidden costs that can derail your budget if you aren't prepared.
1. The Subscription Trap
Many DIY cameras are practically paperweights without a cloud subscription. A Ring Home subscription or Nest Aware plan is required to access features like 24/7 recording, rich notifications, and intelligent person detection. Over three years, a $10/month subscription adds $360 to your total cost per camera ecosystem.
2. Battery Maintenance and Degradation
Wireless DIY sensors and battery-powered cameras rely on lithium-ion or CR123A batteries. While manufacturers claim 'up to a year' of battery life, real-world conditions (extreme cold, high-traffic motion zones) can drain batteries in 3 to 6 months. Replacing batteries across a 10-sensor system annually is a hidden maintenance cost and time sink.
3. Early Cancellation Fees
According to the Federal Trade Commission (FTC), consumers must carefully read the fine print on professional security contracts. If you sell your home or move before a 60-month contract expires, you may be hit with an early termination fee that can sometimes equal 80% to 100% of the remaining monthly payments. Always negotiate a 'free move' clause into your professional contract before signing.
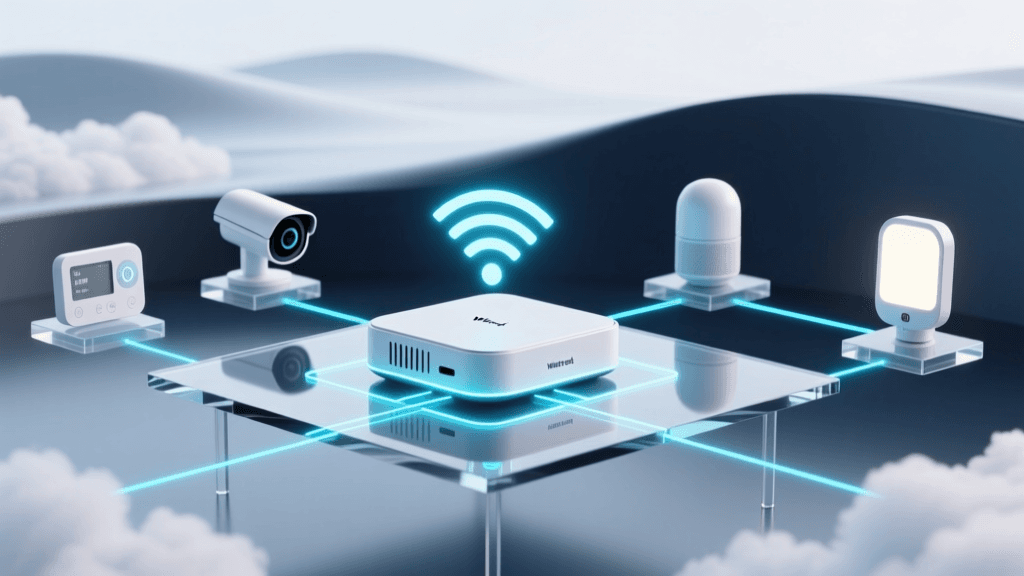
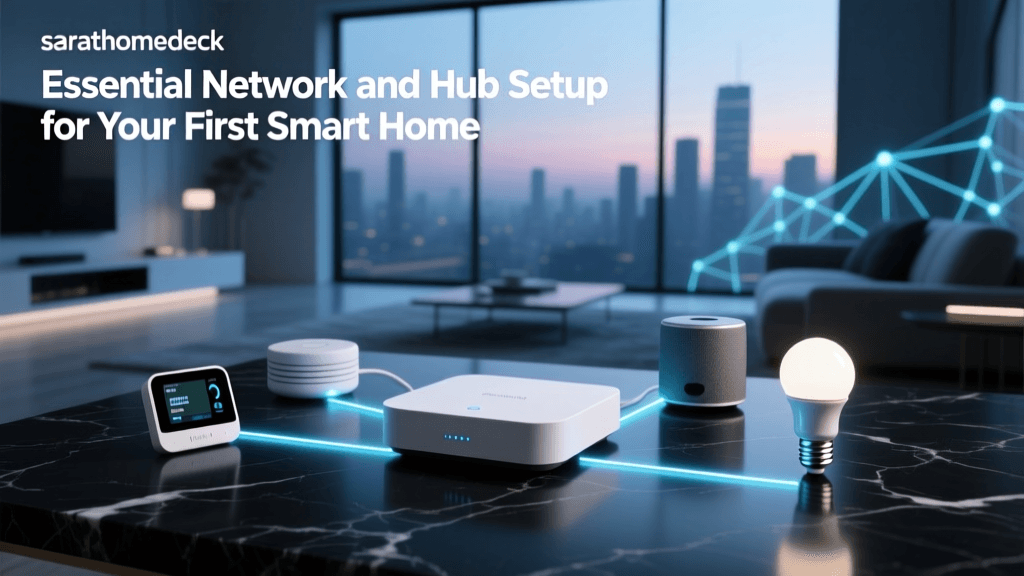
Network Topology: The Backbone of Smart Security
A smart security system is only as reliable as the network it operates on. This is where many DIY installations fail, leading to dropped connections and missed alerts.
Wi-Fi vs. Z-Wave vs. Zigbee
Most professional systems and high-end DIY hubs (like the Ring Alarm Pro or Samsung SmartThings Station) utilize Z-Wave or Zigbee protocols for door/window sensors and motion detectors. These low-power mesh networks operate on different frequencies (e.g., Z-Wave at 908.42 MHz in the US) than your home Wi-Fi, meaning they won't congest your 2.4GHz or 5GHz bands and offer superior wall penetration.
Conversely, standalone cameras from brands like Wyze or Blink rely entirely on your home's Wi-Fi network. If your router is located in the basement, the 5GHz signal will likely fail to penetrate the exterior walls to reach your outdoor cameras. In these cases, investing in a dedicated Wi-Fi Mesh Network is not optional; it is a mandatory infrastructure cost for a reliable DIY setup.
Safety, Compliance, and Sensor Placement
When installing smart smoke and carbon monoxide detectors like the Google Nest Protect or integrating smart relays into existing hardwired alarms, compliance with safety standards is critical. The National Fire Protection Association (NFPA) mandates that smoke alarms be installed inside every bedroom, outside each sleeping area, and on every level of the home, including the basement.
DIY installers must ensure that smart CO detectors are placed at the correct height (often knee-level for CO, ceiling-level for smoke, depending on the specific sensor technology) and that they are not painted over, which can block the sensor intake. Furthermore, the Department of Homeland Security (Ready.gov) recommends that physical home security measures, such as smart locks and reinforced strike plates, be paired with digital monitoring to create a comprehensive defense against intrusions.
Step-by-Step Decision Matrix
Still on the fence? Use this decision matrix to determine the best installation route for your specific situation.
- Choose DIY If:
- You rent your home or plan to move within the next 2-3 years.
- You are comfortable using a power drill, configuring router settings, and troubleshooting mobile apps.
- You want to avoid long-term contracts and high monthly monitoring fees.
- Your home is a single story with standard drywall construction.
- Choose Professional If:
- You own a large, multi-story home with complex architecture (stone, brick, plaster).
- You require hardwired PoE camera systems or integrated fire/burglar alarm panels that require local fire marshal certification.
- You want a single point of contact for 24/7 technical support and hardware warranties.
- You prefer a 'set it and forget it' approach and are willing to pay a premium for convenience.
Conclusion: Finding the Right Balance
The debate between professional and DIY smart security installation ultimately boils down to a trade-off between capital and time. DIY installations offer massive long-term financial savings, unparalleled flexibility, and the satisfaction of building a system tailored exactly to your needs. However, they demand a solid understanding of network topology, basic carpentry, and a willingness to troubleshoot software quirks.
Professional installations, while significantly more expensive over a 5-year period, provide a polished, code-compliant, and fully managed ecosystem. By carefully evaluating your home's construction, your technical aptitude, and your long-term housing plans, you can select the installation method that delivers maximum security without compromising your budget.