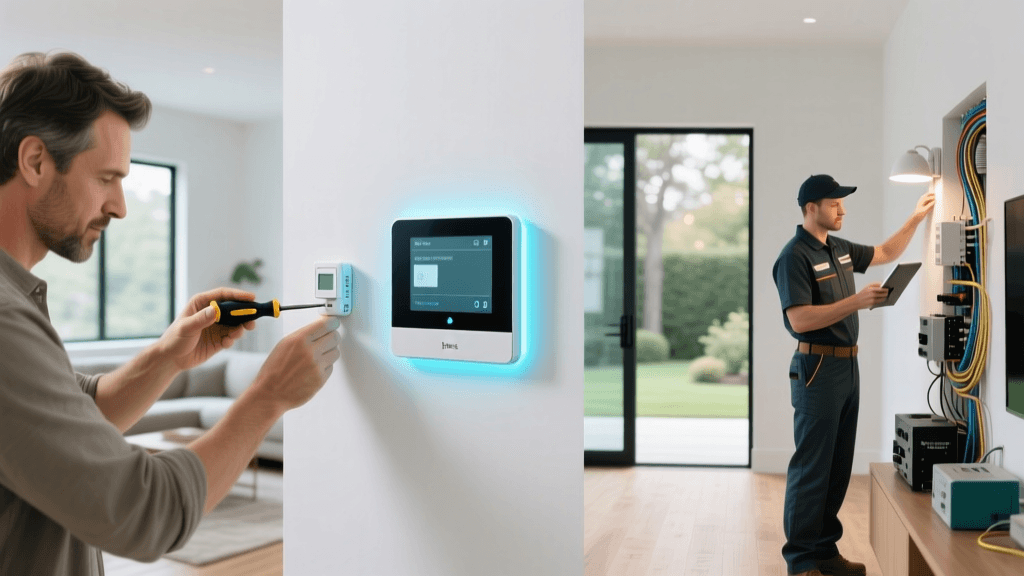
The Paradigm Shift to Local Smart Home Control
As the smart home ecosystem matures, DIY installers and homeowners are increasingly moving away from fragmented, cloud-dependent applications toward unified, local control hubs. Relying solely on cloud servers for your smart home introduces three critical vulnerabilities: latency, privacy concerns, and internet-dependency. If your ISP goes down, a cloud-dependent smart home becomes a collection of disconnected plastic bricks. By configuring a local smart home controller like Home Assistant, you reclaim ownership of your data, achieve near-instantaneous device response times, and ensure your automations run reliably even during network outages.
Home Assistant has emerged as the undisputed champion of local smart home control. It supports thousands of integrations, bridges disparate ecosystems (like Apple HomeKit, Zigbee, Z-Wave, and Matter), and offers a highly customizable dashboard. According to the Connectivity Standards Alliance, the push toward local IP-based protocols like Matter and Thread underscores the industry's recognition that local processing is the future of reliable smart home automation. This guide will walk you through the comprehensive setup and configuration of Home Assistant as your central controller, from hardware selection to advanced app integration.
Selecting Your Controller Hardware
Before diving into software configuration, you must select the right hardware to host your controller. While many enthusiasts start with a Raspberry Pi, the modern smart home requires more robust, reliable hardware to handle database writes, camera streams, and complex automations.
- Home Assistant Green ($99): The official entry-level appliance. It is plug-and-play, requires no SD card, and is optimized specifically for the Home Assistant OS. Ideal for beginners.
- Intel N100 Mini PC ($150 - $200): The current gold standard for advanced DIYers. Brands like Beelink or GMKTec offer N100-based mini PCs that vastly outperform Raspberry Pis, offering NVMe storage and superior thermal management for under $200.
- Raspberry Pi 5 ($80+): A viable option if you already own one, but you must pair it with an active cooler and an external SSD via USB 3.0 to prevent SD card corruption from frequent database logging.
Essential Peripherals: To build a robust local mesh network, you will need a Zigbee coordinator. The Sonoff Zigbee 3.0 USB Dongle Plus (P-Version) (~$25) or the Home Assistant SkyConnect (~$35) are highly recommended. If you have legacy Z-Wave devices, the Aeotec Z-Stick Gen5+ (~$40) remains the most reliable choice.
Network Topology and Initial Onboarding
A local controller requires a stable network foundation. During the initial onboarding process outlined in the Home Assistant Getting Started Guide, you will be prompted to create an admin account and set your home location.
DHCP Reservation and VLANs
Before configuring the software, log into your router and assign a DHCP reservation (Static IP) to your Home Assistant device. This ensures that if the device reboots, its local IP address (e.g., 192.168.1.50) never changes, which is critical for local app connectivity and webhook integrations. For advanced users running UniFi or pfSense routers, isolating IoT devices on a dedicated VLAN (Virtual Local Area Network) and setting up firewall rules to allow only the Home Assistant IP to communicate with the IoT subnet is a best practice for security.
Configuring the Home Assistant Companion App
The Home Assistant Companion App is your primary interface for on-the-go control. Configuring it correctly ensures seamless transitions between your home Wi-Fi and cellular networks.
- Internal Connection URL: Set this to your local IP address and port (e.g., http://192.168.1.50:8123). This ensures the app communicates directly with the hub when you are on your home Wi-Fi, bypassing the internet entirely for zero-latency control.
- External Connection URL: To access your hub away from home, avoid setting up manual port forwarding, which exposes your network to security risks. Instead, subscribe to Home Assistant Cloud (Nabu Casa) for $6.50/month. It provides a secure, encrypted remote connection and financially supports the project. Alternatively, advanced users can configure a free Cloudflare Tunnel.
- Location Tracking: Enable 'High Accuracy Mode' only when necessary, as it drains mobile batteries. Instead, rely on zone-based geofencing to trigger automations (like turning on the HVAC when you enter a 200-meter radius of your home).
Zigbee and Z-Wave Stack Configuration
Integrating local wireless protocols is where Home Assistant truly shines. For Zigbee, you have two primary configuration paths: ZHA (Zigbee Home Automation) and Zigbee2MQTT. The official ZHA documentation provides a deep dive into the native integration, but understanding the differences is crucial for your setup.
| Feature | ZHA (Native Integration) | Zigbee2MQTT (Add-on) |
|---|---|---|
| Setup Complexity | Low (Plug and Play) | Medium (Requires MQTT Broker) |
| Device Compatibility | High (Most standard devices) | Very High (Includes obscure/Tuya devices) |
| Resource Usage | Low (Runs in core) | Medium (Runs as separate container) |
| UI Customization | Standard HA Device Pages | Dedicated Z2M Dashboard |
Configuration Tip: If you are migrating from a SmartThings or Hubitat hub, ZHA is generally easier to set up. However, if you plan to use specialized Tuya Zigbee sensors or require advanced group binding, Zigbee2MQTT paired with the Mosquitto Broker add-on is the superior choice.
Visualizing Performance: Cloud vs. Local Latency
One of the most immediate benefits users notice after configuring a local controller is the elimination of the 'cloud lag'. When you tap a button in a cloud-dependent app, the signal travels to a remote server, is processed, and is sent back to your hub. Local processing eliminates this round trip. The chart below illustrates the average command latency measured across different smart home architectures.
Bridging Existing Hubs and Matter Integration
You do not need to abandon your existing proprietary hubs to use Home Assistant. In fact, Home Assistant excels as an aggregator. You can integrate your Philips Hue Bridge, Lutron Caseta Smart Bridge, and Sonos speakers directly via their local LAN APIs. This allows Home Assistant to poll or listen to local webhooks without relying on the manufacturers' cloud servers.
Embracing Matter and Thread
The introduction of the Matter protocol has changed the configuration landscape. To integrate Matter devices, you must install the Matter Server add-on within Home Assistant. Matter relies heavily on Thread, a low-power mesh networking protocol. Home Assistant does not act as a Thread Border Router natively; instead, it leverages existing border routers in your home, such as the Apple HomePod Mini, Apple TV 4K, or Nest Hub. When you commission a Matter-over-Thread device, Home Assistant communicates with these border routers via your local Wi-Fi network to control the end devices seamlessly.
Dashboard Design and Automation Logic
The default Home Assistant dashboard is functional but often overwhelming due to the sheer volume of entities. To create a user-friendly interface for your family, consider installing HACS (Home Assistant Community Store) to access custom frontend cards.
- Mushroom Cards: These provide a clean, modern, and highly customizable UI that mimics the aesthetics of Apple HomeKit.
- Layout-Card: Allows you to define precise grid layouts, ensuring your dashboard looks perfect on both wall-mounted tablets and mobile phones.
Automation Best Practices
When configuring automations, always prioritize Entity State Triggers over Device Triggers. A device trigger is tied to a specific hardware ID; if the physical switch breaks and you replace it, you must rewrite the automation. An entity state trigger (e.g., 'When binary_sensor.motion_1 changes to On') is hardware-agnostic. If you replace the sensor, you simply assign the new hardware to the existing entity ID, and your automations continue to function without modification.
Pro-Tip: Power Protection
A local smart home controller is essentially a server. You must connect your Home Assistant hardware and your primary network switch to a UPS (Uninterruptible Power Supply). A sudden power loss can corrupt the database, and a local hub without a network is entirely useless. A basic 600VA UPS ($60) is sufficient to keep your controller, router, and ONT running during brief outages.
Troubleshooting Common Setup Roadblocks
Even with meticulous configuration, DIY installers frequently encounter specific hardware and network roadblocks. Here is how to resolve the most common issues:
USB 3.0 Interference with Zigbee
If your Zigbee network is experiencing massive packet loss or devices keep dropping offline, the culprit is likely USB 3.0 interference. USB 3.0 ports and cables emit broad-spectrum radio frequency noise that directly overlaps with the 2.4GHz Zigbee band. The Fix: Never plug your Zigbee dongle directly into the server. Always use a 1-meter to 2-meter USB 2.0 extension cable to move the dongle away from the motherboard and closer to the center of your home, instantly stabilizing the mesh network.
Database Bloat and System Slowdowns
By default, Home Assistant logs the state of every entity for 10 days. If you have power monitors or Zigbee sensors reporting every 3 seconds, your database will balloon to gigabytes in size, causing dashboard lag. The Fix: Edit your configuration.yaml file to configure the recorder integration. Exclude volatile entities (like instantaneous power draw or temperature fluctuations) from being recorded in the long-term database, or reduce the global purge interval to 5 days.
Conclusion
Configuring Home Assistant as your central smart home controller requires an upfront investment of time and a willingness to learn new networking concepts. However, the reward is a deeply integrated, hyper-fast, and entirely private smart home ecosystem. By carefully selecting your hardware, isolating your IoT network, choosing the right Zigbee stack, and designing intuitive dashboards, you transform a collection of disparate gadgets into a truly intelligent, automated home.