The Case for a Unified Local Controller
As the smart home ecosystem expands, homeowners frequently find themselves trapped in a fragmented landscape of proprietary hubs and disjointed mobile applications. Managing Philips Hue lights via one app, Ecobee thermostats via another, and Aqara sensors through a third creates a frustrating user experience and introduces severe reliability bottlenecks. When your internet connection drops, cloud-dependent smart homes grind to a halt. Transitioning to a unified, local smart home controller like Home Assistant solves these issues by centralizing device management, processing automations locally, and providing a single pane of glass for your entire property.
Configuring a local controller requires a methodical approach to hardware selection, network segmentation, protocol integration, and application design. This comprehensive guide will walk you through the exact steps to configure Home Assistant as the central nervous system of your smart home, bridging Matter, Zigbee, Z-Wave, and Wi-Fi devices into a cohesive, lightning-fast automation platform.
Choosing Your Controller Hardware
Before configuring the software, you must select the appropriate hardware to host your controller. While it is possible to run Home Assistant on a virtual machine or a repurposed laptop, dedicated hardware ensures 24/7 reliability, low power consumption, and seamless peripheral integration. According to the official Home Assistant installation guidelines, running the Home Assistant Operating System (HAOS) on dedicated hardware provides the most stable experience, allowing for supervised add-ons and full system backups.
| Hardware Option | Average Cost | Specifications | Best Use Case |
|---|---|---|---|
| Home Assistant Green | $99 | Rockchip RK3566, 8GB RAM, 32GB eMMC | Beginners; plug-and-play local setup |
| Raspberry Pi 4 / 5 | $75 - $120 | Broadcom BCM2711/2712, 4GB/8GB RAM | DIY enthusiasts; requires external SSD |
| Intel NUC / Mini PC | $150 - $300 | Intel N100 / i3, 8GB+ RAM, 256GB+ NVMe | Power users; large homes with 100+ devices |
For most medium-to-large homes, an Intel N100 Mini PC running a dedicated NVMe SSD is the optimal choice. It provides ample processing headroom for database logging, local voice processing, and media server add-ons, while consuming less than 15 watts of power at idle.
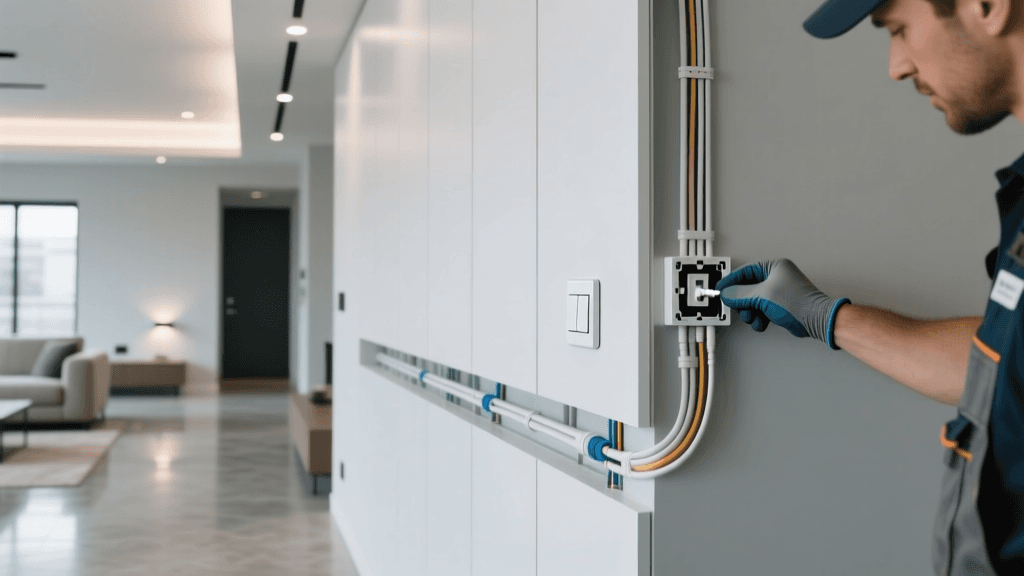
Network Configuration and IoT Segmentation
A critical, often overlooked step in controller setup is network architecture. Smart home devices are notorious for lacking robust security updates. To protect your primary network (where your phones and computers reside), you should configure a dedicated IoT VLAN (Virtual Local Area Network) or a separate guest SSID specifically for smart home gear.
Step-by-Step Network Prep:
- Subnetting: Create a dedicated subnet (e.g., 192.168.2.x) for IoT devices. Place your Home Assistant controller on this subnet or configure firewall rules to allow the controller's IP (e.g., 192.168.1.50) to initiate connections to the IoT subnet, but block the IoT subnet from initiating connections to your main LAN.
- DHCP Reservations: Access your router's DHCP settings and assign static IP reservations to your Home Assistant server, all Wi-Fi-based smart plugs, and hub gateways. This prevents IP conflicts and ensures local API calls never break due to IP changes.
- mDNS Repeater: Many smart devices rely on multicast DNS (mDNS) for local discovery. If your controller and IoT devices are on different VLANs, you must configure an mDNS repeater (available as an add-on in HAOS or via your router's IGMP proxy settings) so the controller can discover devices across subnets.
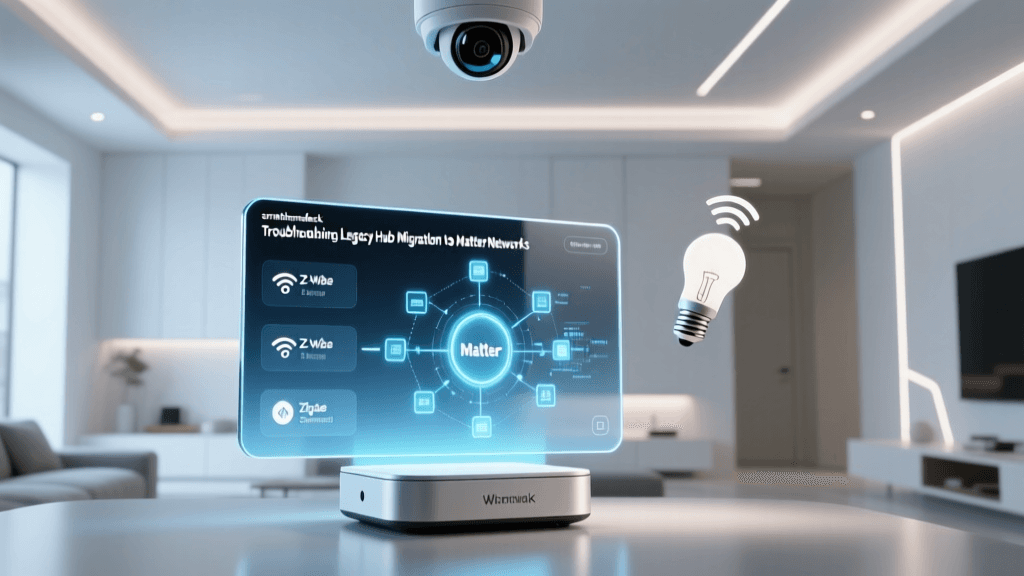
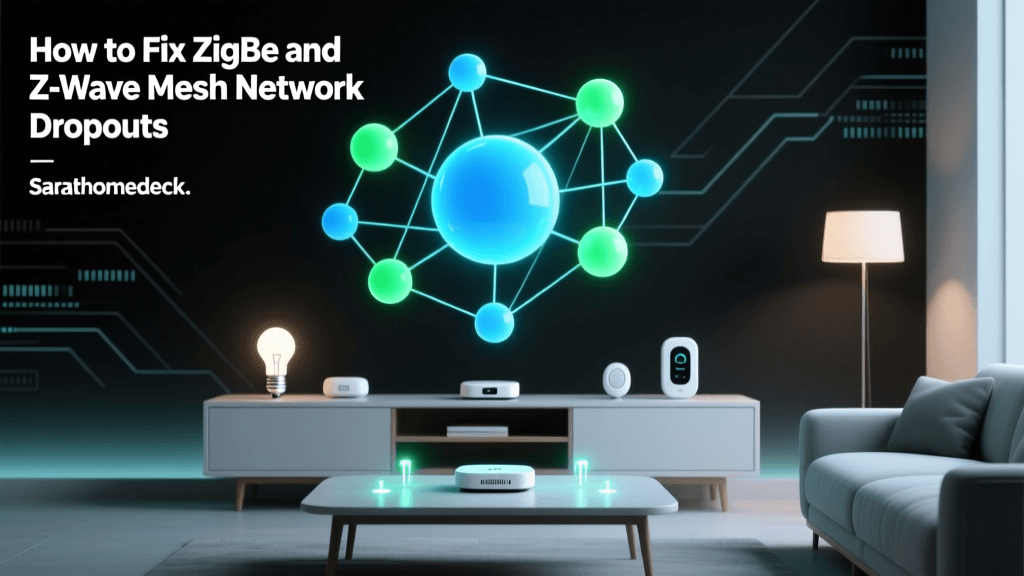
Integrating Wireless Protocols: Zigbee, Z-Wave, and Matter
A unified controller must speak multiple languages. While Wi-Fi handles high-bandwidth devices like cameras, low-power sensors and switches rely on mesh networks. The Connectivity Standards Alliance (CSA) has introduced the Matter protocol to unify IP-based smart home communications, but legacy Zigbee and Z-Wave devices still require dedicated radio dongles.
Configuring the Zigbee Home Automation (ZHA) Integration
To integrate Zigbee devices, purchase a dedicated USB coordinator such as the Home Assistant SkyConnect ($39) or the Sonoff Zigbee 3.0 USB Dongle Plus ($25). Plug the coordinator into your server using a USB 2.0 extension cable—this is crucial, as USB 3.0 ports generate severe 2.4GHz interference that will cripple your Zigbee mesh range.
- Navigate to Settings > Devices & Services in the Home Assistant web UI.
- Click Add Integration and search for 'ZHA'.
- Select your USB coordinator from the drop-down list and choose the correct baud rate (typically 115200 for standard sticks).
- Once initialized, place your coordinator in pairing mode and reset your Zigbee sensors (like Aqara door sensors or Hue motion detectors) to join them directly to your local mesh, completely bypassing proprietary cloud hubs.
Adding Z-Wave and Matter
For Z-Wave, the Zooz 800 Series Z-Wave Long Range USB stick offers superior range and supports the newer 800-series chips. Configure it using the Z-Wave JS UI add-on, which provides a visual mesh map and allows for advanced parameter tweaking. For Matter over Thread, the aforementioned SkyConnect can be flashed with OpenThread Border Router (OTBR) firmware, allowing you to pair Matter devices natively via the Home Assistant Companion App on your smartphone.
Local vs. Cloud Automation Performance
Why go through the effort of configuring a local controller? The answer lies in latency and reliability. Cloud-based hubs must send a signal from your home, to a remote server, process the logic, and send a command back. Local controllers process logic on your LAN. The performance difference is staggering, especially in multi-step automation workflows.
As visualized above, local processing reduces motion-to-light latency by nearly 85%. This ensures that when you walk into a dark room, the lights respond instantly, mimicking the behavior of traditional wired switches.
App Configuration and Dashboard Design
The default Home Assistant dashboard is functional but cluttered. To achieve a premium, whole-home control experience, you must configure a custom Lovelace dashboard optimized for both wall-mounted tablets and mobile devices.
Structuring Your Views
Organize your dashboard by context rather than device type. Create separate views for 'Lighting', 'Climate', 'Security', and 'Media'. Utilize the Mushroom Cards custom frontend repository (installed via HACS - Home Assistant Community Store) to create clean, modern, and tactile control elements.
Pro Tip: When configuring the mobile app, use the 'Areas' feature in Home Assistant to group devices by room. The Companion App can then automatically generate location-aware dashboards, showing you the controls for the kitchen when your phone connects to the kitchen's local Wi-Fi access point.
Bridging to Apple HomeKit and Google Home
While Home Assistant's native app is powerful, family members often prefer the native voice assistants and interfaces of Apple HomeKit or Google Home. You can configure Home Assistant to act as a bridge, exposing your unified local devices to these ecosystems without relying on the manufacturers' cloud servers.
Configuring the HomeKit Bridge Integration
- Go to Settings > Devices & Services > Add Integration > HomeKit Bridge.
- Select 'Bridge' mode rather than 'Accessory' mode to expose multiple entities through a single QR code.
- Choose which domains to expose (Lights, Switches, Climate, Locks). Avoid exposing sensors to HomeKit to prevent cluttering the Apple Home app with hundreds of data points.
- Scan the generated QR code with your iOS device. Home Assistant will now push local state changes to Apple HomeKit in milliseconds.
Advanced Automation Workflows
The true power of a unified controller is revealed in complex, multi-condition automations. While the visual automation editor is great for simple triggers, advanced users should configure automations using YAML to leverage Jinja2 templating.
Below is an example of a circadian lighting configuration that adjusts the color temperature of your living room lights based on the sun's elevation, calculated locally without any cloud weather APIs:
alias: Circadian Lighting Adjust
trigger:
  - platform: time_pattern
    minutes: /5
action:
  - service: light.turn_on
    target:
      entity_id: light.living_room_main
    data:
      color_temp_kelvin: "{{ state_attr('sun.sun', 'elevation') | float * 100 + 2000 }}"
      brightness_pct: 100
This script runs every five minutes, dynamically shifting your lights from a cool 5000K at noon to a warm 2000K at sunset, promoting natural melatonin production in the evening.
Troubleshooting mDNS and Device Discovery
A common hurdle during initial setup is the failure of the controller to discover Wi-Fi smart plugs or cast-enabled media players. This is almost always an mDNS (Multicast DNS) or IGMP snooping issue on your router.
- Disable IGMP Snooping: On some consumer routers, IGMP snooping aggressively blocks multicast packets. Temporarily disabling it in your router's LAN settings can restore device discovery.
- Use IP Addresses Instead of Hostnames: If local DNS resolution fails, configure your integrations (like the WLED or Shelly integrations) using the static IP addresses you reserved earlier, rather than relying on '.local' hostnames.
Securing Remote Access
Accessing your smart home securely while away from home is a top priority. Avoid port forwarding port 8123 on your router, as this exposes your login page to the open internet. Instead, configure a secure tunnel.
The easiest method is subscribing to Nabu Casa, the official cloud partner that funds Home Assistant development, providing a secure, zero-configuration remote UI. Alternatively, tech-savvy users can configure Tailscale or Cloudflare Tunnels via the add-on store. Tailscale creates a secure, peer-to-peer WireGuard mesh network, allowing your mobile devices to access the Home Assistant local IP address securely from anywhere in the world, with zero open ports on your home firewall.
Backup and Maintenance
Finally, a unified controller requires a robust backup strategy. Home Assistant generates daily automated backups of your configuration, database, and add-ons. Configure the Google Drive Backup or Samba Share add-on to automatically upload these encrypted archives to an off-site location or a local NAS. In the event of hardware failure, you can restore your entire smart home ecosystem, including all Zigbee network keys and automation logic, to a new device in under ten minutes.
By meticulously configuring your hardware, network, protocols, and dashboards, you transform a chaotic collection of smart gadgets into a resilient, unified, and truly intelligent home.