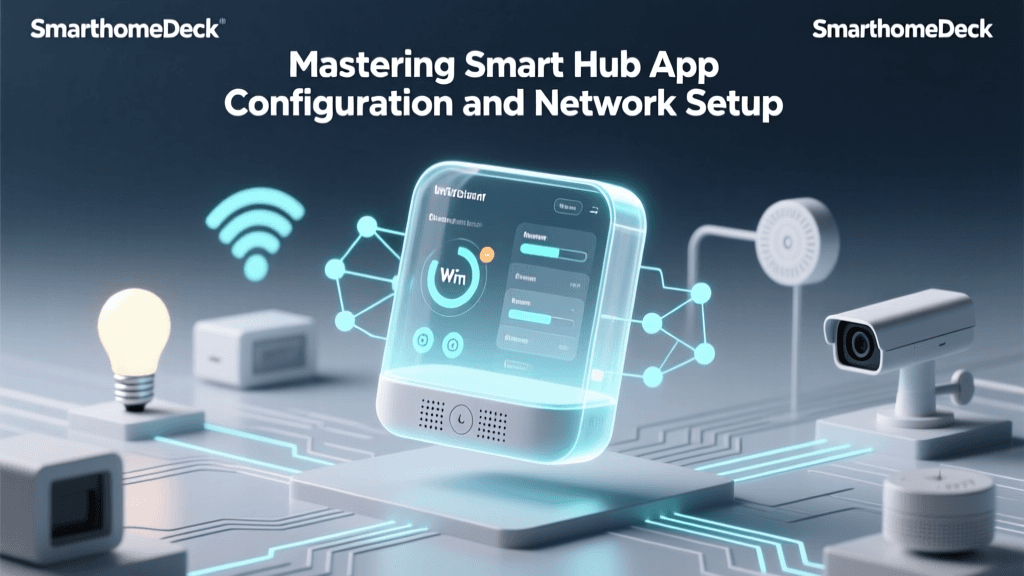
The central controller is the undisputed brain of any modern smart home, but its true potential is only unlocked through meticulous app configuration and network synchronization. Whether you are deploying a cloud-assisted ecosystem like Samsung SmartThings or a local-first powerhouse like Home Assistant, the way you configure the companion app dictates your system's latency, reliability, and privacy. For DIY installers and homeowners, understanding the nuances of hub deployment and mobile app synchronization is the difference between a frustrating gadget collection and a seamless, automated living space.
In this comprehensive guide, we will explore the architectural differences between leading smart home controllers, detail the network prerequisites for deployment, and provide step-by-step app configuration workflows. By the end of this article, you will know exactly how to optimize your hub's mobile interface for multi-protocol management, advanced geofencing, and bulletproof local automation.
The Core Debate: Cloud-Assisted vs. Local-First Controllers
Before diving into app menus, it is crucial to understand the processing architecture of your chosen hub. The market is currently divided into two primary philosophies: cloud-assisted processing and local-first processing. Samsung SmartThings primarily relies on cloud servers to process complex automations and sync with third-party services, offering a highly polished, user-friendly app experience at the cost of internet dependency. Conversely, Home Assistant processes all logic locally on the hub's onboard processor, ensuring sub-millisecond latency and total privacy, though it demands a steeper learning curve during the initial app configuration.
'A local-first smart home controller ensures that your critical automations—such as HVAC setbacks, security alarms, and lighting schedules—continue to function flawlessly even during a complete internet outage.'
Below is a structural comparison of the two dominant hub architectures to help you align your app configuration strategy with your hardware:
| Feature | Samsung SmartThings (Gen 3 / Aeotec) | Home Assistant Green / Yellow |
|---|---|---|
| Processing Architecture | Cloud-Assisted (Local execution for select LAN devices) | 100% Local (Optional cloud via Nabu Casa) |
| App Complexity | Low (Beginner-friendly, guided UI) | High (Power-user focused, granular control) |
| Matter & Thread Support | Yes (Native on newer hubs, via TV for older) | Yes (Native via Silicon Labs radios) |
| Average Hardware Cost | $80 - $130 | $99 - $199 |
| Remote Access Setup | Automatic (via Samsung Account) | Manual (Port forwarding) or Nabu Casa Subscription |
Network Prerequisites for Hub Deployment
A smart home controller is only as stable as the network it resides on. The most common cause of app sync failures and 'device offline' errors is poor network architecture. Smart home hubs require a stable, low-latency connection to your router, ideally via an Ethernet backhaul rather than Wi-Fi. If your hub must use Wi-Fi, ensure it is connected to a dedicated 2.4GHz SSID, as most IoT devices and hub radios do not support 5GHz or 6GHz bands.
For advanced DIY installers, segmenting your IoT devices onto a separate Virtual Local Area Network (VLAN) is highly recommended. This prevents chatty IoT devices from congesting your primary network and adds a layer of security. According to the Cybersecurity and Infrastructure Security Agency (CISA), isolating IoT devices from your primary computing network is a foundational step in mitigating the risk of compromised smart home endpoints. When configuring your VLAN, ensure that Multicast DNS (mDNS) reflection is enabled on your router; otherwise, your mobile app will fail to discover the local hub when your phone is on the main Wi-Fi network.
Finally, always assign a static IP address or a DHCP reservation to your smart home hub via your router's admin panel. If the hub's IP address changes after a router reboot, the companion app will lose its local connection and default to slower cloud polling.
Step-by-Step SmartThings App Configuration
The Samsung SmartThings app is designed for rapid deployment and broad compatibility. To begin, ensure your smartphone is connected to the same 2.4GHz Wi-Fi network as your hub. Open the app, navigate to the 'Devices' tab, and tap the '+' icon to add a new hub. The app will scan the local network via mDNS to locate the SmartThings Station or Aeotec Smart Home Hub.
Pairing Multi-Protocol Devices
Once the hub is claimed, the real configuration begins. SmartThings excels at aggregating different protocols. To add a Matter device, tap 'Add Device' and select 'Scan QR Code.' The app will leverage the hub's Thread Border Router to commission the device securely. For Zigbee and Z-Wave devices, navigate to the hub's settings in the app and select 'Zigbee/Z-Wave Utilities.' Here, you can initiate 'Pairing Mode' directly from your phone, which is essential when adding sensors in distant rooms where reaching the physical hub is impractical.
Optimizing Automations and Routines
SmartThings automations are configured in the 'Automations' tab. For optimal reliability, configure your routines to use local sensors rather than cloud-based weather APIs. For example, instead of using a cloud weather service to trigger your sprinkler system, pair a local Zigbee soil moisture sensor. This reduces cloud latency and ensures the automation executes even if the SmartThings cloud experiences an outage.
Step-by-Step Home Assistant App Setup
Home Assistant (HA) offers unparalleled control, but its companion app requires deliberate configuration to function smoothly. After booting your Home Assistant Green or Raspberry Pi, access the local web interface via http://homeassistant.local:8123. Once the initial onboarding is complete, download the Home Assistant Companion App on your iOS or Android device.
Establishing Local and Remote Connections
When you open the companion app, it will search for the local server. If you are on the same Wi-Fi network, it will connect directly via port 8123. However, to ensure the app syncs your dashboards and sensor data when you leave the house, you must configure remote access. The most secure and frictionless method is subscribing to Nabu Casa, which creates an encrypted WebSocket tunnel without exposing your home network to the public internet via port forwarding.
Configuring the Companion App Sensors
The true power of the HA companion app lies in its ability to turn your smartphone into a multi-sensor node. Navigate to 'Settings > Companion App' and enable location tracking, battery state, and Wi-Fi connection sensors. This allows your hub to trigger automations based on your precise GPS coordinates or the moment your phone connects to your home Wi-Fi. You can even configure the app to push local notifications to your phone or smartwatch based on HA automation triggers, bypassing third-party servers entirely.
Multi-Protocol Management and Latency
Modern hubs must juggle Zigbee, Z-Wave, Thread, and Matter simultaneously. How the companion app visualizes and manages these mesh networks varies wildly. SmartThings provides a simplified 'mesh map' that is largely abstracted from the user, whereas Home Assistant's Zigbee Home Automation (ZHA) and Matter integrations provide raw data on signal strength (LQI) and routing paths.
The processing architecture of your hub dramatically impacts the latency of these protocols. Local processing eliminates the round-trip to a cloud server, resulting in near-instantaneous physical feedback. The Connectivity Standards Alliance (CSA) designed the Matter protocol to unify these ecosystems, but local execution remains the gold standard for performance.
As the data illustrates, local hub processing reduces command latency by up to 90%. When configuring your app, always prioritize local integrations (like local LAN control for Wi-Fi bulbs) over cloud-to-cloud integrations whenever the option is presented in the hub's device settings.
Advanced Automation: Geofencing and Energy Management
App configuration extends beyond simple on/off toggles; it is the gateway to contextual automation. Geofencing uses your smartphone's GPS to create a virtual perimeter around your home. In the SmartThings app, this is configured under 'Presence' and 'Geofencing' settings. In Home Assistant, it is managed via the 'Zones' configuration and the companion app's location tracking.
Accurate geofencing is critical for energy management. The U.S. Department of Energy highlights that properly configured smart thermostats can save homeowners up to 10% annually on heating and cooling by utilizing occupancy-based setbacks. To configure this effectively, ensure your app's geofence radius is set to at least 150 meters (approx. 500 feet) to prevent GPS drift from falsely triggering your HVAC system while you are still at home. Furthermore, configure a 'delay' condition in your automation logic—requiring all registered phones to be outside the geofence for at least 5 minutes before engaging 'Away' modes.
Troubleshooting App Sync and Hub Disconnects
Even the most meticulously configured smart home will occasionally experience app sync issues. When your mobile app displays devices as 'Offline' or 'Updating,' follow these structured troubleshooting steps:
- Verify mDNS and Network Discovery: If the app cannot find the hub locally, check your router settings. Ensure IGMP Snooping is enabled and that your Wi-Fi Access Points are not blocking multicast traffic between the 2.4GHz and 5GHz bands.
- Heal the Zigbee/Z-Wave Mesh: If specific devices are unresponsive in the app while others work fine, the mesh network may have a broken routing path. Use the hub's app utilities to initiate a 'Mesh Heal' or 'Network Repair.' This forces battery-powered devices to wake up and find new, optimal routes back to the hub.
- Check Wi-Fi Channel Overlap: Zigbee and Wi-Fi both operate on the 2.4GHz spectrum. If your app shows high latency or dropped packets for Zigbee sensors, log into your router and change your Wi-Fi channel to 1, 6, or 11. Then, use your hub's app settings to change the Zigbee channel to 15, 20, or 25 to eliminate signal interference.
- Clear App Cache and Re-authenticate: Cloud sync errors often stem from corrupted local app caches. Force close the SmartThings or Home Assistant app, clear the cache in your phone's OS settings, and re-authenticate your user credentials to force a fresh database pull from the hub.
Conclusion
Configuring a smart home controller and its companion app is a foundational task that dictates the daily performance of your entire automated ecosystem. Whether you opt for the accessible, cloud-assisted routing of Samsung SmartThings or the granular, local-first processing of Home Assistant, success relies on proper network segmentation, meticulous protocol management, and intelligent automation logic. By prioritizing local execution, securing your IoT VLAN, and fine-tuning your app's geofencing parameters, you will transform your smart home from a collection of novelty gadgets into a resilient, responsive, and highly efficient living environment.