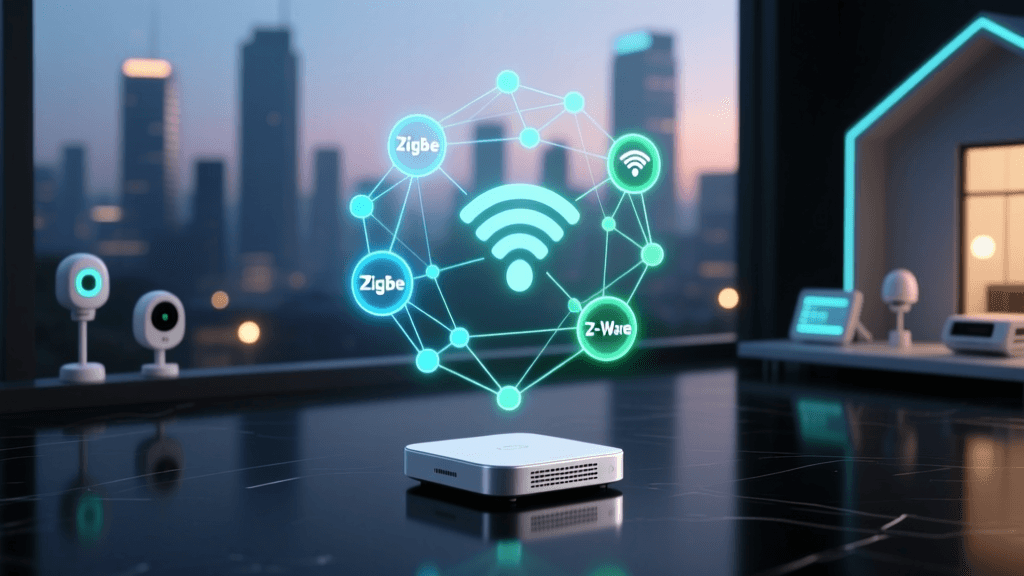
The Fragmentation Problem in Modern Smart Homes
As the smart home ecosystem has matured, the average DIY installer or homeowner has likely accumulated a diverse collection of devices from various manufacturers. You might have a Philips Hue lighting system that requires its own dedicated bridge, an Aqara leak sensor network relying on an Aqara hub, a Lutron Caseta switch setup demanding a Smart Bridge Pro, and a Samsung SmartThings station for general Zigbee and Z-Wave sensors. The immediate result of this hardware diversity is 'hub fatigue'—a frustrating scenario where you are forced to juggle five or six different mobile applications just to control your home.
This fragmentation not only ruins the user experience but also severely limits automation capabilities. Native apps are generally confined to their own walled gardens; your Aqara app cannot easily trigger your Hue lights without a third-party cloud intermediary like IFTTT, which introduces latency and reliability issues. The ultimate goal of advanced smart home setup and configuration is to unify these disparate hubs under a single, powerful primary controller. By mastering multi-hub app configuration, you can centralize your dashboard, execute complex local automations, and reclaim your smartphone's storage space.
Selecting Your Primary Command Center
To unify your ecosystem, you must designate a primary controller that will act as the 'brain' of your smart home. This controller will ingest data from your secondary hubs via local APIs, webhooks, or cloud integrations, and present a unified interface in its companion app. The three dominant platforms for this are Home Assistant, Hubitat, and SmartThings.
| Controller | Avg. Cost | Processing | Primary Protocols | App UI & Flexibility |
|---|---|---|---|---|
| Home Assistant Green | $99 | 100% Local | Wi-Fi, Zigbee, Thread, Z-Wave (via USB) | Highly customizable, YAML & UI based |
| Hubitat Elevation C-8 | $149 | Local (Cloud for remote) | Zigbee, Z-Wave, Wi-Fi, Thread | Utilitarian, Rule Machine focused |
| SmartThings Station V2 | $79 | Cloud / Edge Drivers | Wi-Fi, Zigbee, Thread, Matter | Polished, consumer-friendly |
For users seeking maximum control and a modern, unified mobile app experience, Home Assistant is the undisputed king. It can integrate with virtually every secondary hub on the market via local network polling or API tokens. Hubitat is an excellent alternative for those who prefer a simpler setup with robust local processing for Z-Wave and Zigbee devices, though its mobile app is less visually refined. SmartThings is best suited as a secondary hub for specific devices (like Samsung appliances or Aeotec sensors) rather than a primary local controller, due to its heavy reliance on cloud processing for many automations.
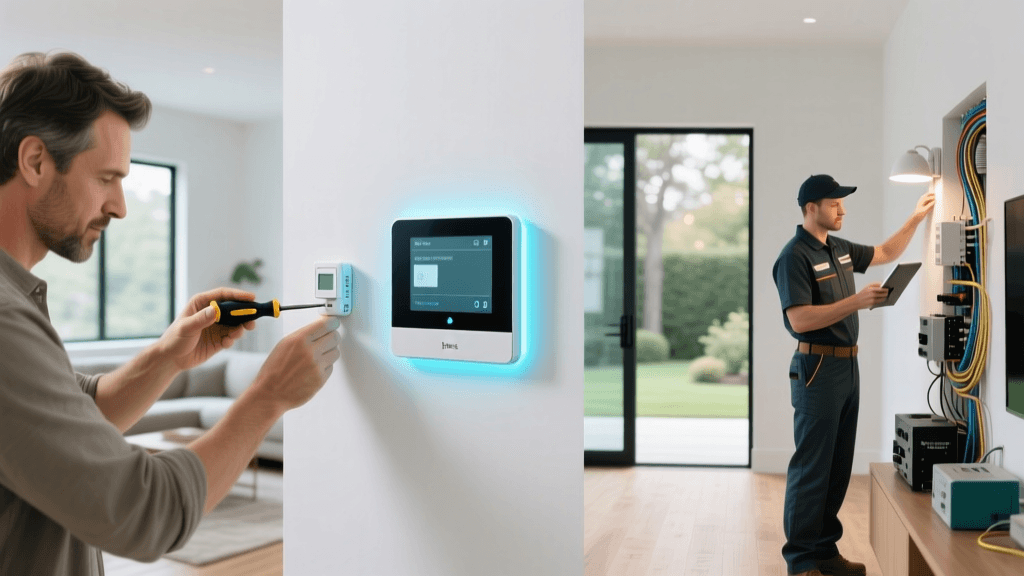
Network Prerequisites for Flawless App Syncing
Before you begin linking apps and generating API tokens, your underlying network topology must be optimized for device discovery and stable communication. Multi-hub configurations rely heavily on local network broadcasts, specifically Multicast DNS (mDNS) and SSDP/UPnP, to discover secondary hubs.
1. Static IP Assignment: Every secondary hub (Hue Bridge, SmartThings Station, Lutron Caseta Pro) must be assigned a static IP address via your router's DHCP reservation table. If a hub reboots and receives a new IP address, your primary controller's app integration will break until you update the configuration.
2. VLANs and mDNS Reflectors: Security-conscious installers often place IoT devices on a separate Virtual Local Area Network (VLAN). While this is excellent for security, it blocks mDNS broadcasts, meaning your primary controller on the main LAN cannot 'see' the secondary hubs on the IoT VLAN. To resolve this, you must configure an mDNS reflector (such as Avahi on a Linux machine, or the 'Multicast DNS' setting in pfSense/UniFi) to bridge discovery packets across subnets without opening unnecessary ports.
3. Zigbee and Wi-Fi Channel Planning: When syncing multiple hubs that utilize Zigbee (like the Hue Bridge and SmartThings Station), interference can cause app sync delays and dropped device states. Wi-Fi channels 1, 6, and 11 overlap heavily with Zigbee channels. Configure your 2.4GHz Wi-Fi to channel 1 or 6, and manually set your Zigbee hubs to channels 15, 20, or 25 via their respective native apps before integrating them into your primary controller.
Step-by-Step: Unifying SmartThings and Home Assistant
One of the most common multi-hub configurations involves using a SmartThings hub for Z-Wave sensors and Home Assistant as the primary controller. According to the Home Assistant SmartThings Integration documentation, this is achieved via a webhook-based cloud sync, though local polling is maintained once the link is established.
Step 1: Prepare Home Assistant Ensure your Home Assistant instance is accessible from the outside world. The SmartThings cloud needs to send webhook events to your Home Assistant server. The easiest and most secure way to do this is by subscribing to Nabu Casa (Home Assistant Cloud), which creates an encrypted tunnel without requiring you to open ports on your router or deal with dynamic DNS.
Step 2: Generate a Personal Access Token In the Home Assistant web UI, navigate to your User Profile (bottom left corner). Scroll down to 'Long-Lived Access Tokens' and create a new token. Copy this string immediately and store it in a secure password manager; it will not be shown again.
Step 3: Initiate the Integration Go to Settings > Devices & Services > Add Integration, and search for 'SmartThings'. You will be prompted to log into your Samsung account. Once authenticated, Home Assistant will automatically configure the webhook URL via Nabu Casa and begin importing all devices connected to your SmartThings hub.
Step 4: App Configuration Open the Home Assistant Companion App on your iOS or Android device. You will now see all your SmartThings entities alongside your native Home Assistant devices. You can group these into unified 'Areas' in the app settings, allowing you to control a SmartThings Z-Wave dimmer and a Wi-Fi smart bulb in the same room with a single tap.
Understanding Local vs. Cloud Latency
When configuring multiple hubs, understanding the latency differences between local API polling and cloud-based webhooks is critical for designing responsive automations. Cloud-dependent hubs must send a signal to a remote server, which then routes the command back to your home, introducing significant delays.
As the data illustrates, local controllers like Home Assistant and Hubitat execute commands in under 100 milliseconds, providing an instantaneous feel when using the app. Cloud-reliant configurations can take nearly a second. When building automations in your primary app that require split-second timing (such as motion-activated lighting or security alarms), always prioritize local integrations over cloud-based hub syncs.
Configuring Matter and Thread in Your App
The introduction of Matter and Thread has fundamentally changed how we approach hub configuration. Matter allows devices to be commissioned to multiple controllers simultaneously (Multi-Admin), reducing the need for complex API bridging. The Connectivity Standards Alliance (CSA) designed Matter to operate seamlessly over Thread, a low-power mesh networking protocol.
To configure Matter devices in your primary app, you need a Thread Border Router. Devices like the Apple TV 4K, Nest Hub Pro, or dedicated Home Assistant Connect ZBT-1 dongles serve this purpose. When you scan a Matter QR code using the Home Assistant or Apple Home app, the app communicates with the Border Router to securely commission the device onto your Thread mesh network.
Unlike legacy Zigbee hubs where the device is 'locked' to the hub it was first paired with, Matter allows you to enable 'Multi-Admin'. After commissioning a smart plug to your Apple Home app, you can navigate to the device settings, select 'Turn On Pairing Mode', and scan the code again with your Home Assistant app. Both controllers now have direct, local access to the device, completely bypassing the need for a secondary hub integration.
Troubleshooting App Sync and Webhook Failures
Even with meticulous setup, multi-hub environments occasionally experience sync failures. According to the Hubitat Official Documentation and Home Assistant community forums, the vast majority of app sync issues stem from three specific areas:
1. Expired OAuth Tokens: Cloud-based integrations (like linking an Ecobee thermostat or a SmartThings hub to Home Assistant) rely on OAuth tokens that may expire or be revoked if you change your primary account password. If your app shows 'entities unavailable' or 'login required', you must delete the integration and re-authenticate to generate a fresh token.
2. IP Conflicts and DHCP Leases: If a secondary hub drops off the app dashboard, verify its IP address. Some consumer routers aggressively reclaim DHCP leases if a hub is temporarily unplugged. Always use DHCP reservation tied to the hub's MAC address, rather than relying on the device's internal 'Static IP' setting, to prevent IP conflicts at the router level.
3. Rate Limiting from Secondary Hubs: If your primary app is configured to poll a secondary hub (like a Hue Bridge) too frequently—for example, requesting the status of 50 bulbs every 1 second—the secondary hub's internal processor will bottleneck, leading to app timeouts and lag. Adjust your polling intervals in the primary controller's YAML or integration settings to a minimum of 5 to 10 seconds, and rely on push-updates (webhooks) for instantaneous state changes.
By carefully planning your network topology, choosing the right primary controller, and understanding the nuances of local versus cloud APIs, you can transform a chaotic collection of smart home hubs into a seamless, unified ecosystem managed entirely from a single, powerful mobile application.