Smart Home Guide for Beginners: Complete Setup & Installation Walkthrough
Transforming your house into a smart home might feel overwhelming at first, but it does not have to be. Whether you want to control your lights with your voice, automate your thermostat, or keep an eye on your front door from anywhere in the world, building a smart home is a rewarding project that anyone can tackle. This comprehensive guide walks you through every step of the process, from choosing your ecosystem to installing your very first devices.
By the end of this guide, you will have a fully functional smart home foundation that you can expand upon for years to come. No technical expertise required — just a willingness to learn and a few hours of free time.
At a Glance
Difficulty Level: Beginner to Intermediate
Estimated Time: 3–6 hours (depending on the number of devices)
Cost Range: $150–$800+ depending on device selection
Skills Required: Basic Wi-Fi knowledge, ability to download apps, simple mounting (optional)
Tools & Products You Will Need
Before diving into the installation process, gather everything you need. Having your tools and products ready will make the setup process smooth and frustration-free.
Essential Items
- Smartphone or tablet — Required for device setup and control (iOS or Android)
- Reliable Wi-Fi router — A modern dual-band or tri-band router is strongly recommended
- Smart home hub or speaker — Such as an Amazon Echo, Google Nest Hub, or Apple HomePod
- Smart plugs — The easiest entry point for smart home automation (2–4 recommended to start)
- Smart bulbs or smart switches — For lighting automation
- Smart thermostat — For climate control and energy savings
- Smart security camera or video doorbell — For home monitoring
Helpful Tools
- Phillips-head screwdriver (for mounting cameras or swapping switches)
- Drill with bits (if mounting outdoor cameras or doorbells)
- Electrical tape and wire nuts (for smart switch or thermostat installation)
- Voltage tester (essential for any wired electrical work)
- Label maker or masking tape (for labeling switches and breakers)
- Step ladder (for reaching ceiling-mounted devices or high cameras)
Optional Add-Ons
- Smart locks for keyless entry
- Motion sensors for automation triggers
- Smart blinds or curtain controllers
- Mesh Wi-Fi system for larger homes
- Smart smoke & CO detectors
For a deeper look at recommended products for every budget, check out our best smart home devices roundup.
Step 1: Choose Your Smart Home Ecosystem & Plan Your Setup
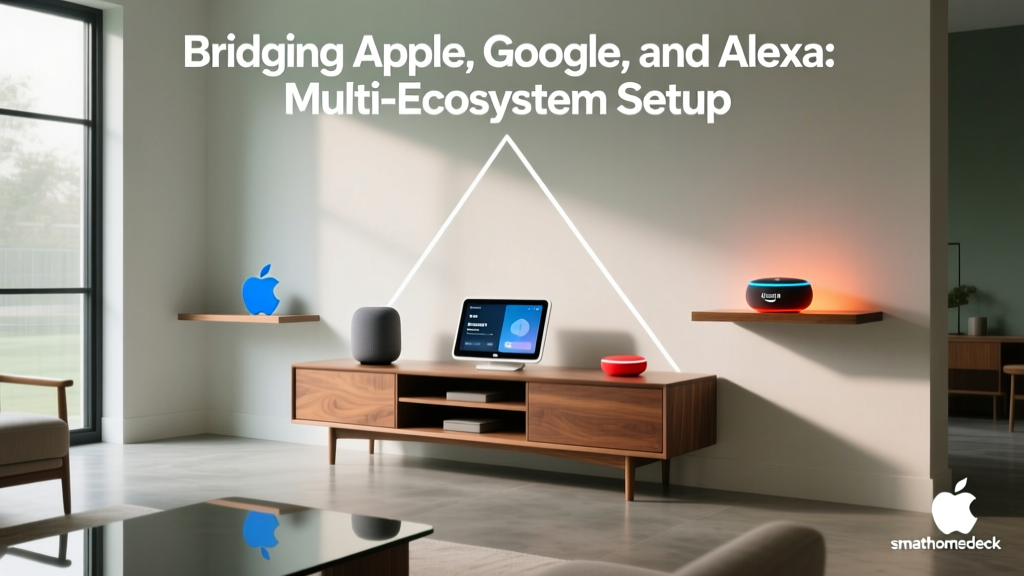
The single most important decision you will make when building a smart home is choosing your primary ecosystem. Think of the ecosystem as the central nervous system of your smart home — it determines which devices work together, how you control them, and what voice assistant you will use day to day.
The Big Three Ecosystems
Amazon Alexa is the most versatile option with the widest device compatibility. If you want access to the largest library of third-party smart home products and skills, Alexa is an excellent choice. The Amazon Echo lineup serves as both a smart speaker and a hub, and Alexa routines allow you to automate complex sequences of actions with a single command.
Google Home (Google Assistant) shines when it comes to natural language understanding and integration with Google services like Calendar, Maps, and YouTube. If your household already relies heavily on Google products, this ecosystem will feel like a natural extension. Google Nest devices serve as both speakers and hubs, and the Google Home app provides a clean, intuitive interface for managing your devices.
Apple HomeKit prioritizes privacy and security above all else. If you are deep in the Apple ecosystem with iPhones, iPads, and Apple Watches, HomeKit offers the most seamless experience. The trade-off is a smaller selection of compatible devices and generally higher price points for HomeKit-certified products. An Apple HomePod or Apple TV serves as the home hub.
Understanding Matter: The Future of Smart Home Compatibility
You may have heard of Matter, the new smart home connectivity standard backed by Amazon, Google, Apple, Samsung, and hundreds of other companies. Matter is designed to make smart home devices work across all ecosystems regardless of which one you choose. When shopping for new devices, look for the Matter logo on the packaging — this ensures broader compatibility and future-proofs your investment.
Planning Your Room-by-Room Strategy
Before buying anything, walk through your home and identify where smart devices will have the greatest impact. Here is a recommended priority order for beginners:
- Living room — Smart speaker/hub, smart bulbs, smart plugs for lamps and electronics
- Front door — Video doorbell, smart lock
- Kitchen — Smart display for recipes and timers, smart plugs for coffee makers
- Bedrooms — Smart bulbs with scheduling, smart plugs for fans
- Thermostat — Central climate control affects the entire home
- Outdoor areas — Security cameras, smart outdoor lighting
Start small with one or two rooms and expand gradually. This approach lets you learn as you go without feeling overwhelmed. Visit our room-by-room smart home ideas guide for more inspiration.
Step 2: Prepare Your Network & Set Up Your Hub
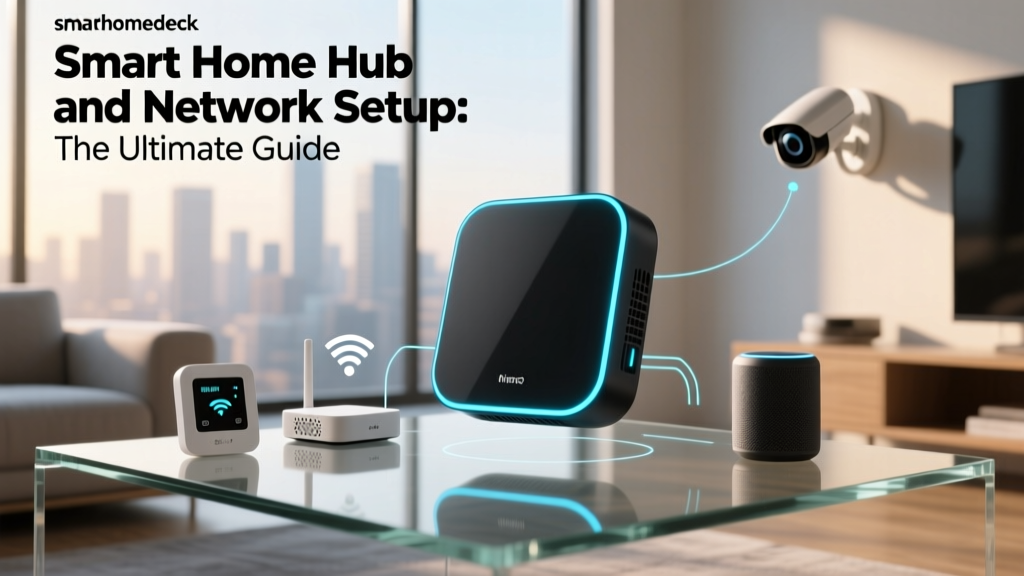
Your Wi-Fi network is the backbone of your entire smart home. Before connecting dozens of devices, you need to make sure your network can handle the load. A weak or overcrowded network is the number one cause of smart home frustration.
Optimize Your Wi-Fi Network
Follow these steps to prepare your network for smart home devices:
- Check your internet speed. Run a speed test on your phone or computer. Most smart home devices require minimal bandwidth individually, but collectively they can add up. Aim for at least 25 Mbps download speed for a basic smart home, or 100+ Mbps if you have security cameras streaming video.
- Update your router firmware. Log into your router's admin panel (usually by typing 192.168.1.1 or 192.168.0.1 into a web browser) and check for firmware updates. Updated firmware improves security and device management.
- Create a separate network for smart devices. Many modern routers allow you to create a guest network or a dedicated IoT (Internet of Things) network. This isolates your smart devices from your personal computers and phones, adding an extra layer of security. Name it something like "MyHome-IoT" so it is easy to identify.
- Choose the right frequency band. Most smart home devices operate on the 2.4 GHz band because it has better range and wall penetration. Reserve the 5 GHz band for bandwidth-hungry devices like laptops, streaming boxes, and gaming consoles. If your router supports it, enable band steering to automatically assign devices to the optimal frequency.
- Consider a mesh Wi-Fi system. If your home is larger than 2,000 square feet or has dead zones, a mesh system like Eero, Google Nest Wifi, or TP-Link Deco will ensure every smart device has a strong, reliable connection throughout your home.
Set Up Your Smart Home Hub
Once your network is ready, it is time to set up your central hub or smart speaker. This device will serve as the brain of your smart home and the primary way you interact with your devices.
- Unbox and plug in your smart speaker or hub in a central location. The living room or kitchen is usually ideal because these are high-traffic areas where voice commands are most useful.
- Download the companion app — Amazon Alexa app, Google Home app, or Apple Home app — on your smartphone.
- Follow the in-app setup wizard. This will walk you through connecting the device to your Wi-Fi network, signing into your account, and configuring basic settings like your home address and preferred language.
- Enable voice recognition. Most smart speakers can learn to recognize individual voices in your household. This allows for personalized responses, such as reading your calendar when you ask but your partner's calendar when they ask.
- Test your voice assistant. Try basic commands like "What's the weather?" or "Set a timer for 10 minutes" to confirm everything is working properly.
Pro Tip: If you have multiple household members, set up individual voice profiles and link personal accounts. This ensures that when someone says "Call Mom," the smart speaker calls the right person's mother.
Step 3: Install & Connect Your First Smart Devices
Now comes the exciting part — actually installing and connecting your smart home devices. We will walk through the most common device categories in order of difficulty, starting with the easiest.
Smart Plugs: The Easiest Starting Point
Smart plugs are the perfect first device because they require zero installation. Simply plug them into an existing outlet, then plug any lamp, fan, coffee maker, or other appliance into the smart plug.
- Plug the smart plug into a wall outlet.
- Open the manufacturer's app (such as the Kasa, Smart Life, or Tapo app) and create an account if you have not already.
- Tap "Add Device" in the app and follow the prompts to connect the plug to your Wi-Fi network. This usually involves connecting your phone to a temporary Wi-Fi network broadcast by the smart plug, then passing your home Wi-Fi credentials to it.
- Name the plug something descriptive like "Living Room Lamp" or "Bedroom Fan." Clear naming is critical for voice control.
- Link the plug to your ecosystem. In the Alexa, Google Home, or Apple Home app, enable the manufacturer's skill or integration and discover the device.
- Test it. Say "Hey Google, turn on Living Room Lamp" or use the app to toggle the plug on and off.
Smart Bulbs: Instant Lighting Control
Smart bulbs replace your existing light bulbs and give you control over brightness, color, and scheduling. Popular options include Philips Hue, LIFX, and Sengled.
- Turn off the light switch and let the existing bulb cool if it has been on.
- Remove the old bulb and screw in the smart bulb.
- Turn the light switch back on. The smart bulb will typically blink or change color to indicate it is in pairing mode.
- Open the bulb manufacturer's app and follow the setup process. Some bulbs connect directly to Wi-Fi, while others (like Philips Hue) require a dedicated bridge or hub.
- Assign the bulb to a room and give it a clear, descriptive name.
- Link to your voice assistant and test voice commands like "Dim the bedroom lights to 50 percent" or "Set the living room to warm white."
Important: Smart bulbs need constant power to stay connected. If someone flips the physical light switch off, the bulb goes offline. Consider using smart switches instead if this will be an issue in your household, or install switch guards that prevent the switch from being turned off.
Smart Thermostat: Save Energy & Stay Comfortable
A smart thermostat is one of the most impactful smart home devices you can install. It learns your schedule, adjusts temperatures automatically, and can reduce your energy bills by 10–15 percent.
- Turn off power to your HVAC system at the circuit breaker. Use a voltage tester to confirm there is no power flowing to the existing thermostat wires.
- Remove the old thermostat faceplate and take a photo of the wiring before disconnecting anything. This photo will be your reference if you need to troubleshoot.
- Label each wire with the included tags from your smart thermostat kit (typically labeled R, W, Y, G, C, etc.).
- Disconnect the wires and remove the old thermostat base plate.
- Install the new base plate using the included screws and wall anchors. Thread the wires through the center.
- Connect each wire to the corresponding terminal on the new thermostat base. If your system lacks a C-wire (common wire), check if your thermostat includes a C-wire adapter — many modern models do.
- Attach the thermostat display to the base plate and restore power at the circuit breaker.
- Follow the on-screen setup to connect to Wi-Fi and configure your heating & cooling preferences.
- Link to your voice assistant for voice-controlled temperature adjustments.
Need help choosing the right model? Read our best smart thermostats comparison to find the perfect fit for your HVAC system.
Smart Security Cameras & Video Doorbells
Security devices add peace of mind and are among the most popular smart home products. Here is how to install a typical battery-powered or wired camera:
- Choose the right location. For doorbells, mount at chest height (about 48 inches from the ground) near your front door. For outdoor cameras, position them 7–9 feet high, angled slightly downward to capture faces and packages.
- Charge the battery (for battery-powered models) or turn off power at the breaker (for wired models replacing an existing doorbell).
- Mount the bracket using the included screws and anchors. For brick or stucco, use a masonry bit.
- Attach the camera or doorbell to the bracket and secure it.
- Open the companion app (Ring, Nest, Arlo, etc.) and follow the setup process to connect to Wi-Fi.
- Configure motion zones to reduce false alerts. Focus detection areas on your walkway, driveway, or porch while excluding the street or neighbor's yard.
- Set up alerts and recording preferences according to your needs and any applicable subscription plans.
- Test the live feed and two-way audio from your phone.
Step 4: Create Automations & Routines
Connecting devices is only half the fun. The real magic of a smart home lies in automations — rules and routines that make your devices work together automatically without any input from you. This is where your home truly starts to feel "smart."
Understanding Triggers & Actions
Every automation has two components:
- Trigger: The event that starts the automation. Examples include a specific time of day, a motion sensor detecting movement, a door opening, or a voice command.
- Action: What happens when the trigger fires. Examples include turning on lights, adjusting the thermostat, playing music, or sending a notification to your phone.
Essential Beginner Automations to Set Up
1. Good Morning Routine
- Trigger: Weekday alarm time or voice command ("Good morning")
- Actions: Turn on bedroom lights to 30% brightness with warm white color, start the coffee maker (via smart plug), read today's weather & calendar, set thermostat to your preferred daytime temperature
2. Good Night Routine
- Trigger: Voice command ("Good night") or a scheduled bedtime
- Actions: Lock all smart locks, turn off all lights except a dim hallway nightlight, set thermostat to sleep temperature, arm security cameras, turn on Do Not Disturb
3. Away From Home Routine
- Trigger: All phones leave the home geofence (location-based trigger)
- Actions: Turn off all lights, set thermostat to eco mode, lock doors, arm security system, start robot vacuum
4. Motion-Activated Lighting
- Trigger: Motion sensor detects movement in a room
- Actions: Turn on that room's lights; after 10 minutes of no motion, turn lights off
5. Sunset Outdoor Lighting
- Trigger: Sunset (automatically calculated based on your location and time of year)
- Actions: Turn on porch light, pathway lights, and backyard smart plugs for landscape lighting; turn off at sunrise
How to Create Routines in Each Ecosystem
In Amazon Alexa: Open the Alexa app, tap "More" at the bottom, select "Routines," then tap the "+" icon. Choose your trigger, add one or more actions, and save. You can test the routine immediately from the app.
In Google Home: Open the Google Home app, tap "Automations" at the bottom, then "Add new automation." Select a starter (trigger) and one or more actions. Google's automation interface is visual and straightforward.
In Apple Home: Open the Home app, tap the "+" icon, and select "Add Automation." Choose your trigger conditions, select the devices and actions you want, and confirm. Apple's automations run locally on your home hub for fast, reliable execution.
For advanced automation ideas that go beyond the basics, explore our smart home automation ideas collection.
Step 5: Secure Your Smart Home & Maintain Your System
With your devices installed and automations running, the final step is making sure your smart home stays secure, updated, and running smoothly for the long haul.
Security Best Practices
- Use strong, unique passwords for every smart home account. A password manager like Bitwarden, 1Password, or LastPass makes this effortless.
- Enable two-factor authentication (2FA) on every account that supports it — your Amazon, Google, Apple, Ring, Nest, and any other smart home accounts. This is the single most effective step you can take to protect your smart home from unauthorized access.
- Keep device firmware updated. Most devices update automatically, but check the app periodically to make sure no updates are pending. Firmware updates often include critical security patches.
- Review app permissions. Periodically check which apps have access to your location, camera, and microphone. Revoke permissions for apps you no longer use.
- Set up a guest network for visitors so they are not on the same network as your smart home devices.
- Disable remote access on devices that do not need it. If a device only needs to work within your home, there is no reason to expose it to the internet.
Ongoing Maintenance Checklist
- Monthly: Check for firmware updates across all devices. Review security camera footage storage and clean up old clips. Test smoke & CO detectors if you have smart versions.
- Quarterly: Review and clean up automations — disable any you no longer use. Check battery levels on battery-powered devices like sensors, cameras, and doorbells. Clean camera lenses and check mounting hardware for loosening.
- Annually: Audit all connected devices and remove any you no longer own or use. Review your Wi-Fi network settings and update your router password. Evaluate whether any devices need upgrading or replacement.
Troubleshooting Common Smart Home Issues
Even the best-planned smart home setup can run into hiccups. Here are the most common problems beginners encounter and how to fix them.
Device Will Not Connect to Wi-Fi
Symptoms: The device setup fails during the Wi-Fi connection step, or the device shows as "offline" in the app.
Solutions:
- Confirm you are connecting to the 2.4 GHz band, not the 5 GHz band. Most smart home devices only support 2.4 GHz.
- Move the device closer to the router during initial setup, then relocate it after a successful connection.
- Restart your router and try again.
- Check that your Wi-Fi password does not contain special characters that some devices struggle with. If it does, try simplifying the password temporarily.
- Ensure your phone's Bluetooth is turned on — many devices use Bluetooth to facilitate the initial Wi-Fi handshake.
Voice Commands Are Not Working
Symptoms: Your smart speaker does not respond, or it responds but says it cannot find the device you mentioned.
Solutions:
- Verify the device name in the app matches exactly what you are saying. "Living Room Lamp" works, but "the lamp in the living room" might not.
- Re-run device discovery in your voice assistant app. In Alexa, say "Alexa, discover devices." In Google Home, tap "Add" and then "Set up device."
- Check that the device is still online in its native app. If it shows as offline there, the issue is with the device's Wi-Fi connection, not the voice assistant.
- Unplug the smart speaker, wait 10 seconds, and plug it back in to reboot it.
Devices Keep Going Offline
Symptoms: Devices randomly disconnect and reconnect, or become unresponsive at certain times of day.
Solutions:
- Check if your router has a device limit. Most consumer routers support 30–50 devices. If you are approaching this limit, consider upgrading to a mesh system or a higher-end router.
- Assign a static IP address or DHCP reservation to each smart device in your router settings. This prevents IP address conflicts.
- Reduce interference by moving the router away from microwaves, cordless phones, and thick concrete walls.
- Add a Wi-Fi extender or mesh node near the area where devices are dropping off.
Smart Thermostat Not Controlling HVAC
Symptoms: The thermostat powers on but heating or cooling does not activate.
Solutions:
- Double-check that every wire is connected to the correct terminal. Compare your wiring to the photo you took during installation.
- Verify that the C-wire is connected and providing power. Some HVAC systems require a C-wire for the thermostat to operate correctly.
- Check the circuit breaker for your HVAC system and make sure it has not tripped.
- Consult the thermostat manufacturer's compatibility checker tool online to confirm your HVAC system is supported.
Automations Not Triggering
Symptoms: A routine or automation that previously worked stops firing, or a new automation does not activate.
Solutions:
- Verify the trigger conditions are still accurate. For geofence-based triggers, make sure location services are enabled for your smart home app.
- Check that all devices involved in the automation are online and responding to manual commands.
- Delete the automation and recreate it from scratch — sometimes a corrupted automation entry can cause silent failures.
- For time-based automations, confirm the time zone is set correctly in your hub's settings.
Frequently Asked Questions
Do I need a smart home hub, or can I just use my phone?
While some smart devices connect directly to Wi-Fi and can be controlled entirely from your phone, a dedicated hub or smart speaker significantly improves the experience. A hub enables voice control, runs automations even when your phone is not home, and often provides better connectivity for devices using protocols like Zigbee, Z-Wave, or Thread. For beginners, an Amazon Echo (4th generation or newer), Google Nest Hub, or Apple HomePod mini serves as both a smart speaker and a capable hub at an affordable price point. Think of it as the foundation upon which everything else is built.
Will smart home devices slow down my Wi-Fi?
Individually, most smart home devices use very little bandwidth — smart bulbs, plugs, and sensors transmit tiny amounts of data. However, if you have 30 or more devices connected simultaneously, they can consume a noticeable portion of your router's capacity. The biggest bandwidth consumers are security cameras, especially those streaming in HD or 2K resolution continuously. To prevent slowdowns, use a dedicated 2.4 GHz network or IoT network for smart devices, invest in a quality router or mesh system rated for high device counts, and set cameras to record on motion rather than streaming 24/7 if bandwidth is a concern.
How much does a basic smart home setup cost?
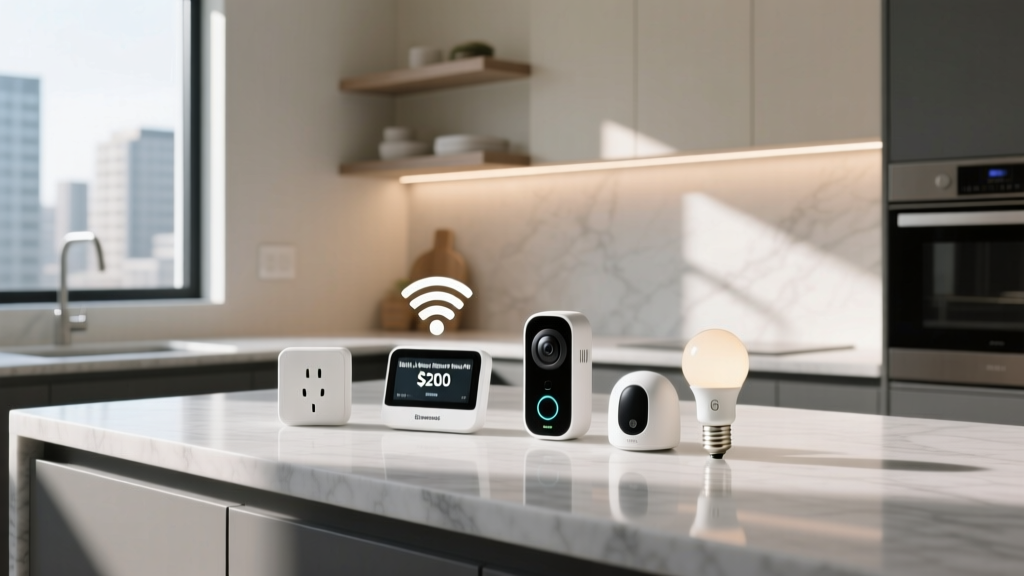
A functional starter smart home can be assembled for approximately $150 to $300. Here is a realistic budget breakdown for a beginner setup: a smart speaker or hub ($30–$100), two to four smart plugs ($25–$60), a pack of smart bulbs ($30–$80), and a smart thermostat ($100–$250). Adding a video doorbell ($100–$200) and a security camera ($40–$150) brings the total to roughly $325–$840. The beauty of smart home technology is that you can start small and add devices over time as your budget allows. There is no need to outfit your entire home in one purchase.
Are smart home devices secure and private?
Smart home security and privacy are legitimate concerns, but they are manageable with the right precautions. Major platforms like Amazon Alexa, Google Home, and Apple HomeKit invest heavily in security, including encrypted communications, regular firmware updates, and account protection features. Apple HomeKit is generally considered the most privacy-focused, as it processes much of its data locally on your devices rather than in the cloud. Regardless of which ecosystem you choose, enabling two-factor authentication, using strong passwords, keeping firmware updated, and placing IoT devices on a separate network will protect you against the vast majority of threats. Review each device's privacy settings during setup and disable any data collection features you are uncomfortable with.
Can I mix devices from different brands and ecosystems?
Absolutely — and this is where the new Matter standard becomes incredibly valuable. With Matter-compatible devices, you can mix and match brands freely and control them from any ecosystem. Even without Matter, most popular smart home devices support multiple platforms. A Philips Hue bulb, for example, works with Alexa, Google Home, and Apple HomeKit simultaneously. When shopping, look for the "Works with Alexa," "Works with Google Home," or "Works with Apple HomeKit" badges on product packaging. Our smart home compatibility guide provides a detailed breakdown of which devices work with which ecosystems to help you shop with confidence.
What happens to my smart home when the internet goes down?
Most smart home devices will continue to function in a limited capacity during an internet outage. Smart bulbs can still be controlled with their physical switches, smart thermostats maintain their current schedule, and smart locks can still be operated with manual keys or keypads. However, voice control, remote access from your phone, and cloud-based automations will be unavailable until the connection is restored. Devices that use local hubs — such as Philips Hue with its bridge or HomeKit devices with an Apple TV hub — retain more functionality offline because their automations and controls run locally on your home network rather than relying on cloud servers. If internet reliability is a concern in your area, prioritize devices with local processing capabilities.
Final Thoughts: Start Small & Build Over Time
Building a smart home is a journey, not a destination. The best approach for any beginner is to start with a solid foundation — a reliable Wi-Fi network, a central hub, and a few carefully chosen devices — then expand as you become more comfortable with the technology. Every device you add teaches you something new about automation, and every routine you create makes your home a little more efficient and enjoyable.
Do not feel pressured to automate everything at once. The most satisfying smart homes are built gradually, with each addition solving a real problem or adding genuine convenience. A smart plug that turns on your coffee maker every morning, a thermostat that learns your schedule, a doorbell camera that alerts you when packages arrive — these small improvements compound over time into a home that genuinely works for you.
Ready to take the next step? Browse our recommended smart home starter kits for curated bundles that take the guesswork out of choosing your first devices, or explore our advanced setup tips once you have mastered the basics.
Welcome to the smart home. You are going to love it here.