The Complete Guide to Smart Home Installation Costs in the UK
Transforming your property into a connected, intelligent living space is one of the most exciting home improvement projects you can undertake. However, one of the most common questions homeowners ask is: what is the actual smart home installation cost in the UK? The answer varies wildly based on the scale of your project, the quality of the equipment, and whether you choose to DIY or hire professional integrators.
This comprehensive guide will walk you through the exact steps to plan, budget, and execute a smart home installation in the UK, ensuring you avoid hidden fees and achieve a seamless setup.
- Difficulty Level: Medium (Planning & Budgeting) to Advanced (Full Professional Integration)
- Estimated Time: 2 to 6 weeks (from initial planning to final handover)
- Estimated Cost: £500 (Basic DIY Retrofit) to £50,000+ (Luxury Whole-Home Integration)
Step 1: Assess Your Smart Home Needs & Define the Scope
Before you can calculate the smart home installation cost in the UK, you must define exactly what you want your home to do. A common mistake is buying random devices without a unified plan, which leads to compatibility issues and wasted money.
Audit Your Home & Lifestyle
Walk through your property and identify the areas that would benefit most from automation. Break your needs down into core categories:
- Lighting & Ambiance: Smart bulbs, hardwired smart switches, and automated blinds.
- Climate Control: Smart thermostats, zoned heating, and smart radiator valves.
- Security & Access: Video doorbells, smart locks, CCTV, and window sensors.
- Entertainment: Multi-room audio, hidden AV racks, and automated media rooms.
- Network Infrastructure: Mesh Wi-Fi systems, PoE (Power over Ethernet) switches, and structured cabling.
Prioritise Your Phases
To keep costs manageable, split your project into phases. Phase 1 might involve upgrading your network and installing smart lighting basics in the main living areas. Phase 2 could focus on security and climate. By phasing your installation, you can spread the financial burden over time while ensuring your foundational infrastructure is robust enough to handle future expansions.
Step 2: Break Down the Smart Home Installation Costs
Understanding where your money goes is crucial for accurate budgeting. The total smart home installation cost in the UK is generally split into two main categories: equipment and labour.
Equipment Costs
The hardware you choose will dictate the baseline of your budget. Here is a general breakdown of equipment tiers:
- Entry-Level (Off-the-shelf consumer brands): £500 - £2,500. This includes Wi-Fi-based smart bulbs, plug-in sensors, and basic smart hubs. Ideal for flats or small terraced homes.
- Mid-Range (Prosumer & reliable wireless protocols): £3,000 - £10,000. This tier includes Zigbee or Z-Wave networks, hardwired smart switches, premium smart thermostats, and robust mesh networking gear.
- High-End (Luxury hardwired systems): £15,000 - £100,000+. Systems like Control4, Crestron, or Lutron require bespoke programming, dedicated server racks, and hardwired KNX or proprietary cabling.
Labour & Professional Fees
Labour rates in the UK vary significantly depending on your location (London and the South East will command a premium) and the specialist required.
- Electrician (Part P Certified): £40 - £80 per hour. Required for hardwiring smart switches, installing new circuits for AV racks, and fitting outdoor security lighting.
- AV / Smart Home Integrator: £60 - £120+ per hour. These professionals handle system design, network configuration, and bespoke programming.
- Cabling Specialists: £150 - £250 per day. Essential for new builds or major renovations where Cat6a and speaker cables need to be pulled through walls before plastering.
Pro Tip: Always factor in a 15% to 20% contingency fund for unexpected structural issues, such as discovering lath and plaster walls that make running cables difficult.
Step 3: Choose Your Installation Route (DIY vs. Professional)
Your chosen installation route will drastically alter the final smart home installation cost in the UK.
The DIY Route
If you are technically inclined, installing battery-powered sensors, Wi-Fi cameras, and smart bulbs is entirely manageable. However, DIY is strictly limited to non-invasive, low-voltage, or plug-in devices. You will save thousands on labour, but you will spend dozens of hours troubleshooting network issues and configuring automations.
The Hybrid Route
This is the most popular choice for UK homeowners. You handle the physical mounting of cameras, the setup of mesh routers, and the pairing of sensors. You then hire a certified electrician to swap out your dumb light switches for smart relays (like Shelly or Fibaro modules) behind the backboxes, and an AV specialist to program your central hub.
The Full Professional Integration
For luxury homes, new builds, or complete retrofits, hiring a certified smart home integrator is non-negotiable. They will provide CAD drawings, manage the electrical contractors, pull the data cables, and program the system so that it operates seamlessly via a single unified app or wall-mounted touch panel.
Step 4: Prepare Your Home & Network Infrastructure
A smart home is only as good as the network it runs on. Before any physical installation begins, you must prepare your digital and physical infrastructure.
Upgrade Your Network
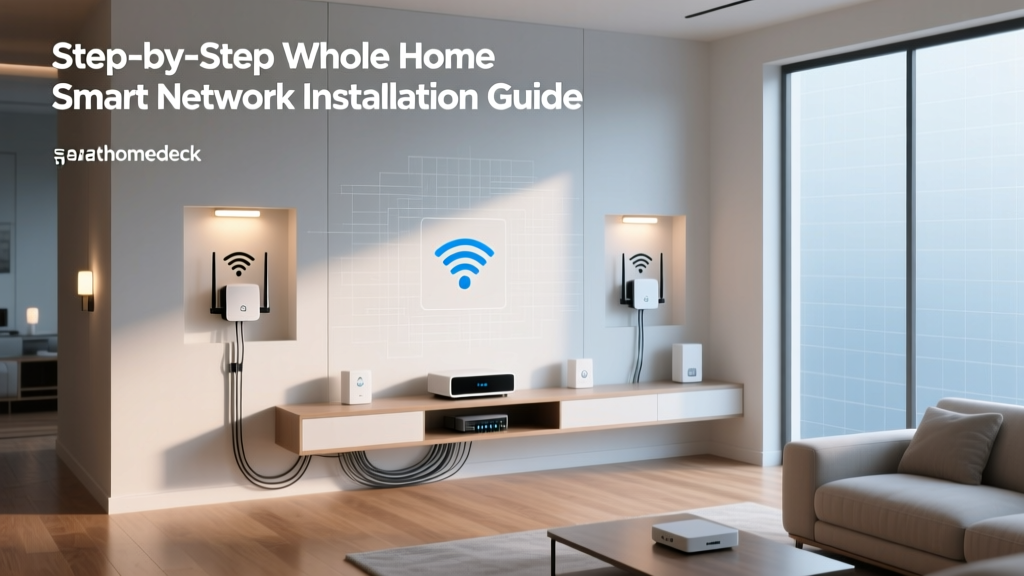
Standard ISP-provided routers cannot handle 50+ connected devices. You must invest in a robust networking setup. This includes a hardwired router, a PoE switch, and multiple hardwired Wireless Access Points (WAPs) placed strategically around the home. If running ethernet is impossible, a high-end tri-band mesh system is the minimum requirement.
Check UK Electrical Regulations
If your installation involves hardwired devices, you must comply with UK Building Regulations. Under Part P, any electrical work in 'special locations' (like bathrooms and kitchens) or the installation of entirely new circuits must be carried out or certified by a competent person. Furthermore, ensure your backboxes are deep enough (at least 35mm, preferably 47mm) to accommodate smart relays behind standard UK light switches.
Create a Device Schedule
Create a spreadsheet detailing every single device, its IP address (if statically assigned), its MAC address, and its physical location. This level of preparation will save your installer hours of guesswork, directly reducing your labour costs.
Step 5: The Installation Day & System Handover
When the installation day arrives, proper management ensures the project stays on budget and on time.
Manage the Site
Clear the workspaces. Move furniture away from walls where smart switches or sensors are being installed. Ensure the installers have clear access to your loft, crawlspaces, and main distribution board. Protect your flooring and furniture, as running cables and mounting hardware can generate dust and debris.
The Snagging List & Testing
Once the physical hardware is mounted, do not sign off on the project immediately. Create a 'snagging list'. Test every single automation. Do the blinds close when the sun hits the west-facing windows? Does the hallway light trigger at 20% brightness when you walk to the bathroom at 2 AM? Document any failures and require the installer to rectify them before final payment.
The Handover Documentation
A professional installation must include a comprehensive handover pack. This should include network topology maps, a list of all device passwords, IP schemas, and a guide on how to reboot the system. Without this documentation, future troubleshooting will be a nightmare and will incur expensive call-out fees.
Tools & Products Needed
Whether you are managing the project or taking a hands-on hybrid approach, having the right tools is essential for a smooth installation.
- Wi-Fi Analyser App: To map signal strength and identify dead zones before placing access points.
- Deep Patress Backboxes (47mm): Essential for UK retrofit smart switch installations to ensure adequate space for wiring and heat dissipation.
- Non-Contact Voltage Tester: A critical safety tool for verifying that circuits are dead before opening any backboxes.
- Cable Pulling Lubricant & Fish Tapes: For routing Cat6 and speaker cables through existing wall cavities and conduit.
- Label Maker: Every single cable, wire, and network port must be labelled at both ends. This is non-negotiable for future maintenance.
- Network Crimping Tool & Tester: If you are terminating your own ethernet cables, a reliable tester ensures you haven't created a bottleneck with a poorly pinned RJ45 connector.
Troubleshooting Common Installation & Cost Issues
Even the best-planned smart home installations can encounter hurdles. Here is how to troubleshoot the most common issues related to setup and budgeting.
Issue 1: The 'Hidden' Network Bottleneck
The Problem: You installed 40 smart devices, and now your smart TV buffers, and lights respond with a 3-second delay.
The Solution: Your router's DHCP table is overwhelmed, or your 2.4GHz Wi-Fi band is saturated. Move all high-bandwidth devices (TVs, consoles) to 5GHz or hardwired ethernet. Isolate your IoT (Internet of Things) devices onto a dedicated 2.4GHz SSID or a separate VLAN to prevent them from clogging your main network traffic.
Issue 2: Smart Switches Flickering or Buzzing
The Problem: After installing smart dimmer switches, your LED bulbs flicker or emit a buzzing sound.
The Solution: This is a classic compatibility issue. Many UK smart dimmers require a neutral wire to function correctly, which is often absent in older UK lighting circuits. If you lack a neutral wire, you must purchase specific 'no-neutral' smart relays and install the accompanying bypass capacitors at the light fitting to prevent flickering.
Issue 3: Installer Scope Creep
The Problem: The final invoice is 30% higher than the original quote due to 'unforeseen complications'.
The Solution: Always insist on a fixed-price contract for defined scopes of work. Any additional work requested by you, or discovered by the installer (like rotten floorboards needing repair before cabling), must be quoted and approved in writing as a 'Variation Order' before the extra work begins.
Issue 4: Device Pairing Failures on Site
The Problem: Zigbee or Z-Wave devices refuse to pair with the hub during installation.
The Solution: Metal backboxes and foil-backed plasterboard can block low-power mesh signals. Ensure your installers are using plastic backboxes for wireless relays, or install dedicated signal repeaters in central locations to strengthen the mesh network during the commissioning phase.
Frequently Asked Questions
Are there ongoing subscription costs for UK smart homes?
It depends entirely on the ecosystem you choose. Consumer devices like Ring cameras or Arlo security systems often require monthly subscriptions (ranging from £3 to £10 per month) for cloud video storage and advanced features. However, localised systems like Home Assistant, Control4, or local NVR (Network Video Recorder) security setups have zero monthly fees after the initial hardware and installation costs are covered.
Do I need a certified electrician for smart switches in the UK?
If you are simply swapping a like-for-like light switch on an existing circuit, a competent DIYer can legally do this in most rooms (excluding bathrooms and kitchens). However, if you are installing new wiring, adding smart relays that require a neutral wire where none existed, or working in 'special locations' governed by Part P of the Building Regulations, you must use a certified electrician to ensure your home insurance remains valid.
How can I reduce my smart home installation costs?
The most effective way to reduce costs is to do the 'first fix' labour yourself during a renovation. If you are already having your home replastered or redecorated, chase the walls and pull the Cat6 and speaker cables yourself (or hire a cheaper general labourer to do it). You can then pay a premium AV specialist purely for the 'second fix' (terminating, mounting, and programming), which drastically reduces their billable hours.
Will a smart home installation increase my property value?
A well-executed, hardwired smart home system (like Lutron lighting or a robust integrated AV system) can significantly increase the appeal and value of a luxury property. However, poorly installed, DIY Wi-Fi gadgets that rely on personal cloud accounts and messy wiring can actually deter buyers. If you plan to sell, ensure the system is factory-reset, documented, and easily transferable to the new owner.
What is the best smart home hub for UK homes?
For DIY and budget-conscious users, platforms like Apple HomeKit, Home Assistant, or Samsung SmartThings offer excellent local control and compatibility with UK-standard devices. For high-end, professional installations, systems like Control4 or Crestron remain the gold standard for reliability, bespoke automation, and elegant wall-mounted interfaces.