Building a fully integrated, automated home is a dream for many homeowners. While DIY solutions and plug-and-play devices are great for single-room upgrades, creating a seamless, whole-home ecosystem requires professional expertise. Hiring a smart home setup company ensures that your lighting, security, climate control, and entertainment systems work together flawlessly behind the scenes. However, managing a professional integration project requires careful planning, clear communication, and an understanding of the installation process.
In this comprehensive guide from Smart Home Deck, we will walk you through the exact steps to hire, prepare for, and collaborate with a professional smart home installation company. Whether you are building a new home, undergoing a major renovation, or retrofitting an existing property, this guide will help you achieve the ultimate connected living experience.
Difficulty Level: Moderate (Homeowner Preparation) / Advanced (Professional Execution)
Estimated Time: 4 to 12 weeks (from initial consultation to final programming and handover)
Tools & Products Needed for Preparation
While the smart home setup company will provide the physical hardware, wiring, and programming tools, you need a specific set of "preparation tools" to ensure the project runs smoothly and stays within budget.
- Digital or Physical Floor Plans: Essential for planning device placement, sensor coverage, and wiring routes.
- Device Wishlist & Compatibility Spreadsheet: A document listing your must-have features, preferred brands, and existing devices you want to integrate.
- Network Speed Test Results: Documentation of your current internet speeds and bandwidth requirements.
- Budget Tracking Software: A spreadsheet or app to track hardware costs, labor estimates, and ongoing maintenance fees.
- Access to Utility Panels: Ensure your electrical panel, HVAC systems, and main water shut-offs are accessible for the initial site survey.
Step 1: Assessing Your Smart Home Needs & Budget
Before you start calling installers, you need a clear vision of what you want your home to do. A professional integrator will ask you how you live in your space, not just what gadgets you want to buy. Start by breaking your home down into functional zones and categories.
Lighting & Shading: Do you want automated smart lighting scenes that adjust based on the time of day? Do you need motorized shades that sync with your HVAC system to reduce solar heat gain?
Security & Access: A robust smart security system goes beyond simple cameras. Consider integrating smart locks, gate intercoms, perimeter sensors, and automated driveway lighting that triggers when motion is detected.
Climate Control: Look into multi-zone smart thermostats that learn your schedule and adjust temperatures room-by-room to maximize energy efficiency.
Entertainment & Audio: Plan for hidden architectural speakers, centralized media racks, and universal remotes that eliminate clutter in your living spaces.
Once you have outlined your needs, establish a realistic budget. A professional smart home setup typically costs between 5% and 15% of the total home value, depending on the complexity of the automation. Remember to allocate funds not just for hardware, but for custom programming, network infrastructure, and post-installation support.
Step 2: Researching & Selecting the Right Smart Home Setup Company
Not all electricians or AV installers are qualified to program complex, whole-home automation systems. You need a certified smart home integrator. Look for companies affiliated with industry-standard organizations like CEDIA (Custom Electronic Design & Installation Association). Certification ensures the company adheres to strict codes, best practices, and ongoing education.
When interviewing potential companies, ask the following critical questions:
- What ecosystems do you specialize in? Top-tier integrators usually work with premium, hardwired systems like Control4, Crestron, Savant, or Josh.ai, rather than relying solely on consumer-grade Wi-Fi devices.
- Do you handle networking? A professional smart home requires an enterprise-grade network. If the company does not have a dedicated network specialist, consider it a red flag.
- What does your post-installation support look like? Technology requires updates and occasional troubleshooting. Ensure they offer a clear service level agreement (SLA) and remote monitoring capabilities.
- Can I see a portfolio of completed projects? Ask to see photos of their equipment racks. A messy rack with tangled wires is a strong indicator of poor craftsmanship.
Request detailed, line-item proposals from at least three different companies. Compare not just the bottom line, but the quality of the proposed hardware, the clarity of the scope of work, and the estimated programming hours.
Step 3: Preparing Your Home Infrastructure
The backbone of any reliable smart home is its network and wiring infrastructure. Consumer-grade mesh routers simply cannot handle the dozens, or even hundreds, of IP addresses required by a modern automated home. Work with your setup company to design a robust networking infrastructure.
Pre-Wiring (For New Builds & Renovations): If your walls are open, this is the time to run Cat6 or Cat6A ethernet cables to every room, ceiling, and major appliance location. Hardwiring your smart hubs, access points, and cameras ensures rock-solid reliability that Wi-Fi cannot match.
Electrical Panel Upgrades: Smart homes require dedicated circuits for media racks, network switches, and automated lighting panels. Ensure your electrician coordinates directly with your smart home integrator to provide adequate power and proper grounding.
Deep Backboxes: Smart switches and dimmers often have larger bodies than standard switches due to the built-in radios and heat sinks. Ask your electrician to install deep-gang backboxes to ensure the smart switches fit flush against the wall without cramping the wires.
Step 4: The Installation Process & What to Expect
Understanding the phases of a professional installation will help you manage your expectations and keep the project on track. A typical whole-home integration follows three distinct phases:
Phase 1: Rough-In
This occurs while the walls are open. The installation team will run low-voltage wiring for speakers, sensors, keypads, and network access points. They will also install the central equipment rack in a dedicated, ventilated closet or basement space.
Phase 2: Trim-Out
Once the drywall is finished and painted, the team returns to terminate the wires and install the physical devices. This is when your smart switches, touch panels, ceiling speakers, and security cameras are finally mounted.
Phase 3: Programming & Commissioning
This is where the magic happens. The lead programmer will configure the central processors, set up network VLANs to isolate IoT devices for security, and create the custom user interfaces. They will build automation "scenes"—such as a "Goodnight" scene that locks the doors, arms the security system, lowers the thermostats, and turns off all lights with a single tap.
During this phase, your presence is highly valuable. The programmer will need your input on keypad engraving, scene names, and specific automation triggers (e.g., "Turn on the porch lights exactly 15 minutes before sunset").
Step 5: Post-Installation Testing, Training, & Handover
Never accept a final walkthrough without rigorous testing. Create a "punch list" with your project manager and test every single device in the home. Open and close motorized shades, trigger motion sensors, test the security alarms, and stream 4K video to every display simultaneously to check for network bottlenecks.
Once the hardware is verified, schedule a dedicated training session. A reputable smart home setup company will sit down with you and your family to explain how to use the custom touch panels, mobile apps, and voice control integrations. They should provide you with a comprehensive "Homeowner Manual" that includes network passwords, equipment serial numbers, and emergency reset procedures.
Finally, discuss ongoing maintenance. Smart homes are living ecosystems that require firmware updates, network security patches, and occasional hardware replacements. Many companies offer monthly or annual support packages that include remote monitoring, proactive alerts, and priority scheduling for service calls.
Troubleshooting Common Contractor & Installation Roadblocks
Even with the best planning, complex integration projects can encounter hurdles. Here is how to troubleshoot the most common issues when working with a smart home setup company:
Roadblock 1: Wi-Fi Dead Zones & Device Drop-offs
Solution: If battery-operated sensors or smart locks are constantly dropping offline, your wireless mesh may be insufficient. Ask your integrator to conduct a professional RF (Radio Frequency) heat map survey and install hardwired PoE (Power over Ethernet) wireless access points to eliminate dead zones.
Roadblock 2: Device Incompatibility
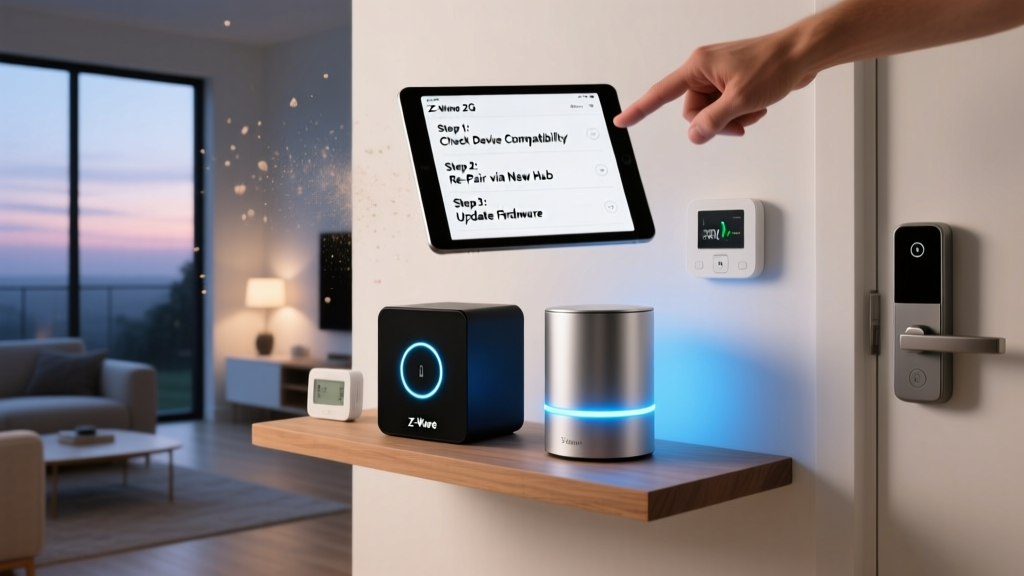
Solution: You may want to integrate a specific brand of smart appliance or legacy audio equipment that doesn't natively communicate with your main control system. A skilled programmer can often bridge this gap using IP control, RS-232 serial connections, or third-party drivers. Always discuss your existing equipment during the initial design phase.
Roadblock 3: Scope Creep & Budget Overruns
Solution: It is easy to get excited and add "just one more camera" or "motorized shades in the guest room" mid-project. This leads to change orders and budget bloat. Stick strictly to the signed scope of work, and save any additional requests for a "Phase 2" expansion after the primary system is fully commissioned.
Roadblock 4: Construction Delays
Solution: Smart home installers are dependent on the general contractor's timeline. If the drywallers are delayed, the trim-out phase is delayed. Maintain a shared digital calendar with your general contractor and AV integrator to ensure the low-voltage team is scheduled exactly when the site is ready.
Frequently Asked Questions
How much does a smart home setup company charge?
Pricing varies wildly based on the size of your home and the complexity of the automation. A basic professional installation focusing on a few key rooms might start around $10,000 to $15,000. However, a fully integrated, whole-home system featuring high-end audio, advanced security, and custom lighting scenes typically ranges from $50,000 to well over $150,000. Always ask for a detailed breakdown of hardware, labor, and programming costs.
Can I use my own devices with a professional installer?
In most cases, professional integrators prefer to supply the hardware. This ensures they are installing commercial-grade equipment that is built for 24/7 reliability and allows them to honor manufacturer warranties. While they can sometimes integrate consumer-grade devices you already own, relying heavily on off-the-shelf Wi-Fi gadgets can compromise the stability of a premium, hardwired control system.
What happens if a smart device breaks after installation?
This is why choosing a company with a strong support infrastructure is vital. Premium smart home companies offer remote monitoring services. Often, they will receive an alert that a device has dropped offline and can attempt a remote reboot or firmware fix before you even notice an issue. If a physical replacement is needed, your service contract will dictate the response time and whether the hardware is covered under an extended warranty.
Do I need a special internet connection for a professional smart home setup?
Yes, a robust internet connection is highly recommended. While many local automations (like a light switch turning on) will work if the internet goes down, cloud-based services, remote access, and security camera streaming require significant bandwidth. Most integrators recommend a fiber-optic connection with high upload speeds, paired with a dual-WAN router that can automatically failover to a 5G cellular backup if your primary internet service goes down.
Will a professional setup increase my home resale value?
A professionally designed and hardwired smart home system is increasingly viewed as a premium feature by homebuyers, much like a high-end kitchen or a finished basement. Systems that are neatly installed, well-documented, and easily transferable to a new owner can significantly boost your property's appeal and resale value. However, proprietary or poorly maintained systems can be a deterrent, which is why ongoing support and clear documentation are essential.