The Ultimate Smart Home Setup for Apartments: A Renter-Friendly Guide
Living in an apartment does not mean you have to miss out on the convenience, security, and energy savings of a modern connected home. However, renters face unique challenges: strict lease agreements, shared Wi-Fi networks, and the absolute necessity of avoiding permanent alterations that could cost you your security deposit. This comprehensive guide will walk you through a complete smart home setup for apartments, focusing entirely on renter-friendly, non-permanent, and easily reversible solutions.
Difficulty Level: Easy to Moderate
Estimated Time: 2 to 4 Hours (for a basic starter setup)
Tools & Products Needed
Before diving into the installation, gather the essential components for your apartment smart home. Because you cannot drill holes or replace hardwired fixtures, your toolkit will look a bit different from a traditional homeowner's.
- Smart Hub or Speaker: The brain of your operation (e.g., Amazon Echo, Google Nest, or Apple HomePod).
- Smart Bulbs: For lamps and accessible fixtures without needing to replace wall switches.
- Smart Plugs: To automate "dumb" appliances like fans, coffee makers, and lamps.
- No-Drill Security Cameras: Peephole cameras or freestanding indoor cameras.
- Adhesive Mounting Strips: Heavy-duty, damage-free hanging strips for sensors and cameras.
- Wi-Fi Extender or Mesh Node: Optional, but highly recommended for thick apartment walls.
Step 1: Choose Your Smart Home Ecosystem
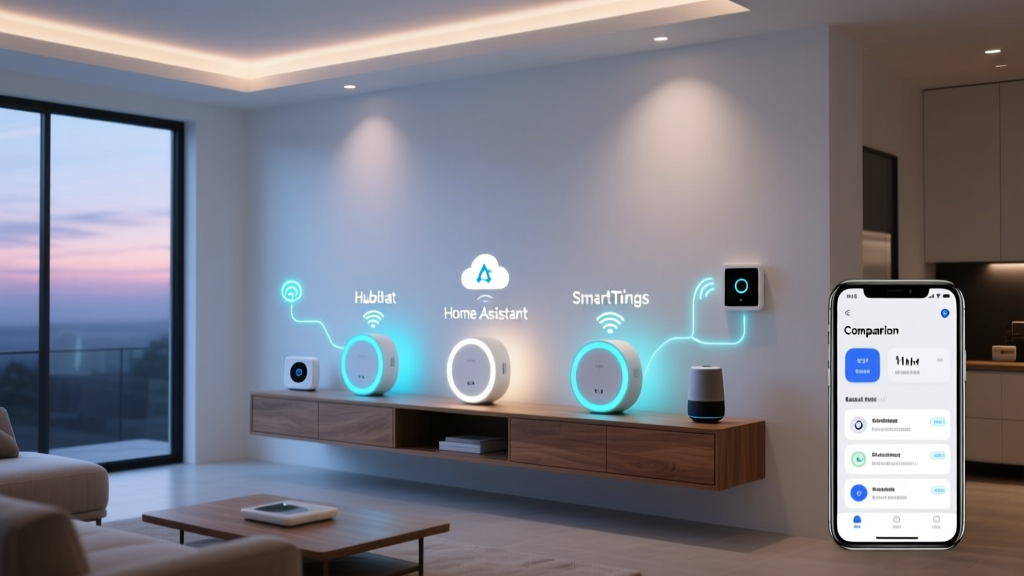
The first step in any smart home setup for apartments is selecting the ecosystem that will control your devices. Your ecosystem dictates how your devices communicate and which voice assistant you will use. The three main contenders are Amazon Alexa, Google Home, and Apple HomeKit.
Amazon Alexa offers the widest compatibility with third-party devices, making it an excellent choice if you want to mix and match brands on a budget. Google Home excels in natural language processing and integrates seamlessly if you already use Android devices, Gmail, and Google Calendar. Apple HomeKit is the most secure and private option, but it requires Apple devices and tends to have a higher price point for compatible accessories.
When shopping for devices, keep an eye out for the Matter protocol logo. Matter is a relatively new industry standard that allows devices to work across different ecosystems simultaneously. If you buy Matter-compatible devices, you will not be locked into a single ecosystem, which is incredibly useful if you move in with a partner who prefers a different voice assistant.
Once you have chosen your ecosystem, download the corresponding app on your smartphone and create your account. This will serve as the central command center for your apartment.
Step 2: Optimize Your Network & Set Up the Hub
Apartment buildings are notorious for Wi-Fi dead zones and network congestion. Thick concrete walls, metal studs, and dozens of neighboring routers can severely impact your smart home's reliability. Before installing devices, you need a solid network foundation.
Most smart home devices operate on the 2.4GHz Wi-Fi band because it penetrates walls better than the faster 5GHz band. Ensure your router's 2.4GHz and 5GHz networks are separated, or check your router settings to ensure IoT devices are being routed correctly. If your apartment has weak signal strength in the kitchen or bedroom, consider investing in a plug-in Wi-Fi extender or a mesh network node to bridge the gap.
Next, plug in your smart hubs or smart speakers. Place them in a central location, like the living room or an open hallway, to ensure the microphone can hear your voice commands from multiple rooms and the internal radio can reach your smart bulbs and plugs. Avoid hiding hubs inside metal cabinets or behind large televisions, as these will block the signal.
Follow the manufacturer's instructions in your ecosystem's app to connect the hub to your Wi-Fi network. Once the hub is online and responding to basic voice commands, you are ready to start adding accessories.
Step 3: Install Renter-Friendly Smart Lighting
Lighting is the most popular entry point into home automation, but renters must avoid replacing hardwired wall switches. Swapping out a switch requires dealing with electrical wiring, turning off breakers, and potentially violating your lease. Instead, the best approach for an apartment smart home setup is to use smart bulbs and smart plugs.
For floor lamps, table lamps, and easily accessible ceiling fixtures, screw in smart bulbs. These bulbs connect directly to your Wi-Fi or hub and allow you to control brightness, color temperature, and schedules via your phone. When setting them up, ensure the physical lamp switch remains in the "on" position so the bulb always has power. You can then use the app or voice commands to turn the light on and off.
For fixtures where smart bulbs are impractical (like chandeliers with unusual bulb shapes or outdoor balcony fixtures), use a smart plug. Simply plug the lamp into the smart plug, and plug the smart plug into the wall. This turns any standard lamp into a smart lamp without altering the fixture itself.
Consider adding LED light strips behind your television or under your kitchen cabinets to create ambient lighting. Use damage-free adhesive clips to route the cables along the walls so you do not peel the paint when it is time to move out. Group your lights in the app by room (e.g., "Living Room Lamps") so you can turn off the entire apartment with a single "Goodnight" voice command.
Step 4: Automate Climate Control & Everyday Appliances
Climate control in an apartment can be tricky. Many leases explicitly forbid tenants from replacing the wall thermostat, and some apartment HVAC systems (like central building heat pumps or baseboard radiators) are incompatible with standard smart thermostats. Always check your lease agreement and consult your property manager before attempting to install a smart thermostat.
If you cannot replace the thermostat, you can still automate your climate using smart plugs and smart sensors. Plug your window air conditioning unit or portable space heater into a heavy-duty smart plug designed for high-wattage appliances. Pair this with a smart temperature sensor placed across the room. You can then create an automation routine: "If the room temperature rises above 75 degrees, turn on the AC smart plug."
Beyond climate, smart plugs are the ultimate renter-friendly tool for automating everyday appliances. Use them to schedule your coffee maker to brew at 7:00 AM, turn on a slow cooker while you are at work, or ensure your curling iron is turned off after you leave the apartment. The peace of mind that comes from being able to check your phone to verify an appliance is powered down is invaluable.
Step 5: Enhance Security Without Drilling
Security is a major concern for apartment dwellers, but drilling holes for exterior cameras or hardwired doorbells is strictly prohibited. Fortunately, the smart security market has evolved to offer brilliant no-drill alternatives.
Start at your front door. If your apartment door has a standard peephole, you can install a peephole smart camera. These devices replace the existing glass peephole, utilizing the already-present hole to mount the camera on the outside and the battery pack on the inside. They provide motion detection, two-way audio, and a digital peephole view without requiring a single screw.
For the interior, place freestanding smart cameras on shelves or bookcases to monitor pets or keep an eye on the entryway while you are away. Use damage-free adhesive strips to mount contact sensors on your doors and windows. These sensors will alert your phone if a door is opened while the system is armed. If you have a sliding glass patio door, a simple vibration sensor attached with adhesive can alert you to forced entry attempts without blocking the door's track.
Finally, consider a smart lock. While many smart locks require replacing the entire deadbolt, there are retrofit smart locks available that install over the interior thumb-turn of your existing deadbolt. This allows you to keep the original exterior hardware intact while gaining the ability to lock and unlock your door remotely or grant temporary access codes to dog walkers and guests.
Troubleshooting Common Apartment Smart Home Issues
Even the best-planned apartment smart home setup can run into hiccups. Here is how to solve the most common renter-specific issues.
Devices Won't Connect to Wi-Fi: As mentioned, most IoT devices require a 2.4GHz network. If your apartment router uses a single combined SSID (network name) for both 2.4GHz and 5GHz, the device might get confused during setup. Try moving further away from the router during the initial pairing process; this forces your phone and the device to connect to the longer-range 2.4GHz band.
Captive Portal Networks: Some large apartment complexes provide shared Wi-Fi that requires you to log in via a web browser (a captive portal). Smart home devices cannot navigate these web pages. If your building uses this system, you must purchase your own router, plug it into the wall, and create a private, hidden network for your smart devices.
Adhesive Damage: When it is time to move out, removing adhesive strips can sometimes pull off drywall paper. To prevent this, always use a hairdryer to gently heat the adhesive for 30 seconds before slowly peeling it off. This softens the glue and protects your security deposit.
Frequently Asked Questions
Do I need my landlord's permission to install smart devices?
For plug-in devices like smart bulbs, smart plugs, and freestanding cameras, you generally do not need permission. However, if you plan to replace a hardwired thermostat, install a new deadbolt, or mount anything that requires drilling into the drywall or door, you must get written approval from your landlord or property management company first.
Can I take my smart home setup with me when I move?
Yes! The beauty of a renter-friendly smart home setup is its portability. Because you relied on smart bulbs instead of hardwired switches, and adhesive sensors instead of screwed-in mounts, you can easily pack up your entire ecosystem in a box and take it to your next apartment or house. Just remember to factory reset devices and remove them from your digital "home" in the app before packing.
How do I handle smart devices on a shared apartment Wi-Fi network?
If your apartment provides a shared network, you may run into issues with device discovery and security. The best solution is to buy an inexpensive, standalone Wi-Fi router. Connect this router to the apartment's ethernet wall jack or modem, and create your own private, password-protected network exclusively for your smart home devices and personal phones.
Will smart bulbs increase my electricity bill?
Actually, they will likely decrease it. Most smart bulbs are LED, which consume significantly less power than traditional incandescent bulbs. Furthermore, the ability to set schedules, use motion sensors, and ensure lights are never accidentally left on will result in overall energy savings over time.
What happens to my smart devices during a power outage?
Most smart plugs and bulbs will default to an "off" state when power is restored, though many apps allow you to change this "power loss recovery" setting to remember their previous state. Smart hubs and Wi-Fi routers will go offline, meaning voice commands and remote access will not work until the building's power is restored. If security is a concern, consider a small Uninterruptible Power Supply (UPS) to keep your router and hub running during brief outages.