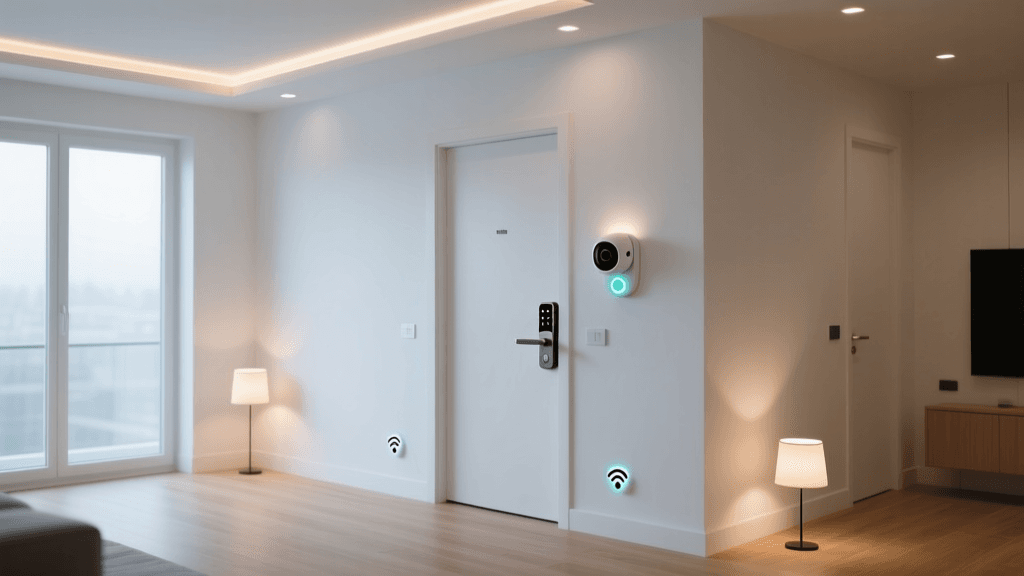
The Smart Home Dream vs. The Wiring Reality
Upgrading to a smart home is one of the most rewarding DIY projects a homeowner can undertake. From installing a Lutron Caseta Wireless lighting system to setting up an Ecobee SmartThermostat, the promise of automated comfort and energy savings is incredibly appealing. However, the moment you unscrew your first wall plate, you might be greeted by a chaotic nest of aging wires, missing conductors, or outdated electrical configurations. While many smart home installations are simple plug-and-play or direct swap-and-replace projects, your home's electrical infrastructure might have other plans.
Electrical wiring is not an area where you should 'guess and check.' Mistakes can lead to destroyed smart hubs, fried HVAC control boards, or, most importantly, catastrophic electrical fires. According to the National Fire Protection Association (NFPA), electrical failures or malfunctions are consistently among the leading causes of home fires. Knowing the boundary between a simple DIY swap and a hazardous electrical nightmare is critical. This guide will walk you through the most common smart home wiring roadblocks, the red flags that demand a licensed electrician, and the true costs of bringing your home's wiring up to smart-ready code.
Common Smart Home Wiring Roadblocks
The Missing Neutral Wire Dilemma
The most common hurdle for DIYers installing smart switches (like the GE Enbrighten Z-Wave Plus or Leviton Decora Smart) is the absence of a neutral wire. Traditional single-pole switches simply break the 'hot' connection to the light fixture. They do not require a neutral wire because they don't consume power themselves. Smart switches, however, contain internal radios (Wi-Fi, Zigbee, or Z-Wave) and microprocessors that require a constant trickle of 120V power to stay connected to your hub, even when the light is turned off.
In most modern homes (post-1980s), the neutral wire (typically white) is bundled in the back of the electrical box. If you only see a black (hot), white (load/switched hot), and bare copper (ground) wire, you likely lack a true neutral. Forcing a smart switch that requires a neutral into this box will result in the switch failing to power on, or worse, it will leak voltage through the circuit, causing LED bulbs to flicker or 'ghost' when turned off.
The DIY Workaround: If you lack a neutral, you can pivot to products specifically designed for no-neutral setups, such as the Lutron Caseta Clear Connect system, which uses a proprietary low-frequency protocol that doesn't require a neutral wire at the switch location. Alternatively, you can install a smart bulb (like Philips Hue) and use a battery-operated smart button instead of a hardwired switch.
The Thermostat C-Wire Conundrum
Smart thermostats like the Nest Learning Thermostat or Ecobee SmartThermostat require a continuous 24V AC power source to run their displays, Wi-Fi radios, and sensors. This is provided by the 'C-wire' (Common wire). Many older HVAC systems only have 4 wires (R, W, Y, G) and lack a dedicated C-wire. While some thermostats claim to 'steal' power from the other wires, this often results in dropped Wi-Fi connections, blown HVAC fuses, or shortened equipment lifespan.
Before calling a pro, use a multimeter (like the Fluke 117 True-RMS Multimeter) to test the voltage between the Rc and C terminals on your HVAC control board. If you read 24V AC, your C-wire is active. If not, you may need to run a new 18/5 thermostat cable from the furnace to the thermostat wall plate—a task that involves fishing wires through drywall and accessing high-voltage furnace panels, which is often best left to professionals.
3-Way and 4-Way Switch Nightmares
Upgrading a standard single-pole switch is straightforward. Upgrading a 3-way switch (where two switches control one light, like at the top and bottom of a staircase) is exponentially more complex. Traditional 3-way setups use 'traveler' wires to pass the hot current between switches. Most smart switches do not use travelers in the same way and require specific wiring configurations, or the installation of a wireless companion remote (like the Lutron Pico) at the second location. If your existing 3-way wiring is non-standard or uses old cable colors where the white wire is actually carrying hot current, tracing the circuit can become a frustrating and dangerous puzzle.
Red Flags: When You MUST Call a Licensed Electrician
While missing neutrals and C-wires are functional roadblocks, the following issues are severe safety hazards. If you encounter any of these, stop your installation immediately, cap the exposed wires with wire nuts, and contact a licensed electrician.
1. Aluminum Branch Wiring
Homes built or expanded between the mid-1960s and early 1970s often used aluminum wire instead of copper due to a spike in copper prices. Aluminum expands and contracts at a different rate than copper and oxidizes quickly, leading to loose connections at terminals. When you attach a modern smart switch's copper pigtails to aluminum branch wiring without specialized connectors (like COPALUM or AlumiConn lugs), you create a high-resistance connection that can arc and ignite surrounding wood framing. The U.S. Consumer Product Safety Commission (CPSC) strongly warns against DIY repairs on aluminum wiring. This requires a certified professional to perform a whole-house pigtailing or rewiring.
2. Knob-and-Tube or Cloth-Sheathed Wiring
If you open a wall box and see individual wires wrapped in cloth, or ceramic knobs and tubes, you are dealing with legacy wiring that lacks a ground path and is often insulated with degrading rubber or asbestos. Smart home devices that rely on surge protection (like smart plugs and hardwired camera mounts) require a true equipment grounding conductor. Furthermore, adding the continuous electrical load of multiple smart devices to aging, uninsulated wires can easily overload the circuit and start a fire.
3. Arcing Sounds, Scorch Marks, or Warm Wall Plates
If your existing dumb switch feels warm to the touch, makes a faint buzzing or sizzling sound, or if you see black scorch marks on the plastic wall plate or the wires, you have an active arcing fault. This means electricity is jumping across a gap in a loose connection, generating immense heat. Do not install a $50 smart switch into this box; the heat will melt the smart switch's internal circuitry. An electrician must diagnose whether the issue is a loose terminal, a degraded wire, or an overloaded circuit.
4. Box Fill Capacity Violations
The National Electrical Code (NEC) dictates strict 'box fill' calculations based on the volume of the electrical box, the gauge of the wires (14 AWG or 12 AWG), and the number of clamps and devices. Smart switches are notoriously deep and bulky due to their internal electronics. Stuffing a large smart dimmer into a shallow, overcrowded 1950s-era metal box can crush the wires, damaging the insulation and causing a short circuit. A pro will need to swap the shallow box for a deeper 'old work' box or install an extension ring.
Smart Home Wiring Scenarios: DIY vs. Call a Pro
| Scenario | DIY Friendly? | Required Tools / Knowledge | When to Call a Pro |
|---|---|---|---|
| Swapping single-pole switch (Neutral present) | Yes | Non-contact voltage tester, screwdriver, wire strippers | Never, unless wires are damaged |
| Installing Smart Thermostat (C-wire present) | Yes | Smartphone app, small screwdriver, wire labels | If HVAC system uses high-voltage (120V/240V) baseboard heating |
| Adding C-Wire to Furnace | Borderline | Multimeter, wire fishing tools, HVAC schematic reading | If you are uncomfortable opening the furnace control board |
| 3-Way Smart Switch Install | Borderline | Wire tracing, understanding of traveler vs. load wires | If existing wiring is non-standard or lacks color coding |
| Pulling New Neutral Wire | No | Fish tape, drywall cutting/patching, NEC code knowledge | Always. Running new Romex through finished walls is a pro job. |
| Aluminum or Knob-and-Tube Wiring | No | Specialized lugs, whole-home circuit mapping | Immediately. Severe fire hazard if handled improperly. |
Cost Breakdown: Hiring an Electrician for Smart Home Prep
Many homeowners avoid calling an electrician out of fear of exorbitant bills. However, investing in proper electrical prep ensures your expensive smart home gear operates safely and reliably. Electricians typically charge between $75 and $150 per hour, with a minimum service call fee (often $100-$150). Below is a breakdown of typical costs to prepare your home for smart devices.
- C-Wire Installation ($150 - $300): Running a new 18/5 thermostat wire from the HVAC unit to the wall plate. Cost increases if walls are plaster or if the furnace is in a hard-to-reach crawlspace.
- Pulling a Neutral Wire ($200 - $450): Requires pulling new 14/2 or 12/2 Romex from the nearest accessible junction box or panel to the switch box. May involve minor drywall patching.
- Upgrading Electrical Panel ($1,500 - $3,000+): If you are installing a whole-home smart lighting system, EV chargers, and smart breakers (like Span), your older 100-amp panel may not have the physical space or amperage capacity. A panel upgrade to 200-amps is a major, but highly valuable, investment.
Essential Tools for the Smart Home DIYer
If you are tackling the DIY-friendly tasks, you must have the right safety equipment. The Electrical Safety Foundation International (ESFI) emphasizes that testing circuits before touching them is the single most important safety step.
- Non-Contact Voltage Tester (NCVT): A tool like the Klein Tools NCVT-2 detects the presence of AC voltage without needing to touch bare wire. Always test the switch before and after turning off the breaker to ensure the correct circuit was killed.
- Digital Multimeter: Essential for verifying 24V AC at the thermostat terminals or checking for continuity in 3-way traveler wires.
- Wire Strippers and Lineman's Pliers: Smart switches often come with pre-attached pigtails. You will need to strip your home's wires to the exact length specified by the manufacturer (usually 1/2 inch) to ensure no bare copper is exposed outside the wire nut.
- Deep Wall Plates and Spacers: Because smart switches are bulky, you may need to purchase 'deep' or 'oversized' wall plates to ensure the switch sits flush without bending the yoke, which can crack the drywall or damage the device.
Navigating Permits and the National Electrical Code (NEC)
When does a smart home upgrade require a permit? Generally, swapping out an existing switch, outlet, or thermostat for a smart equivalent is considered 'maintenance' or a 'like-for-like' replacement and does not require a permit in most municipalities. However, if you are running new cable, adding new junction boxes, installing hardwired smart home hubs in the attic, or upgrading your electrical panel, a permit and subsequent inspection are legally required.
The National Electrical Code (NEC) Article 404.2 now actually mandates that new switch installations include a neutral wire, anticipating the future of smart home technology. If your electrician is pulling new wire for your smart home prep, they must adhere to these updated codes. Always ask your electrician if their work will be permitted and inspected, especially for high-load smart devices like smart water heater controllers or smart EV charging stations.
Conclusion: Protect Your Home and Your Tech
Smart home technology is designed to make your life easier, safer, and more efficient. But that technology is only as reliable as the copper wires feeding it. While swapping a standard switch for a smart dimmer is a fantastic weekend project, encountering aluminum wiring, missing neutrals, or scorched boxes is your cue to step back. By recognizing your limits and hiring a licensed electrician for the heavy lifting, you protect your home from fire hazards, ensure your smart devices operate flawlessly, and ultimately increase the long-term value of your property. Remember: no smart home feature is worth compromising the safety of your household.