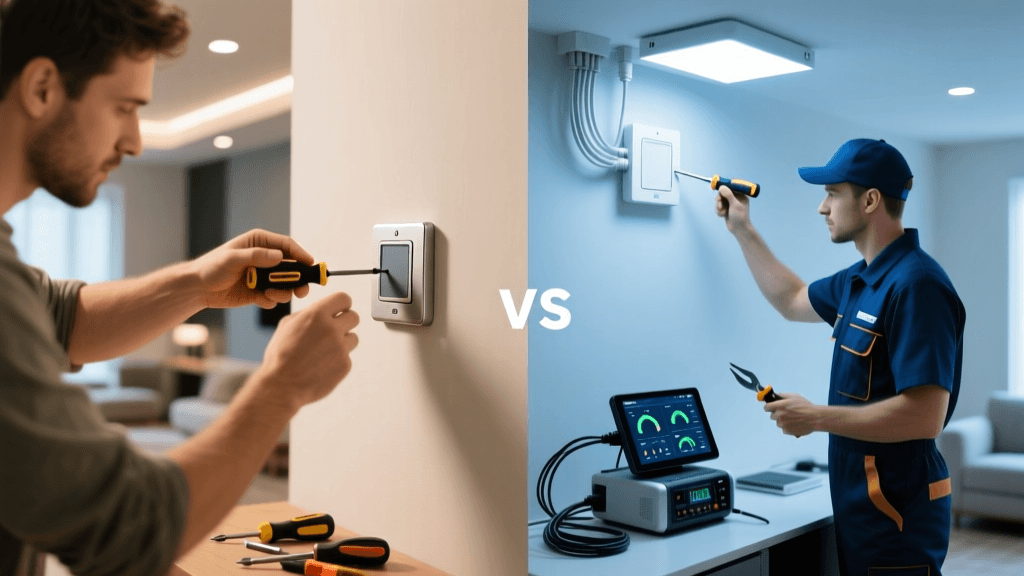
The Allure and Danger of DIY Smart Home Wiring
Upgrading to a smart home is one of the most rewarding DIY projects a homeowner can undertake. The promise of automated lighting, intelligent climate control, and voice-activated routines is incredibly appealing. However, the reality of opening up your wall plates often reveals a tangled, outdated, or potentially dangerous web of electrical wiring. While swapping out a simple single-pole switch for a smart alternative like the Kasa Smart Light Switch or the Leviton Decora Smart Wi-Fi switch is generally straightforward for the average DIYer, many homes present electrical roadblocks that cross the line from a simple weekend project into a serious fire hazard.
According to the National Fire Protection Association (NFPA), electrical distribution and lighting equipment are consistently among the leading causes of home structure fires. When you introduce smart devices—which require constant power for Wi-Fi, Zigbee, or Z-Wave radios—into aging electrical systems, the risk of overheating, arcing, and circuit failure increases if the installation is not performed to code. This guide will help you identify the exact moments when you must put down the wire strippers, step back from the junction box, and call a licensed electrician.
The Missing Neutral Wire Dilemma
The most common roadblock for smart home enthusiasts is the absence of a neutral wire at the switch box. In a standard US electrical circuit, the black wire is the "hot" or line wire, the bare copper or green wire is the ground, and the white wire is the neutral. The neutral wire completes the circuit, allowing current to return to the electrical panel.
Traditional mechanical switches do not require a neutral wire because they simply interrupt the hot wire to turn the light off. Smart switches, however, are essentially small computers. They need a constant trickle of electricity to keep their wireless radios connected to your network, even when the light itself is turned off. If your home was built before the mid-1980s, there is a high probability that your switch boxes do not contain a true neutral wire. Instead, the white wire in the box might be a "switched hot" wire carrying current back to the light fixture, often marked with black electrical tape.
When to Call a Pro for Neutral Wire Issues
- Attempting to rewire the circuit: If you need a neutral wire to use specific smart switches, pulling new 14/2 or 12/2 Romex cable through finished walls and ceilings is a job for a professional electrician.
- Unsafe bypassing: Never attempt to use the ground wire as a neutral. This is incredibly dangerous, can cause stray voltage on metal fixtures, and will immediately trip GFCI or AFCI breakers. According to the U.S. Consumer Product Safety Commission (CPSC), improper grounding and neutral bonding are severe electrocution and fire risks.
- The DIY Alternative: If you want to avoid calling a pro, you can bypass this issue by purchasing the Lutron Caseta ecosystem. Lutron switches do not require a neutral wire because they use a proprietary low-frequency RF signal and a unique internal circuit design that safely leaks a tiny amount of current through the bulb. However, if you are committed to Wi-Fi or Matter-over-Thread switches, you will need an electrician to retrofit your boxes.
The C-Wire Conundrum for Smart Thermostats
Smart thermostats like the Ecobee Smart Thermostat Premium or the Google Nest Learning Thermostat require a continuous 24-volt AC power source to operate their displays, Wi-Fi antennas, and HVAC relays. This power is provided by the "C-wire" (Common wire). Older homes with basic mercury or digital thermostats often only have 18/4 wire (Red, White, Yellow, Green) running to the thermostat plate, lacking the blue C-wire.
While some modern thermostats claim to "power steal" by drawing micro-currents through the heating and cooling relays, this often results in ghost clicking, Wi-Fi dropouts, or even damage to your HVAC control board. While you can purchase a C-wire adapter (like the Nest Power Connector) that installs at the furnace, running new 18/5 thermostat wire from the basement HVAC unit up through the walls to the thermostat location requires professional tools, fish tapes, and drywall repair knowledge. If your HVAC system uses high-voltage line-level power (common in baseboard heaters), installing a smart thermostat requires a completely different setup, including step-down transformers, which strictly mandates a licensed professional.
Multi-Way Switches and Traveler Wire Chaos
If a light is controlled by two switches, you have a 3-way circuit. If it is controlled by three or more, you have a 4-way circuit. These setups rely on "traveler" wires to pass the electrical current between multiple switch locations. Converting a standard 3-way setup to a smart home configuration is notoriously frustrating for DIYers.
Many smart switch brands require you to install a "Master" smart switch in one location and a proprietary "Add-On" or "Companion" switch in the other. The wiring diagrams for these setups often require you to cap off the traveler wires and reassign the neutral and line wires in ways that defy traditional electrical logic. If you open a 3-way box and see four or five wires bundled together with confusing wire nut configurations, or if you are dealing with a 4-way setup involving intermediate switches, it is time to call an electrician. Miswiring a multi-way smart switch can instantly fry the internal relay of the $50 smart switch or cause a dead short that trips your main breaker.
Box Fill Capacity and Overcrowding
Smart switches are significantly bulkier than traditional toggle switches. A standard single-pole switch takes up minimal space, but a smart switch houses a power supply, a wireless antenna, and a relay, often making it 1.5 to 2 inches deep. The National Electrical Code (NEC) strictly governs "box fill" calculations (Article 314) to ensure that wires are not crushed, which can damage insulation and cause arcing.
If you are trying to cram two or three smart switches (such as in a gang of three controlling porch, entryway, and stair lights) into a standard 14-cubic-inch shallow junction box, you are violating code and creating a severe heat trap. An electrician will need to cut out the drywall, remove the old shallow boxes, and install 22-cubic-inch or 25-cubic-inch deep "old work" boxes to safely accommodate the volume of the smart switches and the necessary wire nuts.
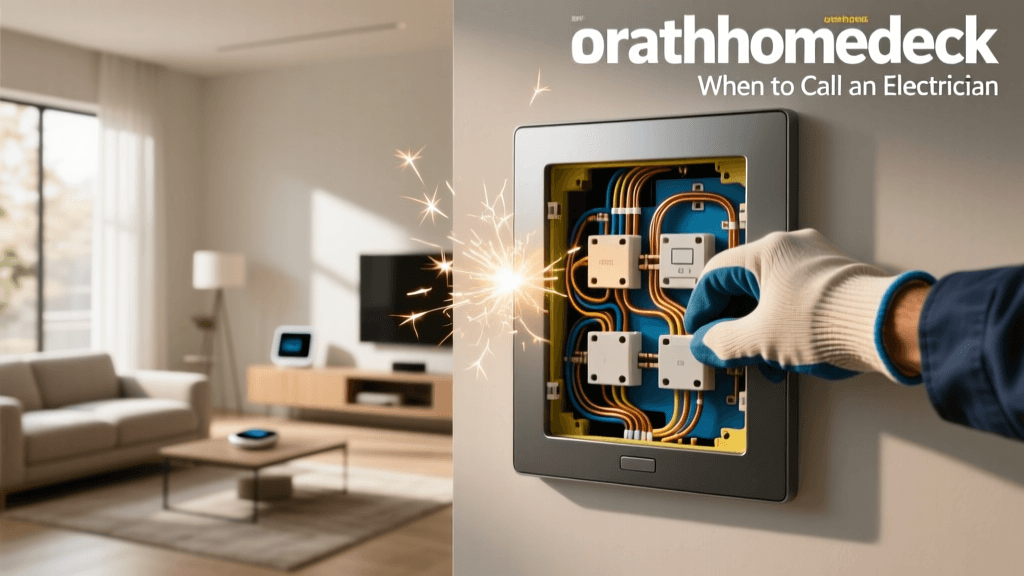
Critical Red Flags: Stop Immediately and Call a Pro
While troubleshooting your smart home wiring, if you encounter any of the following scenarios, stop your DIY work immediately and contact a licensed electrician:
- Aluminum Wiring: If your home was built between 1965 and 1973, you might have single-strand aluminum branch wiring. Aluminum expands and contracts differently than copper, leading to loose connections and fires. Most smart switches are rated for copper only. You will need a pro to either rewire the home or install specialized AlumiConn connectors and CO/ALR rated devices.
- Ungrounded Metal Boxes: If you live in an older home with metal junction boxes and metal-sheathed (BX) cable that lacks a dedicated ground wire, your metal boxes may not be properly grounded. Installing smart switches in ungrounded metal boxes creates a severe shock hazard.
- Warm Faceplates or Buzzing Sounds: If a newly installed smart switch feels warm to the touch or emits a faint buzzing sound, it is likely overloaded, improperly wired, or incompatible with the connected LED drivers. Turn off the breaker immediately.
- Flickering Lights on Other Circuits: If installing a smart switch causes lights in a completely different room to flicker, you may have a loose neutral connection at the main service panel or a shared neutral (multi-wire branch circuit) issue that requires professional diagnostic equipment.
Safety First: Always use a Non-Contact Voltage Tester (NCVT) like the Klein Tools NCVT-3 before touching any wires, and verify it is working on a known live circuit first. Remember that turning off a wall switch does not kill power to the switch box—the hot wire remains live until the circuit breaker is turned off and verified.
Cost Comparison: DIY vs. Professional Installation
Understanding the financial implications of your smart home project can help you decide when to hire a professional. Below is a comparison of common installation scenarios.
| Installation Scenario | DIY Cost (Materials) | Pro Cost (Labor + Materials) | Time Investment | Risk Level |
|---|---|---|---|---|
| Single-Pole Smart Switch Swap | $25 - $50 | $125 - $175 | 30 Minutes | Low |
| 3-Way Smart Switch Conversion | $60 - $110 | $250 - $400 | 2 - 3 Hours | Medium |
| Running New C-Wire for Thermostat | $15 - $30 | $200 - $450 | 3 - 5 Hours | High (Drywall/HVAC) |
| Neutral Wire Retrofit (Per Circuit) | N/A (Requires Pro) | $500 - $1,200+ | 4 - 8 Hours | Very High |
Average Costs for Smart Home Electrical Upgrades
How to Hire a Smart-Home-Savvy Electrician
Not all electricians are enthusiastic about smart home technology. Some traditional electricians may be unfamiliar with the specific requirements of Z-Wave, Zigbee, or Matter devices, or they might view the installation of a Lutron Caseta hub as "IT work" rather than electrical work. When vetting an electrician, ask the following questions:
- Are you familiar with smart switch box-fill requirements? A good electrician will immediately mention deep junction boxes and heat dissipation.
- Can you run 18/5 low-voltage wire for my thermostat? This confirms they are comfortable working with HVAC control wiring, which bridges the gap between high-voltage electrical and low-voltage smart home tech.
- Do you carry Lutron or Leviton smart home certifications? Many manufacturers offer training programs for contractors, ensuring they know the exact wiring diagrams for complex multi-way and neutral-free setups.
Safe DIY Alternatives When Wiring is a Dead End
If your electrician's quote for retrofitting neutral wires or upgrading your electrical panel is out of your budget, you do not have to abandon your smart home dreams. You can pivot to non-wired smart home alternatives that offer 90% of the functionality with zero electrical risk:
- Smart Bulbs: Philips Hue and WiZ smart bulbs bypass the wall switch entirely. You simply leave the traditional wall switch in the "on" position and control the bulb via an app or voice assistant. To prevent family members from flipping the switch and killing the smart bulb's power, you can install a battery-operated smart button (like the Philips Hue Dimmer Switch) over the existing wall plate.
- Smart Plugs and Modules: For lamps, fans, and small appliances, use heavy-duty smart plugs like the Kasa EP25 (which includes energy monitoring) or Zigbee smart plugs that also act as mesh network repeaters.
- Wireless Magnetic Sensors: Instead of wiring a smart switch for a closet or pantry light, use a battery-powered Aqara Door and Window Sensor paired with a smart bulb to trigger automation based on physical movement.
Conclusion
Building a smart home is a journey that blends software configuration with physical hardware installation. While changing out a simple switch is a great entry point into home automation, the underlying electrical infrastructure of your home dictates what is safely possible. Recognizing the limits of your DIY skills—especially when dealing with missing neutral wires, multi-way traveler circuits, thermostat C-wires, and overcrowded junction boxes—is the hallmark of a responsible homeowner. By knowing when to call a licensed electrician, you ensure that your smart home is not only intelligent and automated but, most importantly, safe and built to last for decades.