Introduction: Moving Beyond Remote Control
When most people first enter the smart home ecosystem, they confuse remote control with automation. Opening an app on your smartphone to turn off your living room lights or using a voice command to adjust your thermostat is merely remote control. True smart home automation, on the other hand, means your home operates intelligently on its own, anticipating your needs and reacting to environmental changes without requiring your direct input. According to the U.S. Environmental Protection Agency's ENERGY STAR program, properly automated HVAC systems alone can save households an average of 8% on heating and cooling bills, simply by reacting to occupancy and scheduling without human intervention.
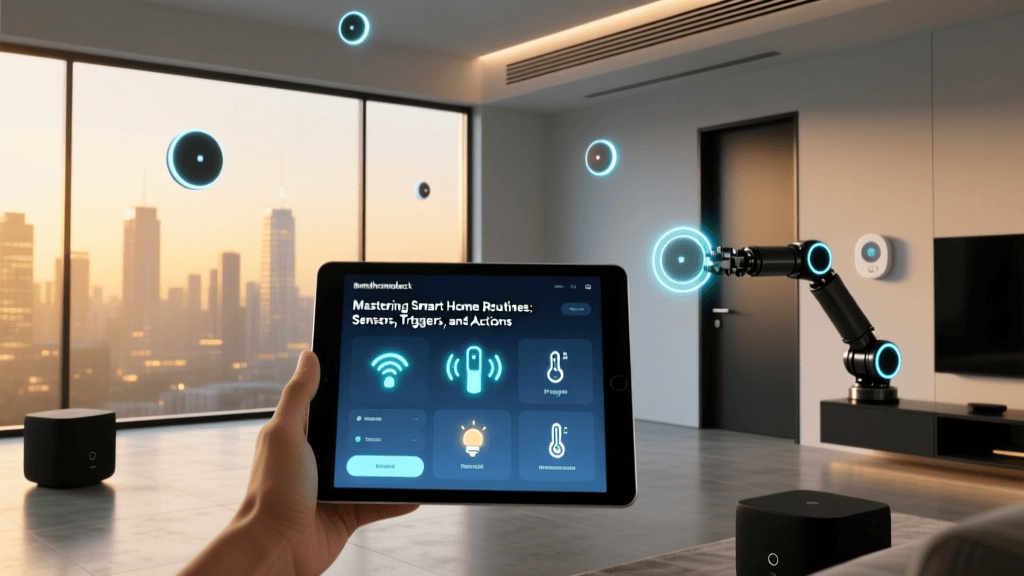
To harness the true power of a connected home, you must understand the foundational logic that governs every automated routine. Whether you are using Amazon Alexa, Apple HomeKit, Google Home, or an advanced local hub like Home Assistant, every automation is built upon a universal programming trio: Triggers, Conditions, and Actions. In this comprehensive guide, we will break down these concepts, compare major ecosystems, and walk you through building advanced, reliable routines for your home.
The Core Trio: Triggers, Conditions, and Actions
At its core, smart home automation follows a simple logical statement: "WHEN [Trigger] happens, and IF [Condition] is met, THEN do [Action]." Mastering this syntax is the key to transforming a house full of disconnected gadgets into a cohesive, intelligent environment.
1. The Trigger (The "When")
A trigger is the specific event that initiates an automation sequence. Triggers are the spark that wakes up your smart home hub and tells it to evaluate the next steps. Common triggers include:
- Time and Schedule: Specific times of day, sunrise/sunset offsets, or specific days of the week.
- Geofencing (Location):strong> Your smartphone entering or leaving a predefined virtual perimeter around your home.
- Sensor State Changes: A door opening, motion being detected, or a water leak sensor making contact with moisture.
- Device State Changes: A smart TV turning on, or a smart lock being engaged.
- Webhooks and NFC: Scanning an NFC tag on your nightstand or receiving a specific IFTTT web request.
2. The Condition (The "Only If")
Conditions act as the gatekeepers of your automation. Once a trigger fires, the system checks the conditions to determine if the action should actually execute. Without conditions, your automations would fire indiscriminately, leading to frustrating experiences. Common conditions include:
- Time Windows: Only execute if the current time is between 8:00 PM and 6:00 AM.
- Device States: Only execute if the living room TV is currently turned off, or if the smart thermostat is set to 'Away' mode.
- Environmental Data: Only execute if the local weather API reports rain, or if an indoor lux sensor reports light levels below 50 lumens.
- Occupancy: Only execute if the home's presence detection system confirms at least one person is home.
3. The Action (The "Do")
The action is the final payload—the physical or digital result of the automation. Actions can be singular or a sequence of events with built-in delays. Examples include:
- Device Control: Dimming Philips Hue lights to 20%, locking a Yale Assure Lock, or setting an Ecobee SmartThermostat to 72°F.
- Notifications: Sending a push notification to your phone, or triggering an Alexa announcement on a specific Echo Dot.
- Media Playback: Starting a specific Spotify playlist on your Sonos system or resuming a paused audiobook.
- Scene Activation: Triggering a pre-configured 'Movie Night' scene that adjusts multiple devices simultaneously.
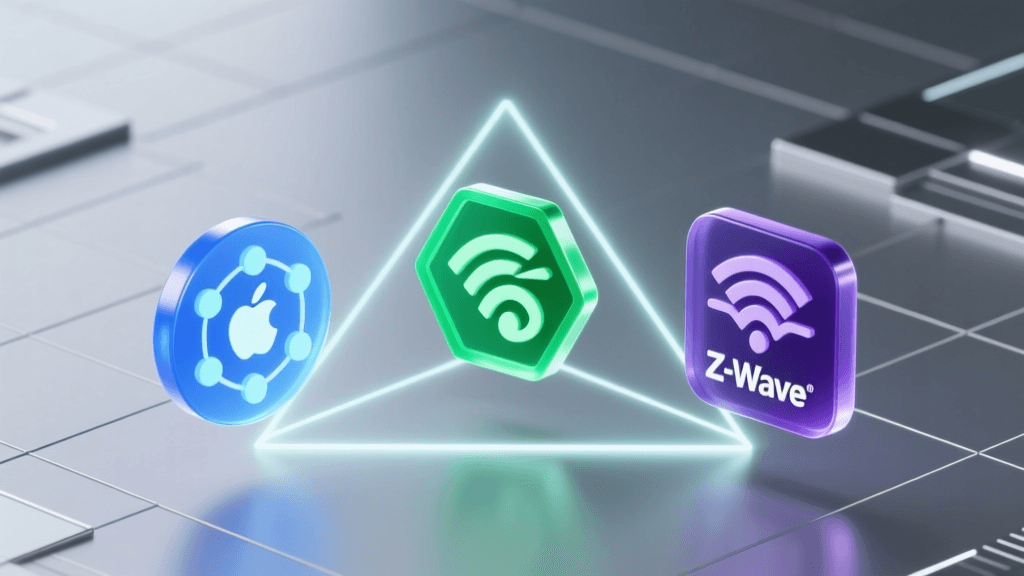
Comparing Smart Home Automation Ecosystems
Not all automation platforms are created equal. The complexity, reliability, and cost of building your routines depend heavily on the ecosystem you choose. Below is a comparison of the most popular platforms for smart home automation.
| Ecosystem | Hub Required? | Local Processing? | Complexity | Best For |
|---|---|---|---|---|
| Amazon Alexa | Yes (Echo devices) | Mostly Cloud | Low | Beginners, voice-centric homes, broad device compatibility. |
| Apple HomeKit | Yes (HomePod/Apple TV) | Hybrid (Local fallback) | Medium | Apple users prioritizing privacy and secure, reliable geofencing. |
| Google Home | Yes (Nest Hub) | Cloud | Low | Android users, Google Nest product enthusiasts. |
| Home Assistant | Yes (Custom Hardware) | 100% Local | High | Tinkerers, advanced logic, complete privacy, cross-brand integration. |
The Importance of Local vs. Cloud Automations
When building automations, understanding where the logic is processed is critical for reliability. Cloud-based automations (like standard Alexa Routines) require your trigger signal to travel from your sensor, to your router, to the manufacturer's server, to Amazon's server, and back down to your smart plug. If your internet connection drops, or if a third-party server experiences an outage, your automation fails.
Local automations process the logic entirely within your home network. If you use a Zigbee hub like the Aqara M2 or a local powerhouse like Home Assistant, the signal goes from the sensor directly to the local hub and immediately to the smart bulb. This results in sub-100-millisecond latency and ensures your lights still turn on when the internet goes down. For critical automations—like security lighting, water leak shutoff valves, and smoke alarm responses—local processing is highly recommended.
Step-by-Step: Building an Advanced "Leaving Home" Routine
Let us apply the Trigger-Condition-Action framework to build a robust "Leaving Home" automation using Apple HomeKit as our example platform. This routine ensures your home is secure and energy-efficient the moment you pull out of the driveway.
Step 1: Define the Trigger
Instead of relying solely on a manual button press, we will use Geofencing. In the Apple Home app, you create an automation triggered when the 'Last Person Leaves' the home perimeter. To ensure accuracy, set the geofence radius to roughly 150 meters to prevent false triggers if you are simply walking the dog or taking out the trash.
Step 2: Add Conditions (Optional but Recommended)
In advanced ecosystems like Home Assistant, you might add a condition: Only execute if the home alarm system is not already set to 'Away'. This prevents the system from sending redundant commands or triggering error notifications if the routine fires twice due to GPS drift.
Step 3: Sequence the Actions
A good automation sequences actions logically to prevent network congestion (a common issue with Zigbee and Z-Wave networks when 20 devices try to change state at the exact same millisecond).
- Action 1 (Security): Lock all Yale Assure and Schlage Encode smart locks. (Priority: High)
- Action 2 (Climate): Set the Ecobee SmartThermostat to 'Away' mode, raising the cooling setpoint to 78°F to save energy.
- Action 3 (Lighting): Turn off all interior Lutron Caseta and Philips Hue lights.
- Action 4 (Appliances): Turn off the smart plug connected to the coffee maker and space heaters.
- Action 5 (Notification): Send a push notification to the homeowners: "Home secured. All doors locked and thermostat adjusted."
Visualizing the Impact of Smart Home Automation
Why go through the effort of programming these routines? The primary benefit is the reclamation of time and the reduction of cognitive load. By automating repetitive daily tasks, homeowners save hours of manual adjustments every month. The chart below illustrates the estimated average monthly hours saved across different smart home categories through automated routines.
Bar chart showing average monthly hours saved by smart home automations across different categories like Lighting, HVAC, Security, Entertainment, and Appliances.
As the data suggests, lighting and HVAC automations yield the highest return on investment regarding time saved and passive energy conservation. Automated lighting routines utilizing sunset offsets and motion sensors eliminate the need to manually patrol the house turning off switches, while automated HVAC schedules ensure you never pay to heat or cool an empty house.
Choosing the Right Hardware for Reliable Triggers
An automation is only as reliable as the hardware triggering it. If your motion sensor has a 3-second delay or drops offline, your automated hallway lights will fail to illuminate when you walk in with groceries.
Sensors and Protocols
- Zigbee & Z-Wave: These low-power mesh networks are the gold standard for sensors. Devices like the Aqara P2 Door and Window Sensor (approx. $29.99) or the Aeotec MultiSensor 7 (approx. $59.99) offer instant response times and do not clog up your home's Wi-Fi bandwidth.
- Thread & Matter: The emerging Matter protocol, built on the low-latency Thread mesh network, is beginning to standardize automation triggers across different ecosystems. Devices like the Eve MotionBlinds or newer Nanoleaf Essentials bulbs utilize Thread to ensure local, lightning-fast reactions to automation commands.
- Wi-Fi Sensors: While cheaper upfront (often $10-$15 per sensor), Wi-Fi sensors consume more battery, suffer from network congestion, and rely heavily on cloud servers. They are not recommended for critical, time-sensitive automations.
Troubleshooting Common Automation Failures
Even the most meticulously planned automations can fail. Here is how to troubleshoot the most common issues encountered by smart home enthusiasts:
1. The "Ghost" Trigger (False Positives)
Symptom: Lights turn on in the middle of the night when no one is home.
Cause: Passive Infrared (PIR) motion sensors can be triggered by sudden heat changes, such as a space heater turning on, direct sunlight hitting the sensor, or even a large pet.
Fix: Reposition the sensor away from HVAC vents and windows. Alternatively, use mmWave (millimeter wave) presence sensors, like the Aqara FP2, which detect micro-movements and human breathing rather than just heat signatures, allowing you to draw specific detection zones in the app.
2. Geofencing Inconsistencies
Symptom: The "Arrive Home" routine only fires when you are already pulling into the driveway, or not at all.
Cause: Smartphone operating systems aggressively throttle background location services to save battery.
Fix: Ensure your smart home app (Apple Home, Google Home, Alexa) is granted "Always Allow" location permissions, not just "While Using the App." Furthermore, ensure that precise location services are enabled for the hub's geofencing to calculate the perimeter accurately.
3. Network Congestion and Device Timeouts
Symptom: A "Goodnight" scene turns off 80% of the lights, but leaves three random bulbs on.
Cause: Sending 30 simultaneous commands over a single Zigbee or Wi-Fi channel causes packet loss. The hub assumes the command was received, but the bulb never gets the signal.
Fix: Introduce artificial delays into your automation actions. Instead of turning off all lights at once, group them by room and add a 1-second delay between each group's action command. Additionally, ensure your Zigbee network has enough mains-powered "router" devices (like smart plugs) to strengthen the mesh signal.
Conclusion: Start Small and Iterate
Smart home automation is not about setting up a hundred complex routines on day one; it is about solving specific, daily friction points. Start with the basics: a sunset-triggered exterior lighting routine, a geofenced thermostat adjustment, and a morning coffee maker schedule. As you become comfortable with the Trigger-Condition-Action logic, you can begin exploring advanced local hubs, integrating NFC tags for one-tap scenes, and building a home that truly thinks for itself. For those deeply invested in the Apple ecosystem, exploring Apple's official guide on creating HomeKit automations is an excellent next step to refine your sensor-based routines and time-delayed actions.
By understanding the mechanics behind the magic, you transition from a mere consumer of smart gadgets to the architect of a truly intelligent, responsive, and energy-efficient home.