Introduction: The Reality of Smart Thermostat Installation
Upgrading to a smart thermostat is widely considered one of the most impactful changes you can make to your home's energy profile and daily comfort. According to the U.S. Department of Energy, properly programming and utilizing a smart thermostat can save homeowners up to 10% a year on heating and cooling costs. Furthermore, the EPA Energy Star program highlights that certified smart thermostats consistently deliver on energy-saving promises by learning user behaviors and adjusting temperatures when homes are unoccupied. However, the primary barrier to entry for many consumers isn't the premium price tag—it is the installation anxiety. The fear of miswiring a complex HVAC system, blowing a low-voltage fuse, or dealing with an incompatible setup keeps many from making the switch.
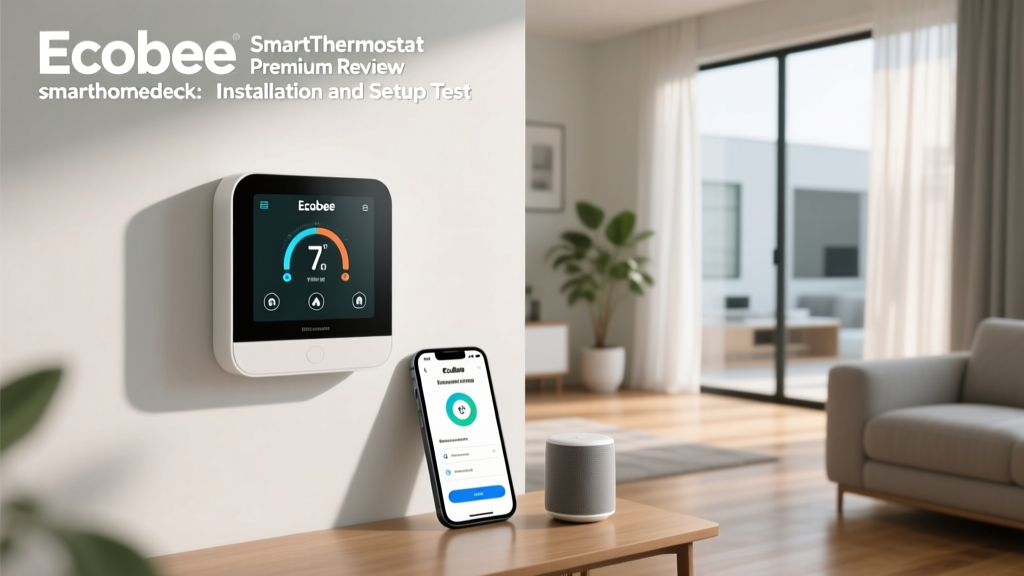
In this comprehensive installation and first-setup report, we are putting the Ecobee SmartThermostat Premium through its paces. Rather than just focusing on its sleek glass interface or built-in Alexa speaker, this review documents every step of the unboxing, physical wiring, app onboarding, and sensor calibration process. Our goal is to determine if this premium device truly delivers on its promise of a user-friendly, DIY-friendly setup, or if you will need to call a professional HVAC technician to get it running.
Unboxing and the Hardware Ecosystem
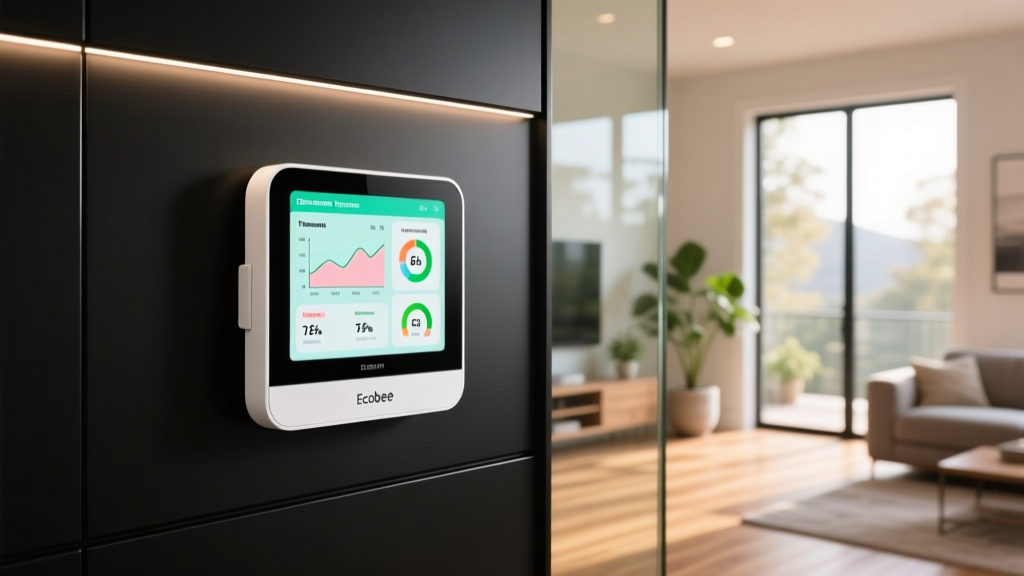
The unboxing experience of the Ecobee SmartThermostat Premium immediately sets a high-end tone. The packaging is secure and eco-friendly, revealing the thermostat's stunning front glass panel, which features a built-in speaker and microphone array for voice assistants. But for the DIY installer, the real treasures are hidden in the lower compartments of the box.
Ecobee includes everything a homeowner might need for a successful installation, which is a massive relief. Inside the box, you will find:
- The SmartThermostat Premium Display: The main brain and interface of the system.
- The Backplate and Trim Plate: The trim plate is a crucial inclusion. It is designed to cover up the unpainted drywall or holes left behind by older, larger, or differently shaped legacy thermostats, saving you from having to spackle and paint your wall.
- Power Extender Kit (PEK): This is Ecobee's secret weapon for homes lacking a C-wire (more on this below).
- Wire Labels and Screws: Pre-printed, adhesive-backed wire labels to ensure you don't mix up your HVAC terminals.
- SmartSensor (9300-5273): A remote room sensor to monitor occupancy and temperature in secondary rooms.
- Wire Extensions: Small pieces of wire in case your existing thermostat wires are too short or damaged at the tips.
Preparation: Tools Required and Safety First
Before touching a single wire, preparation is key. The Ecobee app is highly recommended to be downloaded before you begin, as it serves as your interactive manual. For the physical installation, you will need a standard Phillips-head screwdriver, a flathead screwdriver, a power drill (if you are mounting into drywall without existing anchors), and a smartphone with a stable internet connection. Crucial Safety Step: Always locate your home's main electrical panel and turn off the breaker that supplies power to your HVAC system and furnace. Attempting to wire a thermostat with the power on is the fastest way to blow the 3-amp fuse on your furnace control board, which will halt your installation and require a hardware store run.
The C-Wire Conundrum and Physical Installation
The most common point of failure and frustration in smart thermostat installations is the Common Wire, universally known as the C-wire. Older thermostats were battery-powered or stole power from the heating/cooling circuits. Modern smart thermostats with Wi-Fi radios, bright LCD screens, and voice assistants require a continuous 24V power supply, which the C-wire provides.
Scenario A: You Have a C-Wire
If you remove your old thermostat and see a wire connected to the 'C' terminal (usually blue, but sometimes black or brown), your installation is straightforward. You label your wires using the included Ecobee stickers, disconnect them, remove the old backplate, and mount the new Ecobee backplate. The Ecobee Premium uses spring-loaded terminal blocks on the backplate. Instead of wrapping wire around a screw, you simply press the small tab with a flathead screwdriver, insert the straight wire, and release. This provides a secure, tool-assisted grip that feels incredibly robust and eliminates the risk of frayed wire strands causing a short circuit.
Scenario B: You Do Not Have a C-Wire (Using the PEK)
If your current setup only has two or four wires (typically R, W, Y, G) and no C-wire, Ecobee includes the Power Extender Kit (PEK). The PEK installs at your furnace or air handler control board, not at the thermostat wall. It multiplexes the signals over your existing wires to deliver constant power. While this adds about 15-20 minutes to your installation time and requires you to open your furnace panel, the Ecobee app provides clear, step-by-step photographic diagrams on how to wire the PEK into standard control boards. It is a highly effective workaround that saves homeowners the $150+ cost of having an electrician run a new 18/5 thermostat cable through their walls.
First-Setup: App Onboarding and Network Configuration
Once the physical wiring is complete and the breaker is flipped back on, the Ecobee Premium boots up with a welcoming logo and prompts you to download the Ecobee app. The first-setup process is where Ecobee shines compared to some competitors that rely on confusing on-screen menus.
The app asks you to scan a QR code located on the side of the thermostat display. This instantly links the physical hardware to your app account, bypassing the need to type in long serial numbers. Next comes the network configuration. Like many smart home devices, the Ecobee requires a 2.4GHz Wi-Fi network for initial setup due to its superior wall-penetration capabilities. If your router uses a combined SSID for 2.4GHz and 5GHz, the app includes a helpful troubleshooting guide on how to force your phone onto the 2.4GHz band temporarily to pass the credentials to the thermostat.
Interactive HVAC System Configuration
After connecting to Wi-Fi, the app asks a series of critical questions about your HVAC setup. You must specify your system type (Conventional, Heat Pump, Dual Fuel, etc.), your primary heating fuel (Natural Gas, Electric, Oil), and whether you have auxiliary or emergency heat. If you have a heat pump, the app will ask about your O/B wire reversal setting. This is a common stumbling block for DIYers, but Ecobee handles it elegantly: if you aren't sure, the app allows you to run a test cycle. It will engage the heat pump and monitor the compressor to determine if the reversing valve is energized on cool (O) or heat (B), automatically configuring the software to match your hardware.
SmartSensor Pairing and Calibration
The Ecobee SmartThermostat Premium comes with one SmartSensor included in the box. During the first-setup wizard, the app prompts you to pull the battery tab on the sensor. The thermostat immediately detects the sensor via its proprietary 900MHz wireless protocol, which operates independently of your home Wi-Fi, ensuring low latency and no network congestion.
The app then guides you on optimal sensor placement. It correctly advises against placing the sensor in direct sunlight, near drafty windows, or directly under an HVAC supply vent. Once placed, the app allows you to set up 'Smart Home' and 'Smart Away' routines, utilizing the sensor's Passive Infrared (PIR) occupancy detection to override the main thermostat's schedule if someone is spending an extended period in a secondary room, like a home office or nursery.
Setup time and difficulty comparison for top smart thermostats
Common Installation Pitfalls and How Ecobee Solves Them
During our testing, we noted several common pitfalls that the Ecobee ecosystem actively mitigates:
- Short Wires: Legacy wires are often clipped too close to the drywall. Ecobee includes wire extensions and a specialized wire nut to safely extend them without risking a short inside the wall cavity.
- Uneven Walls: Older homes rarely have perfectly flat drywall. The Ecobee backplate features adjustable tension screws that allow you to level the thermostat without bending the plastic housing, ensuring the internal temperature sensors aren't skewed by gaps against the wall.
- Ghost Voltages: Some older systems leak small amounts of voltage through the Y or W terminals. The Ecobee software is highly adept at filtering out these ghost voltages, preventing the AC compressor from chattering or engaging unexpectedly.
The First 24 Hours: System Testing and Smart Recovery
Before finalizing the setup, the Ecobee Premium forces a mandatory HVAC System Test. It will independently trigger the cooling, heating, and fan circuits for two minutes each. This is an invaluable feature that confirms your wiring is correct before you walk away. You can physically go to your furnace and outdoor condenser to verify that the correct equipment is firing up.
Over the first 24 hours, the thermostat begins its calibration phase. It learns the thermal characteristics of your home—specifically, how long it takes to drop or raise the temperature by one degree based on outdoor weather conditions pulled via Wi-Fi. This data feeds into the 'Smart Recovery' feature, which ensures your home is exactly at your desired comfort temperature at the exact time you wake up or arrive home, rather than just starting the HVAC system at that time.
Pros and Cons of the Setup Experience
Pros
- Spring-loaded terminal blocks make physical wiring incredibly easy and secure.
- Included Power Extender Kit (PEK) solves the C-wire problem without an electrician.
- The trim plate effectively hides wall damage from previous thermostats.
- Interactive app guidance with photographic diagrams for furnace wiring.
- Automated HVAC system test verifies wiring before finalizing setup.
Cons
- Installing the PEK requires opening the furnace panel, which intimidates some DIYers.
- 2.4GHz Wi-Fi requirement can cause initial pairing headaches on modern mesh networks.
- The premium price point is steep, especially if you only need basic scheduling features.
Final Deck Score Verdict
The Ecobee SmartThermostat Premium is a masterclass in bridging the gap between high-end smart home technology and accessible DIY installation. While the physical act of wiring any HVAC system carries inherent risks and requires basic technical confidence, Ecobee provides the best safety net in the industry through its included hardware accessories and phenomenal app-based guidance. The inclusion of the PEK and the trim plate alone justifies a significant portion of the premium cost, saving users from additional hardware store trips or drywall repair work.
| Deck Score Dimension | Rating (out of 10) | Notes |
|---|---|---|
| Performance | 9.5 | Flawless HVAC control, rapid Wi-Fi response, and highly accurate remote sensor readings. |
| Value | 7.5 | Expensive upfront, but the included PEK and SmartSensor offset the cost compared to buying them separately. |
| Compatibility | 9.0 | Works with nearly all 24V HVAC systems, including complex dual-fuel and heat pump setups. |
| Ease-of-Use (Setup) | 8.5 | App onboarding is phenomenal; only the potential need for furnace wiring docks a point. |
| Features | 10.0 | Built-in Alexa, Spotify Connect, air quality monitoring, and robust occupancy sensors. |
Ultimately, if you are willing to spend 45 to 60 minutes carefully following the interactive app instructions, the Ecobee SmartThermostat Premium offers one of the most rewarding and painless first-setup experiences in the smart climate control market. It transforms a daunting electrical task into a manageable, step-by-step weekend project that will pay dividends in comfort and energy efficiency for years to come.