The Reality of DIY Smart Thermostat Installation
Upgrading to a smart thermostat is widely considered one of the most impactful smart home improvements you can make. According to the EPA's ENERGY STAR program, certified smart thermostats save users roughly 8% on their annual heating and cooling bills. Furthermore, the U.S. Department of Energy highlights that automated temperature setbacks can yield savings of up to 10% a year. However, the barrier to entry for many homeowners isn't the upfront cost of the device; it is the perceived difficulty of the physical installation and the subsequent software onboarding.
In this comprehensive first-setup report, we evaluate the installation difficulty, wiring requirements, and app onboarding experiences of three market leaders: the Ecobee SmartThermostat Premium, the Google Nest Learning Thermostat, and the Honeywell Home T9. Our goal is to provide actionable, real-world insights into what it actually takes to get these devices off the wall, onto your HVAC system, and connected to your Wi-Fi network.
Pre-Installation: Safety and Compatibility Checks
Before unboxing any smart thermostat, you must verify two critical factors: voltage compatibility and the presence of a C-wire (Common wire).
- Voltage Check: Most smart thermostats require a low-voltage (24V) HVAC system. If your current thermostat has thick wires with wire nuts or labels indicating 120V/240V, you have a line-voltage system (common with electric baseboard heaters). Standard smart thermostats will be destroyed if connected to line voltage.
- The C-Wire Dilemma: The C-wire provides continuous 24V power to the thermostat, keeping the Wi-Fi radio and display alive without relying on 'power stealing' from the heating/cooling circuits. We will evaluate how each brand handles homes lacking this crucial wire.
Pro Tip: Always take a clear, well-lit photograph of your existing thermostat wiring before removing a single wire. This is your ultimate fallback if the smart app's wiring diagram doesn't match your HVAC system's reality. Always turn off the HVAC breaker at your main electrical panel before touching any wires.
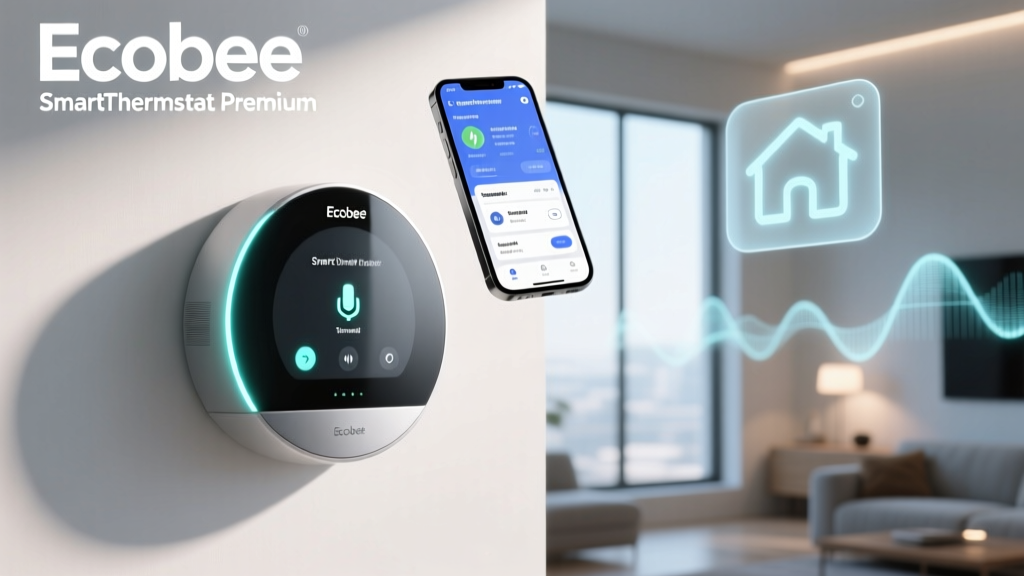
Product 1: Ecobee SmartThermostat Premium
Physical Installation & Wiring
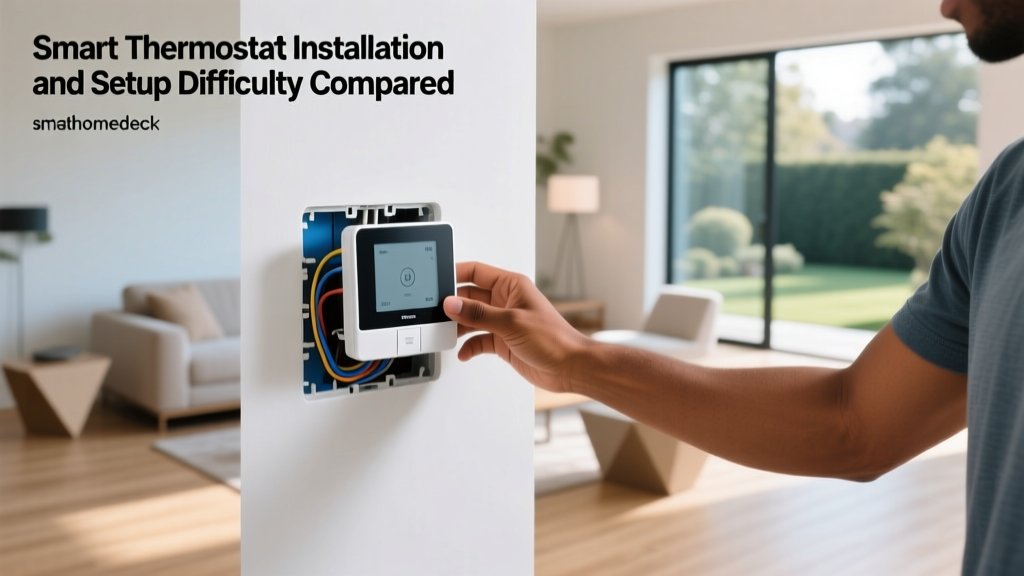
Ecobee shines in its approach to the notorious missing C-wire problem. Inside the box, Ecobee includes a Power Extender Kit (PEK). If your wall lacks a C-wire, the PEK allows you to connect to your HVAC control board in the basement or attic, multiplexing the signals over existing wires to deliver power to the wall unit. While this sounds intimidating, the PEK features push-in terminals and color-coded wiring that matches the included wall-plate labels. For a DIYer comfortable opening their furnace panel, the PEK adds about 20 minutes to the install. If you already have a C-wire, the physical install takes roughly 15 minutes, aided by a built-in bubble level on the backplate.
Software Onboarding & App Setup
The Ecobee app is highly polished. After creating an account, the app uses Bluetooth to detect the thermostat, bypassing the need to manually type in long Wi-Fi passwords on the thermostat's small screen. The first-setup process includes a mandatory firmware update, which took approximately 8 minutes on our test unit. Following the update, the app walks you through a room-by-room sensor pairing process via Bluetooth. Total software setup time: 15 minutes.
Product 2: Google Nest Learning Thermostat
Physical Installation & Wiring
The Nest Learning Thermostat relies heavily on its 'power stealing' technology if a C-wire is absent. It trickle-charges its internal battery using the heating and cooling wires. While this makes the physical wall installation incredibly fast (about 10-15 minutes), it can cause issues with certain modern, high-efficiency HVAC systems that are sensitive to voltage drops. Google does sell a separate Nest Power Connector, but unlike Ecobee and Honeywell, it is not included in the box, adding to the total cost if your system throws a 'No Power' error. The physical mounting ring is sleek, but lacks a built-in level, requiring you to use your smartphone or a separate tool to ensure it sits straight.
Software Onboarding & App Setup
Nest's software setup is a tale of two halves. The initial Wi-Fi pairing via the Google Home app is seamless, utilizing a QR code on the thermostat screen. However, the Nest Learning Thermostat requires a massive initial firmware download and calibration phase. On our first boot, the screen displayed a 'Updating' message that locked us out of advanced features for nearly 25 minutes. Furthermore, the 'Learning' phase means the thermostat acts as a basic programmable unit for the first week while it monitors your manual adjustments. Total active software setup time: 25 minutes (including the mandatory update wait).
Product 3: Honeywell Home T9 Smart Thermostat
Physical Installation & Wiring
Honeywell (now Resideo) takes a traditional, robust approach to installation. The T9 utilizes the Universal Wall Plate (UWP), which covers up the massive holes left by older, rectangular thermostats. Like Ecobee, Honeywell includes a C-Wire Adapter in the box. However, the Honeywell adapter requires splicing into the existing thermostat wires at the HVAC control board rather than using a dedicated multiplexing kit. This requires a bit more wire-stripping and screw-terminal work, making it slightly more daunting for beginners. Physical installation, including the adapter, took about 35 minutes.
Software Onboarding & App Setup
The Resideo app is functional but feels a generation behind Ecobee and Google. The Wi-Fi setup requires manually navigating the thermostat's touchscreen menus to find your network and input the password using a clunky on-screen keyboard. The T9 also requires you to manually pair its Smart Room Sensors by navigating through the thermostat's physical settings menu rather than doing it seamlessly through the app. Total software setup time: 20 minutes.
Setup Difficulty & Time Comparison
To help you visualize the commitment required for each ecosystem, we tracked the average times for a standard 24V forced-air HVAC system with an accessible basement furnace.
| Product | C-Wire Required? | Adapter Included? | Avg Physical Install | Avg App Setup | Deck Setup Score |
|---|---|---|---|---|---|
| Ecobee Premium | No (with PEK) | Yes (PEK) | 25 mins | 15 mins | 8.5 / 10 |
| Nest Learning | Recommended | No (Sold separately) | 15 mins | 25 mins | 8.0 / 10 |
| Honeywell T9 | Yes | Yes (Splice Adapter) | 35 mins | 20 mins | 7.5 / 10 |
Common Installation Hurdles and How to Solve Them
1. Wi-Fi Band Incompatibility
Smart thermostats almost exclusively operate on the 2.4GHz Wi-Fi band due to its superior wall-penetration capabilities. If your router uses a unified SSID (the same name for both 2.4GHz and 5GHz networks), the thermostat may struggle to connect or drop offline intermittently. Solution: Temporarily separate your router's bands in the admin settings, connect the thermostat to the 2.4GHz network, and then reunite them, or use a dedicated 2.4GHz guest network for your smart home IoT devices.
2. The 'Clicking' Relay Issue
When thermostats without a C-wire attempt to 'steal' power, they allow a tiny amount of current to flow through the heating or cooling wires even when the system is off. In sensitive HVAC systems, this trickle current can cause the relays on the furnace board to rapidly click on and off, potentially damaging the control board over time. Solution: If you hear clicking from your furnace when the thermostat is idle, you must install a C-wire or a dedicated power adapter immediately.
3. Heat Pump Reversing Valve Configuration
If you have a heat pump, you likely have an O or B wire that controls the reversing valve for cooling and heating. Different manufacturers (e.g., Rheem vs. Trane) use opposite logic for whether the valve is energized on cool or energized on heat. Solution: Pay close attention to the app's heat pump configuration screen during setup. If your heat pump blows cold air when set to heat, you simply need to toggle the O/B wire setting in the thermostat's advanced software menu—no rewiring required.
Final Verdict: Which is Easiest for Beginners?
When evaluating the total installation and first-setup experience, the Ecobee SmartThermostat Premium takes the top spot for DIYers. The inclusion of the Power Extender Kit (PEK) eliminates the anxiety of missing C-wires without requiring an extra purchase, and the Bluetooth-assisted app onboarding is the smoothest in the industry. The built-in bubble level is a small touch that saves significant frustration during physical mounting.
The Google Nest Learning Thermostat offers the fastest physical wall swap if you already have a C-wire, but the mandatory, time-consuming firmware updates and potential need to buy a separate power connector drag down its overall setup score. It is best suited for users already deeply embedded in the Google Home ecosystem who are willing to wait out the initial learning and updating phases.
Finally, the Honeywell Home T9 is a workhorse that excels in multi-room zoning via its excellent smart sensors, but its splicing C-wire adapter and clunky on-screen Wi-Fi keyboard make it the most tedious of the three to set up. It is highly recommended for users upgrading from older, large rectangular Honeywell units, as the UWP backplate will perfectly cover the old footprint without requiring drywall patching or painting.
Ultimately, while the physical wiring of a smart thermostat can seem daunting, the standardized color-coding of modern HVAC wires and the interactive, step-by-step diagrams provided by these companion apps have made DIY installation more accessible than ever. By taking proper safety precautions and understanding your home's wiring before you begin, you can unlock significant energy savings and unparalleled home comfort in under an hour.