The Case for a Phased Smart Home Rollout
Building a smart home is a marathon, not a sprint. Many homeowners make the critical mistake of purchasing dozens of disparate devices all at once, leading to network congestion, incompatible ecosystems, and severe automation fatigue. A phased, room-by-room approach allows you to establish a robust foundation, master basic routines, and scale your system organically. By treating each room as a distinct zone with specific functional requirements, you can tailor your technology to your actual lifestyle rather than forcing a one-size-fits-all solution.
A phased approach prevents network congestion and allows you to master basic automations before introducing complex, cross-room routines.
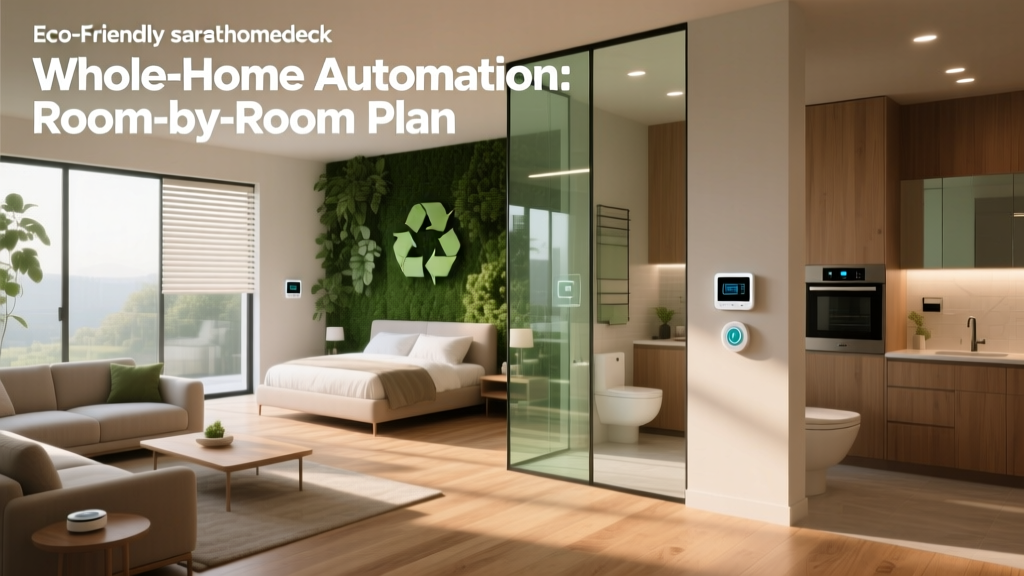
This comprehensive blueprint outlines a strategic, four-phase plan to automate your living room, kitchen, primary bedroom, and outdoor spaces. We will explore budget tiers, specific product recommendations, installation nuances, and the cross-room routines that tie everything together.
Phase 0: The Foundation (Network and Hub)
Before buying a single smart bulb, you must ensure your home's digital infrastructure can handle the load. A standard ISP-provided router will quickly buckle under the weight of 40+ IoT devices.
- Network Upgrade: Invest in a Wi-Fi 6 Mesh system like the Eero Pro 6 or TP-Link Deco XE75. Wi-Fi 6 handles high device density efficiently, while mesh nodes eliminate dead zones.
- The Hub: To unify different communication protocols (Zigbee, Z-Wave, Wi-Fi, and Thread), a central hub is mandatory. The Homey Pro or the Aeotec Smart Home Hub are top-tier choices. According to the CSA Connectivity Standards Alliance, prioritizing devices that support the Matter protocol ensures long-term interoperability across Apple, Google, and Amazon ecosystems.
Phase 1: The Living Room (Command & Entertainment)
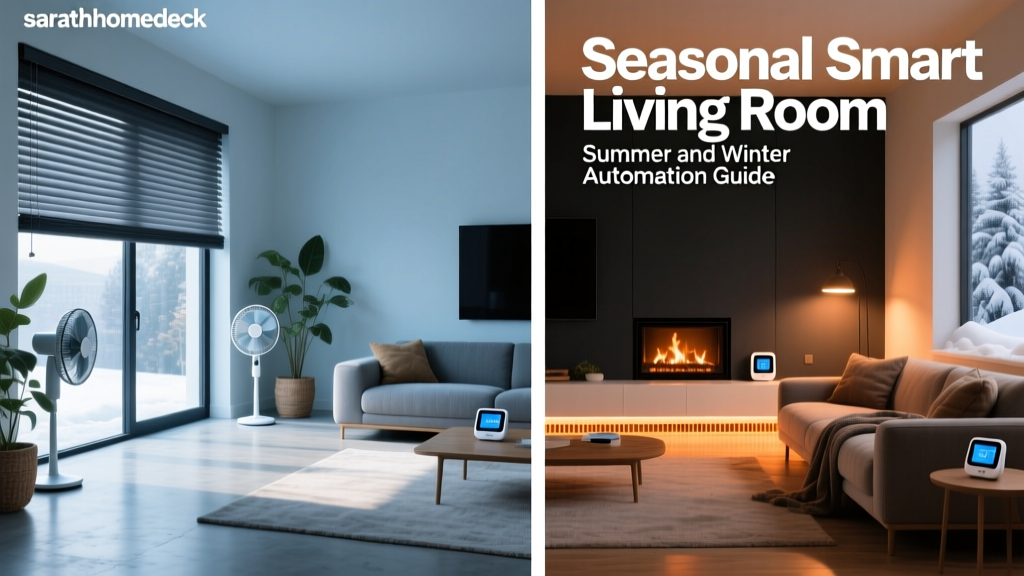
The living room is the high-traffic command center of your home. Automation here should focus on ambient lighting, climate control, and seamless entertainment.
Budget Tiers & Device Picks
- Starter ($150 - $300): Smart plugs for floor lamps, a basic smart thermostat (e.g., Amazon Smart Thermostat), and a smart speaker with a built-in Zigbee hub (e.g., Echo Dot 5th Gen).
- Mid-Range ($600 - $1,000): Philips Hue White and Color Ambiance bulbs for accent lighting, a Sonos Era 100 for multi-room audio, and an Ecobee SmartThermostat Premium with room sensors to balance temperatures in large, open-concept spaces.
- Pro ($1,500+): Lutron Caseta in-wall dimmers (requiring neutral wires), Samsung The Frame TV for art-mode aesthetics, and Sonos Architectural by Sonance in-ceiling speakers for invisible, room-filling sound.
Installation & Design Tips
When installing smart switches like the Lutron Caseta, always verify the presence of a neutral wire in your switch boxes. Homes built before the 1980s often lack them. If you lack a neutral wire, stick to Lutron's non-neutral dimmers or use smart bulbs instead. Aesthetically, use paintable outlet covers to hide smart plug adapters behind media consoles, keeping the visual clutter to an absolute minimum.
Phase 2: The Kitchen (Safety & Convenience)
The kitchen demands hands-free operation and robust safety monitoring. You are dealing with water, heat, and high activity, making it a prime candidate for automated safety nets.
Budget Tiers & Device Picks
- Starter ($100 - $250): Aqara Water Leak Sensors placed under the sink and behind the dishwasher. A smart display (e.g., Lenovo Smart Clock) for recipe viewing and quick timers.
- Mid-Range ($400 - $700): Moen Flo Smart Water Leak & Freeze Detector (installed on the main water line), under-cabinet Philips Hue Lightstrips for task lighting, and an Echo Show 15 mounted flush to the wall for a built-in look.
- Pro ($1,000+): Smart appliances (e.g., LG ThinQ or GE Profile) that can alert your phone if the fridge door is left ajar or the oven is left on. Motorized smart blinds over the kitchen sink to prevent UV damage to countertops.
Automation Routines
Create a 'Kitchen Cleanup' routine. When triggered via voice or a smart button near the sink, the under-cabinet lights brighten to 100% cool white, the dishwasher's smart plug monitors for power draw to confirm it's running, and your smart speaker plays a designated 'focus' playlist.
Phase 3: The Primary Bedroom (Rest & Recovery)
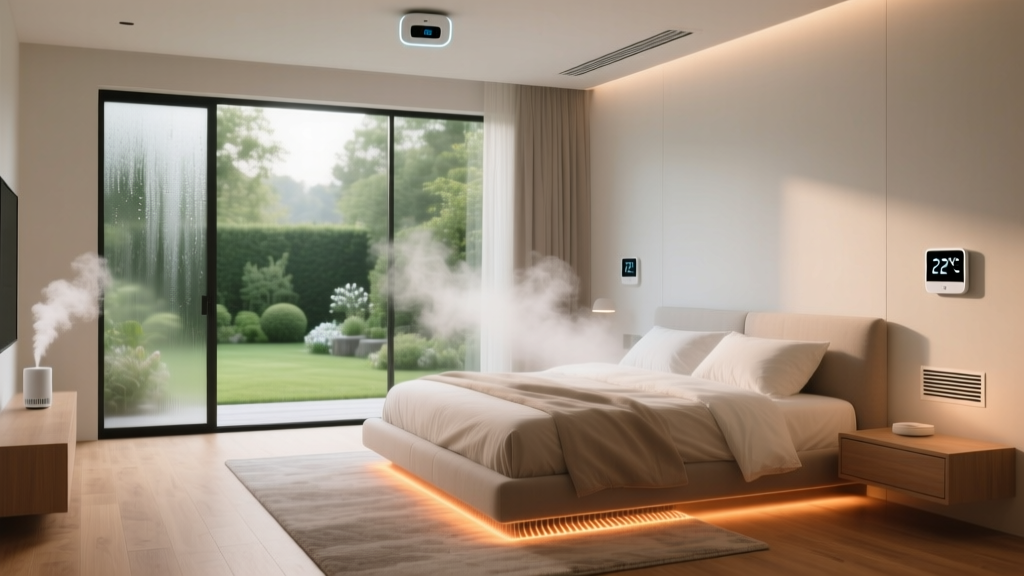
Your bedroom automation should be invisible and focused entirely on sleep hygiene, circadian rhythms, and morning wake-up routines. Avoid bright screens and loud speakers in this sanctuary.
Budget Tiers & Device Picks
- Starter ($150 - $300): SwitchBot Curtain motors for existing drapes, a smart plug for a bedside lamp, and a basic temperature/humidity sensor.
- Mid-Range ($500 - $800): Nanoleaf Essentials Thread-enabled bulbs that automatically shift from cool blue in the morning to warm amber at night. A Hatch Restore 2 for smart alarm and white noise integration.
- Pro ($1,200+): Eight Sleep Pod Mattress Cover for automated, biometric-driven bed temperature regulation. Lutron Serena automated roller shades that open gradually with the sunrise.
Design & Aesthetic Considerations
Lighting is critical here. Never use standard smart bulbs in bedside lamps where the physical switch might be turned off, rendering the smart bulb useless. Instead, use smart plugs for bedside lamps or install smart switches. Ensure all LED indicators on devices (like routers or sensors) are covered with light-blocking stickers or disabled via software to maintain a pitch-black sleeping environment.
Phase 4: Outdoor & Entryway (Security & Curb Appeal)
The perimeter of your home is your first line of defense and your home's first impression. Automation here focuses on deterrence, access control, and resource management.
Budget Tiers & Device Picks
- Starter ($200 - $400): Wyze Cam v3 for exterior monitoring, a Ring Video Doorbell, and smart path lighting bulbs.
- Mid-Range ($600 - $900): Yale Assure Lock 2 (Wi-Fi enabled) for keyless entry, Rachio 3 Smart Sprinkler Controller to optimize water usage based on local weather forecasts, and Ring Floodlight Cam Wired Pro.
- Pro ($1,500+): Lutron Caseta Outdoor Smart Plug for landscape lighting, a hardwired PoE (Power over Ethernet) camera system like UniFi Protect for 24/7 local recording without cloud subscription fees, and a smart gate intercom system.
Budget Breakdown: Room-by-Room Cost Analysis
Understanding the financial commitment is crucial for a phased rollout. The table below outlines the estimated hardware costs for each room across our three budget tiers.
| Room / Zone | Starter Tier | Mid-Range Tier | Pro Tier |
|---|---|---|---|
| Living Room | $150 - $300 | $600 - $1,000 | $1,500+ |
| Kitchen | $100 - $250 | $400 - $700 | $1,000+ |
| Primary Bedroom | $150 - $300 | $500 - $800 | $1,200+ |
| Outdoor / Entry | $200 - $400 | $600 - $900 | $1,500+ |
| Total Estimated | $600 - $1,250 | $2,100 - $3,400 | $5,200+ |
Visualizing the ROI: Energy Savings by Category
While smart home devices require an upfront investment, many offer a tangible return on investment through energy and resource conservation. The U.S. Department of Energy notes that smart thermostats can significantly reduce heating and cooling costs by learning your schedule and optimizing HVAC usage. Below is a visualization of the estimated annual energy savings across major smart device categories.
Estimated Annual Energy Savings by Smart Device Category
Mastering Cross-Room Automation Routines
The true magic of a whole-home system emerges when devices communicate across different rooms. Using your central hub or a platform like Apple HomeKit, Google Home, or Home Assistant, you can build powerful, multi-step routines.
The 'Good Morning' Routine
Triggered by a time-of-day schedule or a sleep-tracking mat detecting you have left the bed:
- Bedroom: Smart blinds raise to 20% to let in natural light; thermostat adjusts from sleep temperature to a comfortable 70°F.
- Kitchen: Under-cabinet lights turn on to a dim, warm 20% brightness; the smart coffee maker (connected via a smart plug) begins brewing.
- Whole Home: The smart speaker reads the daily weather forecast and calendar agenda.
The 'Away' (Geofencing) Routine
Triggered when the hub detects that all registered smartphones have left a 1-mile geofence radius:
- Living Room & Bedroom: All lights turn off; smart plugs cut power to vampire electronics (like older TVs and game consoles).
- Kitchen: The Moen Flo sensor sensitivity is increased, and the smart water valve automatically shuts off the main water line to prevent catastrophic leaks while the house is empty.
- Outdoor: Security cameras switch from 'home' mode (ignoring family members) to 'away' mode, enabling motion-triggered spotlighting and push notifications.
Design and Aesthetic Considerations
Technology should serve your home's design, not detract from it. 'Tech clutter' is a common complaint among smart home novices. To maintain a cohesive aesthetic:
- Match Faceplates: If you are mixing smart switches from different brands, consider purchasing third-party screwless wall plates in a uniform finish (e.g., matte black or brushed nickel) to create visual consistency.
- Hide the Hubs: Hubs and routers generate heat and feature blinking LEDs. House them in a ventilated, decorative wicker basket or a dedicated media closet with a small, silent USB exhaust fan.
- Sensor Placement: Motion sensors (like the Aqara P2) are best mounted in the upper corners of rooms, angled downward. Avoid placing them near HVAC vents or windows, as sudden temperature changes can trigger false positives.
Installation Tips for the DIY Enthusiast
If you are handling the installation yourself, safety and preparation are paramount.
- Always Kill the Power: Never work on a smart switch or hardwired thermostat without turning off the corresponding breaker at the main panel. Use a non-contact voltage tester to verify the wires are dead before touching them.
- Label Your Breakers: Before starting, take the time to map your electrical panel. Knowing exactly which breaker controls the living room versus the kitchen will save hours of frustration.
- Understand Wire Gauges: Most smart switches use 14 or 12-gauge copper wire. Ensure your wire nuts or Wago lever connectors are rated for the specific gauge and number of wires you are joining.
- Thread vs. Wi-Fi: When buying battery-operated sensors (like door/window contacts), prioritize Thread or Zigbee over Wi-Fi. Wi-Fi sensors drain batteries rapidly and clutter your main router, whereas Thread devices create a self-healing mesh network that actually strengthens your smart home infrastructure.
Conclusion
Transforming your house into a smart home is a highly rewarding journey when approached methodically. By following this phased, room-by-room blueprint, you ensure that each space is optimized for its specific purpose, your network remains stable, and your budget stays under control. Start with the foundation, conquer the living room, and gradually expand outward. Before long, your home will not just be a collection of gadgets, but a cohesive, intuitive environment that anticipates your needs and enhances your daily life.