Understanding the Difference: Scenes, Routines, and Schedules
When diving into smart home installation and configuration, the terms 'scenes', 'routines', and 'schedules' are often used interchangeably by beginners, but they represent distinctly different automation concepts. Mastering these three pillars is essential for creating a seamless, energy-efficient smart home that operates intuitively without constant manual intervention.
Scenes are static snapshots of device states. For example, a 'Movie Night' scene might simultaneously dim your Philips Hue lights to 20%, close your Lutron Serena smart blinds, and turn on your Samsung soundbar. Scenes are typically triggered manually via a button press, voice command, or NFC tag.
Schedules are time-based triggers. They execute a specific action or scene at an exact time of day or on specific days of the week. Scheduling your Ecobee SmartThermostat to drop the temperature to 65°F at 10:00 PM every weekday is a classic schedule.
Routines (often called Automations in Apple HomeKit or Google Home) are the most complex. They rely on conditional logic: 'If [Trigger] happens, and [Conditions] are met, then execute [Actions].' A routine might dictate that 'If the front door opens (trigger) AND it is after sunset (condition), THEN turn on the hallway lights to 100% brightness (action).'
Choosing Your Automation Ecosystem
Before wiring devices and configuring hubs, you must select a primary ecosystem to act as the 'brain' of your routines. While many devices support multiple platforms, keeping your logic centralized prevents conflicting automations and latency issues.
| Ecosystem | Best For | Routine Complexity | Local Processing | Estimated Hub Cost |
|---|---|---|---|---|
| Amazon Alexa | Voice control & broad compatibility | Medium (Hunches & Multi-step) | Cloud-dependent (mostly) | $100 (Echo Show 10) |
| Apple HomeKit | Privacy & seamless iOS integration | High (Conditional logic) | Yes (via HomePod/Apple TV) | $99 (Apple TV 4K) |
| Google Home | AI integration & Nest products | Medium (Scripting via web) | Partial (via Nest Hubs) | $99 (Nest Hub Max) |
| Home Assistant | Advanced DIY & total local control | Extreme (YAML & Node-RED) | 100% Local | $99 (Home Assistant Green) |
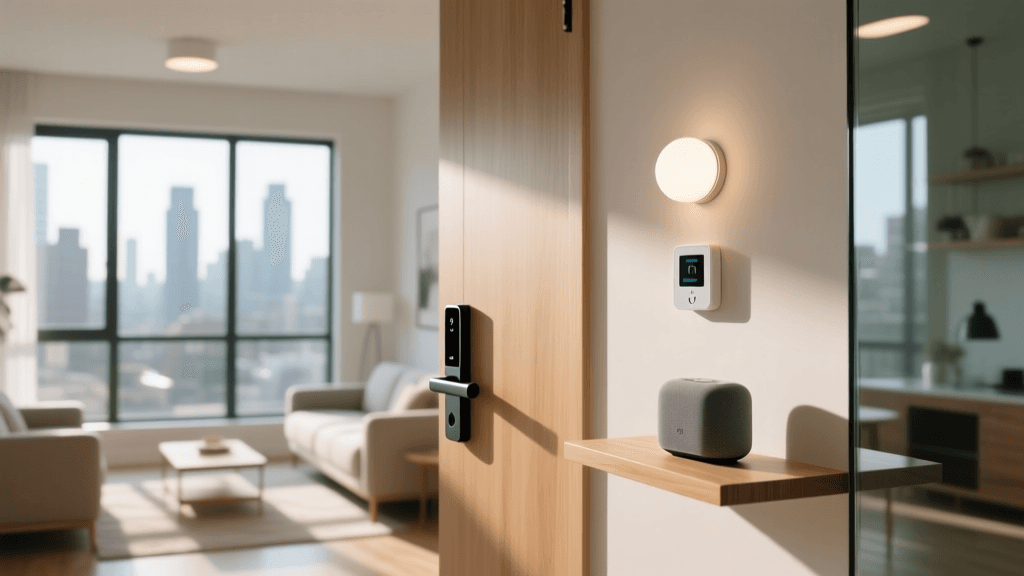
Prerequisites: Network and Hub Configuration
Reliable routines require a robust network. Wi-Fi congestion is the number one cause of automation latency. When installing smart switches, plugs, and sensors, prioritize Zigbee or Z-Wave protocols over Wi-Fi for high-volume device categories like lighting and environmental sensors.
- Zigbee Hubs (e.g., Aqara M2, Samsung SmartThings Station): Ideal for low-power sensors and switches. A single Zigbee mesh network can support over 60 devices without burdening your primary Wi-Fi router.
- Matter over Thread: The emerging standard. Devices like the Eve Energy smart plug or Nanoleaf Essentials bulbs use Thread, creating a self-healing mesh network that routes commands locally, ensuring your 'Good Morning' routine fires instantly even if your internet connection drops.
- Network Segmentation: For advanced installers, creating a dedicated 2.4GHz IoT VLAN on your router (using systems like Ubiquiti UniFi or TP-Link Omada) isolates smart home traffic, improving security and reducing broadcast storms that can delay routine execution.
Blueprint 1: The Energy-Optimized 'Away' Routine
Heating and cooling account for nearly half of a typical home's energy consumption. According to the U.S. Department of Energy, you can save as much as 10% a year on heating and cooling by simply turning your thermostat back 7°-10°F for 8 hours a day from its normal setting. Smart schedules automate this savings effortlessly.
Configuration Steps for the 'Away' Routine
Required Hardware: Ecobee SmartThermostat Premium ($249), Aqara Door/Window Sensor P2 ($25), Geofencing via smartphone.
- Trigger: Set the routine to trigger when the last person leaves the geofence radius (set to 150 meters from your home address in the Apple Home or Alexa app).
- Condition: Add a condition to ensure the routine only runs between 8:00 AM and 5:00 PM on weekdays to prevent false triggers if you just step out to grab the mail.
- Actions:
- Set Ecobee to 'Away' preset (e.g., 78°F in summer, 62°F in winter).
- Turn off all non-essential smart plugs (e.g., coffee makers, standby entertainment centers) to eliminate phantom power draw.
- Arm your smart security system (e.g., Ring Alarm or SimpliSafe) to 'Away' mode.
- Close smart blinds to reduce solar heat gain during summer months.
By combining geofencing with environmental adjustments, this routine ensures you never pay to cool an empty house, while also securing the perimeter.
Blueprint 2: The Circadian 'Wake Up' Scene
Waking up to a blaring alarm and harsh overhead lighting disrupts your circadian rhythm. A properly configured 'Wake Up' schedule mimics a natural sunrise, gradually adjusting color temperature and brightness while optimizing morning climate control.
Lighting and Climate Synchronization
Required Hardware: Philips Hue White and Color Ambiance Bulbs ($50 each), Lutron Caseta Diva Smart Dimmer ($70), Smart Thermostat.
According to the ENERGY STAR program, certified smart thermostats learn your habits and adjust temperatures to save energy without sacrificing comfort. We can integrate this learning with lighting schedules.
- 6:00 AM (Trigger): Thermostat adjusts from nighttime sleep temperature to 70°F.
- 6:15 AM (Action): Bedroom Hue bulbs turn on at 10% brightness with a warm color temperature (2000K - mimicking candlelight).
- 6:30 AM (Action): Brightness ramps to 50%, color temperature shifts to 3500K (warm white).
- 6:45 AM (Action): Brightness hits 100%, color temperature shifts to 5000K (daylight), signaling the brain to halt melatonin production.
- 7:00 AM (Action): Lutron Caseta switches in the kitchen and bathroom turn on to 80% brightness as motion sensors detect movement.
Pro Tip: In the Philips Hue app, use the 'Gradual Brightening' feature within the Alarm routine settings rather than standard time-delay actions. This creates a smooth, imperceptible fade that is much more pleasant than abrupt step-changes in brightness.
Blueprint 3: Conditional Automations with Sensors
True smart home automation removes the need for manual triggers entirely. By utilizing mmWave (millimeter wave) presence sensors, you can create routines that understand occupancy far better than traditional PIR (Passive Infrared) motion sensors.
The 'Occupied Room' Logic
Traditional motion sensors fail when you are sitting still on the couch reading, often turning the lights off on you. The Aqara FP2 Presence Sensor ($60) uses mmWave radar to detect micro-movements like breathing.
The Routine Setup:
- Trigger: FP2 Sensor detects 'Presence' in the Living Room zone.
- Condition 1: Lux sensor (built into FP2) reads ambient light below 150 lux (meaning it is cloudy or evening).
- Condition 2: Time is between 5:00 PM and 11:00 PM.
- Action: Turn on Living Room lamps to 60% brightness, 2700K color temperature.
- Reverse Trigger: FP2 Sensor detects 'No Presence' for 5 continuous minutes.
- Reverse Action: Fade lights to 0% over 30 seconds and turn off the smart plug controlling the standing fan.
This conditional logic ensures lights and fans are only consuming electricity when the room is actively occupied and natural light is insufficient, aligning perfectly with DOE guidelines on lighting energy conservation.
Visualizing Energy Savings Through Smart Scheduling
Implementing these routines is not just about convenience; it yields measurable reductions in household energy consumption. The chart below illustrates the estimated monthly energy breakdown comparing a standard home with manual controls versus a fully scheduled smart home utilizing the routines described above.
As visualized, the most dramatic savings occur in HVAC (Heating, Ventilation, and Air Conditioning) and standby power. By aggressively scheduling thermostat setbacks during work hours and cutting phantom loads via smart plugs, the smart home reduces its overall energy footprint by approximately 25% to 30%.
Troubleshooting Automation Latency and Failures
Even the most meticulously planned routines can fail if the underlying infrastructure is flawed. Here are the most common issues DIY installers face when configuring schedules and scenes, along with their solutions.
1. Cloud Latency and Internet Outages
The Problem: Your 'Arrive Home' routine relies on a cloud-based geofence. If your ISP drops, or the manufacturer's server experiences downtime, your garage door won't open and your lights won't turn on when you pull into the driveway.
The Fix: Migrate critical automations to a local hub. Devices connected via Zigbee or Z-Wave to a Hubitat Elevation or Home Assistant hub process logic locally. For geofencing, use an iBeacon (like the Blue Charm BC037G) placed in your car and an ESP32 Bluetooth proxy at home to trigger the routine locally via Home Assistant, completely bypassing the cloud.
2. Conflicting Automations (The 'Tug-of-War')
The Problem: You have a schedule that turns off all lights at 11:00 PM. However, you also have a motion sensor routine that turns on the hallway light when you walk to the bathroom. At 11:15 PM, the motion sensor turns the light on, but a poorly configured 'delay' or secondary schedule turns it right back off.
The Fix: Implement state-checking conditions. In your motion routine, add a condition: 'Only run if the Master Bedroom Sleep Scene is NOT active.' Alternatively, use a virtual switch (a software toggle within your hub) that acts as a master override, disabling motion-based lighting routines when the 'Night' schedule begins.
3. Firmware Update Disruptions
The Problem: A smart bulb receives an over-the-air (OTA) firmware update and temporarily drops off the network. When it reconnects, it defaults to its 'Power Restore' state (usually 100% brightness), ruining your carefully dimmed 'Evening' scene.
The Fix: Configure the 'Power On Behavior' or 'Default State' in the device's native app. For Philips Hue, set the power-on behavior to 'Custom' and select a dim, warm setting, or choose 'Last On State' so the bulb remembers its exact brightness and color prior to the power interruption or firmware reboot.
Conclusion
Creating effective smart home scenes, routines, and schedules is an iterative process. Start with foundational automations like thermostat setbacks and basic lighting schedules. Once you are comfortable with the logic of your chosen ecosystem, layer in conditional triggers using presence sensors and geofencing. By prioritizing local processing where possible and focusing on energy-heavy appliances, your smart home will not only provide unmatched convenience but will also pay for itself through long-term utility savings. Remember to document your routines and periodically audit them as the seasons change to ensure your home remains optimized year-round.