Transforming your house into a fully integrated smart home is one of the most rewarding upgrades you can make. A proper whole home automation setup goes far beyond simply asking a smart speaker to turn on the lights. It involves creating a cohesive, reliable ecosystem where your lighting, climate, security, and entertainment systems work together seamlessly, often anticipating your needs before you even ask. Whether you are retrofitting an older property or wiring a new build, this comprehensive guide will walk you through the entire installation process.
Difficulty Level: Intermediate to Advanced
Estimated Time: 15 to 25 hours (typically spread across a few weekends depending on home size and wiring complexity)
Tools & Products Needed
Before you begin ripping out old switches or mounting cameras, gather the necessary hardware and tools. A successful whole home automation setup requires a solid foundation of both physical tools and smart infrastructure.
- Central Hub / Controller: A dedicated smart home hub (e.g., Home Assistant, Hubitat, or SmartThings) to process local automations.
- Networking Gear: A Wi-Fi 6 router, mesh Wi-Fi system, and optionally a managed switch for VLAN segmentation.
- Smart Devices: Smart switches, smart thermostats, motorized shades, contact sensors, and motion detectors.
- Electrical Tools: Non-contact voltage tester, wire strippers, needle-nose pliers, and a multi-bit screwdriver set.
- Mounting Hardware: Drywall anchors, mounting tape, and a power drill for sensors and cameras.
- Software Tools: A smartphone with a Wi-Fi analyzer app and your hub’s companion application.
Step 1: Planning Your Smart Home Ecosystem & Network
The biggest mistake DIYers make when attempting a whole home automation setup is buying devices impulsively without a unified plan. Before purchasing a single smart switch, you must evaluate your home’s layout, your family’s daily routines, and your network’s capacity.
Choose Your Protocols Wisely
Smart devices communicate using various wireless protocols. While Wi-Fi is ubiquitous, relying on it for dozens of smart bulbs and sensors will quickly congest your router. For a robust whole home automation setup, prioritize mesh networking protocols like Zigbee, Z-Wave, or the newer Thread/Matter standards. These protocols create a self-healing mesh network that doesn’t rely on your primary Wi-Fi bandwidth, ensuring your devices remain responsive even if your internet connection drops. Read our detailed breakdown in the best smart home hubs guide to see which ecosystem fits your needs.
Upgrade Your Network Infrastructure
Your network is the central nervous system of your smart home. If your router is outdated, your automation will suffer from latency and dropouts. We highly recommend setting up a dedicated IoT (Internet of Things) network. By creating a separate SSID or VLAN specifically for your smart devices, you not only reduce congestion on your primary network used for streaming and gaming, but you also significantly improve your cybersecurity. For a deep dive into router configurations, check out our smart home network setup tutorial.
Step 2: Installing the Central Hub & Network Infrastructure
The hub is the brain of your whole home automation setup. While cloud-based ecosystems are easy to use, a local hub ensures your automations run instantly and continue to function even during internet outages.
Optimal Hub Placement
Location is critical. Place your central hub in a centralized, elevated location within your home, away from thick concrete walls, large metal appliances, and microwaves, which can interfere with radio frequencies. If you are using a USB-based Zigbee or Z-Wave dongle with a Home Assistant server, use a USB extension cable to move the dongle away from the server’s internal components and closer to the center of the room to maximize signal range.
Building the Mesh Network
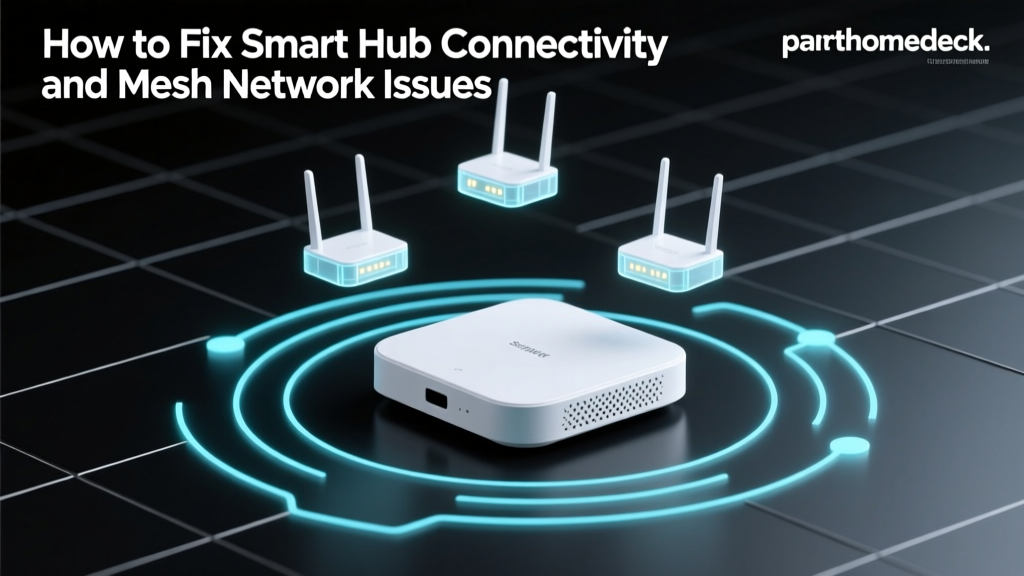
Once the hub is powered on and connected to your network, begin pairing your mains-powered devices first. Smart plugs, hardwired smart switches, and in-wall relays act as signal repeaters, extending the mesh network to the far corners of your house. Battery-powered sensors should be paired last, as they rely on this established mesh to communicate efficiently and preserve battery life. Allow the network 24 to 48 hours to “heal” and optimize its routing paths before finalizing your device placements.
Step 3: Deploying Smart Lighting & Climate Controls
Lighting and climate control represent the most noticeable and impactful aspects of any whole home automation setup. Transitioning from manual toggles to automated environments requires some basic electrical knowledge and careful product selection.
Smart Switches vs. Smart Bulbs
When planning your smart lighting guide strategy, decide between smart bulbs and smart switches. Smart bulbs are ideal for lamps and color-changing accents, but they are a poor choice for overhead fixtures controlled by a wall switch—if someone flips the physical switch off, the bulb loses power and becomes unresponsive to your hub. For overhead and hardwired lighting, install smart switches.
Safety Warning: Always turn off the power at the circuit breaker before opening any electrical boxes. Use a non-contact voltage tester to confirm the wires are dead. Most smart switches require a neutral wire to function. If your home is older and lacks neutral wires in the switch boxes, you will need to purchase specific “no-neutral” smart switches or consult an electrician.
Smart Thermostat Installation
Upgrading your HVAC control is a cornerstone of home automation. Modern smart thermostats learn your schedule, utilize geofencing to save energy when you leave, and integrate with room sensors to balance temperatures across multiple floors. Before removing your old thermostat, take a photo of the wiring. Most smart thermostats require a C-wire (common wire) for continuous power. If your current setup lacks a C-wire, you may need to install the adapter kit included with your thermostat or run a new wire from your furnace control board. For step-by-step wiring diagrams, refer to our smart thermostat installation resource.
Step 4: Integrating Security, Sensors, & Motorized Shades
A truly automated home reacts to its environment and its occupants. This is achieved through a strategic deployment of sensors and motorized hardware.
Strategic Sensor Placement
Motion and contact sensors are the triggers that bring your automations to life. When mounting motion sensors, avoid pointing them directly at HVAC vents, fireplaces, or large windows where shifting sunlight or heat drafts can cause false triggers. Place them in high-traffic transition areas like hallways and stairwedges rather than living rooms where people sit still for long periods. For doors and windows, ensure the gap between the contact sensor and its magnet is within the manufacturer’s specified tolerance to prevent “open/close” reporting errors.
Automated Window Treatments
Motorized smart shades elevate the luxury and energy efficiency of your whole home automation setup. By integrating your shades with your smart thermostat and lighting, you can create a “Passive Solar” routine. In the winter, the shades automatically open during peak sunlight hours to heat the home naturally, while closing at dusk to retain warmth. Retrofit options like SwitchBot Blind Tilt are great for renters, while hardwired roller shades are the gold standard for permanent installations.
Security Camera Integration
Integrate your exterior and interior cameras into your hub to trigger events. For example, if a camera detects a person on the porch after dark, the hub can automatically turn on the porch lights and send a rich notification to your phone. Ensure you review privacy settings and establish geofencing rules so interior cameras automatically disable when you are home. See our smart security camera installation guide for optimal mounting heights and angles.
Step 5: Creating Automations, Routines, & Voice Control
With the hardware installed and connected, it is time to program the logic that makes your home “smart.” The goal of a whole home automation setup is to reduce the need for manual interaction and voice commands. The best automation is the one you never have to think about.
Designing State-Based Automations
Move beyond simple schedules and embrace state-based logic. Instead of setting the porch light to turn on at 6:00 PM, use an illuminance sensor or a local sunset API to turn the light on when the outdoor lux drops below a certain threshold. Use presence detection (via your smartphone’s GPS or a hub-based Wi-Fi ping) to trigger an “Arrival” scene that adjusts the thermostat, unlocks the front door, and turns on the entryway lights.
Advanced Scenes & Transitions
Group your devices into logical scenes. A “Goodnight” scene should lock all doors, arm the security system, lower the thermostat, turn off all non-essential lights, and ensure the coffee maker is primed for the morning. Utilize transition times in your lighting automations; having lights fade up slowly over 30 seconds in the morning is much more pleasant than snapping on at full brightness.
Voice Control as a Fallback
While voice assistants (like Alexa, Google Assistant, or Siri) are excellent for ad-hoc commands, they should not be the primary method of control in a well-designed smart home. Link your central hub to your preferred voice assistant to expose your scenes and devices, ensuring that guests and family members can easily control the environment without needing to understand the underlying automation logic.
Troubleshooting Common Whole Home Automation Issues
Even the most meticulously planned whole home automation setup will encounter hiccups. Here is how to diagnose and fix the most common issues.
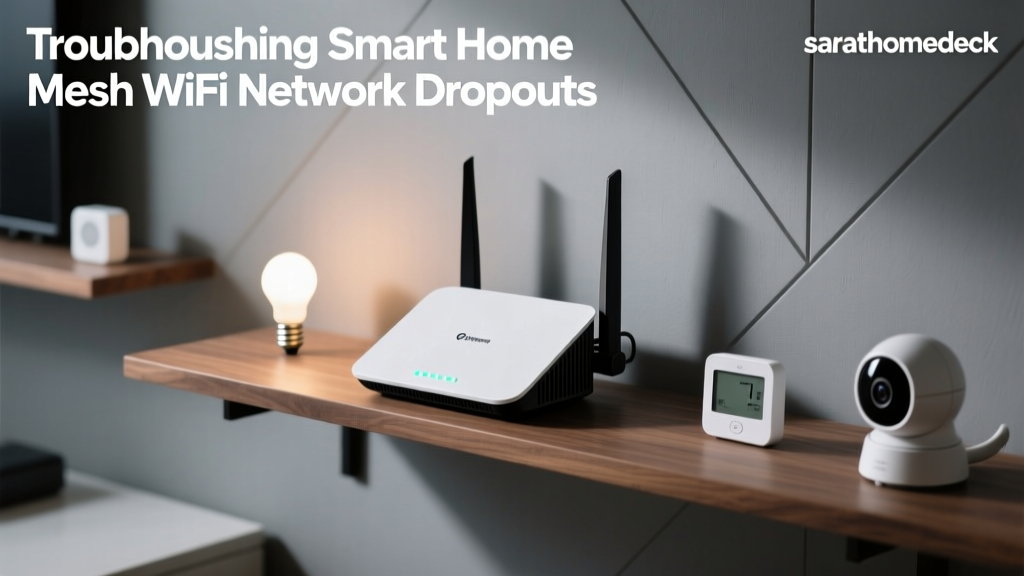
- Device Frequently Drops Offline: This is usually a mesh network issue. Check if the device is too far from a mains-powered repeater. Try adding a smart plug halfway between the hub and the offline device to bridge the signal. Alternatively, check for Wi-Fi channel interference; ensure your 2.4GHz Wi-Fi channels do not overlap with your Zigbee channels.
- Delayed Automation Responses: If your lights take several seconds to turn on after a motion trigger, your hub might be overloaded, or you may be relying on cloud-based processing. Move complex logic to a local hub and ensure your hub’s firmware is up to date. Check our troubleshooting smart devices page for advanced latency fixes.
- Smart Switch Flickering: If your LED bulbs flicker when connected to a smart dimmer switch, you likely have a compatibility issue. Ensure you are using dimmable LEDs and check the switch’s settings to adjust the minimum and maximum dimming thresholds. Some switches also require a bypass resistor installed at the light fixture if the total wattage is too low.
- Geofencing Inconsistencies: If your “Leave Home” automations trigger while you are still in the driveway, adjust the geofence radius in your app. For better reliability, combine GPS geofencing with a local network presence ping to confirm that all family members’ devices have actually left the premises.
Frequently Asked Questions (FAQ)
Do I need a professional for a whole home automation setup?
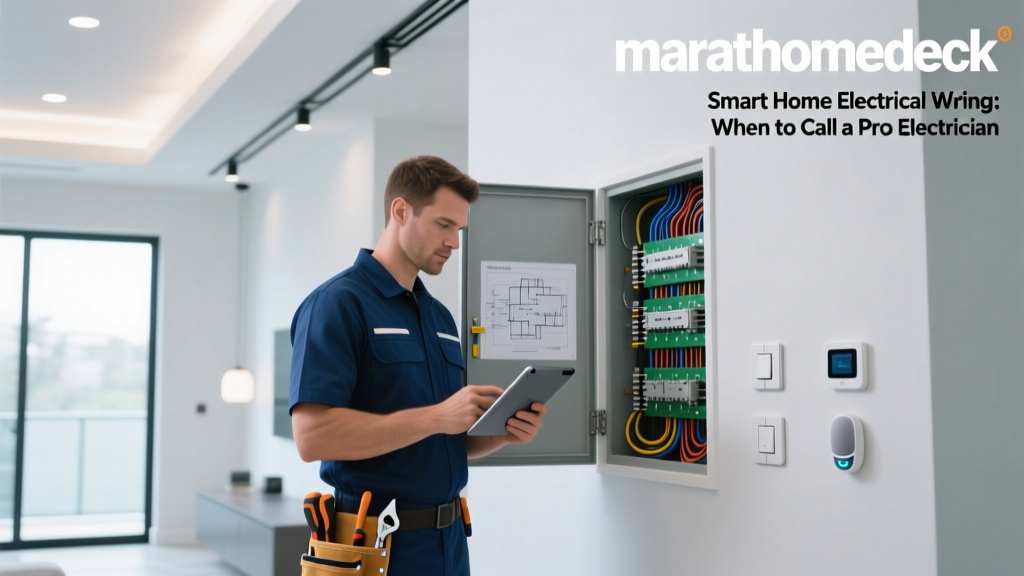
Not necessarily. If you are comfortable with basic electrical safety, replacing switches, and configuring router settings, you can absolutely DIY a whole home automation setup. However, if your home requires running new neutral wires, installing hardwired motorized shades, or setting up complex enterprise-grade networking with VLANs, hiring a licensed electrician and a smart home integrator is highly recommended to ensure safety and code compliance.
What is the best smart home protocol for a large house?
For large homes, a mesh protocol like Z-Wave or Zigbee is superior to Wi-Fi. These protocols allow devices to pass signals from one to another, effectively extending the range of your network with every mains-powered device you add. Thread and Matter are also emerging as excellent, low-latency alternatives that utilize border routers to create highly resilient mesh networks across expansive properties.
How do I keep my smart home network secure?
Security is paramount in a whole home automation setup. Start by segmenting your network: put all IoT devices on a dedicated guest network or VLAN that cannot communicate with your personal computers and NAS drives. Always use strong, unique passwords for your hub and device accounts, enable two-factor authentication (2FA) wherever possible, and disable remote cloud access if you do not strictly need it, opting instead for secure local access via a VPN.
Can I mix different brands in my whole home automation setup?
Yes, and this is one of the primary benefits of using a central hub. While a single brand ecosystem (like Philips Hue for lighting or Ring for security) offers a streamlined app experience, a robust hub like Home Assistant or Hubitat acts as a universal translator. It can pull in devices from hundreds of different manufacturers via Zigbee, Z-Wave, Wi-Fi, and Matter, unifying them into a single dashboard and allowing them to interact in complex automations.
What happens to my smart home if the internet goes down?
If you rely entirely on cloud-based ecosystems, an internet outage will render most of your automations and voice controls useless. This is why investing in a local hub is crucial for a true whole home automation setup. A local hub processes automations on your internal network. If the internet goes down, your motion-triggered lights, smart switch toggles, and local security sirens will continue to function perfectly. You will only lose the ability to control devices remotely from outside the home.