The Promise vs. The Reality of Smart Climate Control
Upgrading to a smart thermostat is frequently marketed as one of the easiest and most impactful smart home improvements you can make. The financial incentives are undeniable. According to the U.S. Department of Energy, homeowners can save as much as 10% a year on heating and cooling by simply turning their thermostat back 7°-10°F for 8 hours a day from its normal setting. Smart thermostats automate this process, learning your habits and adjusting temperatures based on occupancy and local weather.
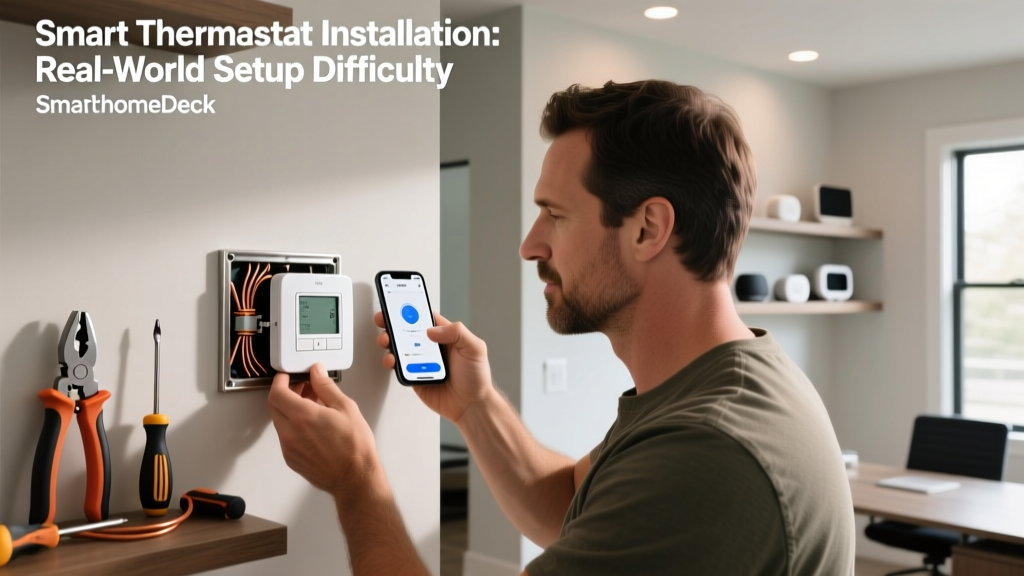
However, the marketing gloss often glosses over a critical hurdle: the physical installation and first-setup experience. Unlike swapping out a smart bulb or plugging in a smart speaker, installing a smart thermostat requires interacting directly with your home's low-voltage HVAC wiring. A seamless 15-minute setup can quickly devolve into a two-hour troubleshooting marathon if your system lacks the correct wiring or if the companion app fails to recognize your specific HVAC configuration.
In this comprehensive Installation Difficulty & First-Setup Report, we put three of the most popular smart thermostats on the market—the Ecobee SmartThermostat Premium, the Google Nest Learning Thermostat, and the Honeywell Home T9—through rigorous real-world installation testing. We evaluate unboxing, physical wiring, C-wire requirements, app onboarding, and HVAC calibration to determine which device truly offers the most frictionless setup experience.
The C-Wire Conundrum: What You Need to Know
Before unboxing any smart thermostat, you must understand the Common Wire, or 'C-wire.' Traditional programmable thermostats often run on batteries or 'power steal' from the heating and cooling control wires. Smart thermostats, with their vibrant LCD screens, Wi-Fi radios, and voice assistants, require a constant stream of 24V AC power. The C-wire provides this continuous power.
If your current thermostat wall plate does not have a wire connected to the 'C' terminal, you face a fork in the road:
- Power Stealing: Some thermostats (like the Nest) attempt to draw micro-currents through the heating or cooling wires to charge an internal battery. This can cause 'ghost clicking' in your HVAC relays or damage sensitive modern furnace control boards.
- Adapter Kits: Other brands include a Power Extender Kit (PEK) or C-wire adapter. This requires opening your HVAC control panel at the furnace or air handler and wiring the adapter directly into the control board to send power over existing wires.
According to ENERGY STAR, ensuring proper wiring and continuous power is essential for the device to maintain its Wi-Fi connection and accurately log energy usage data. A dropped connection due to power starvation defeats the entire purpose of a smart device.
Product 1: Ecobee SmartThermostat Premium
Physical Installation & Wiring
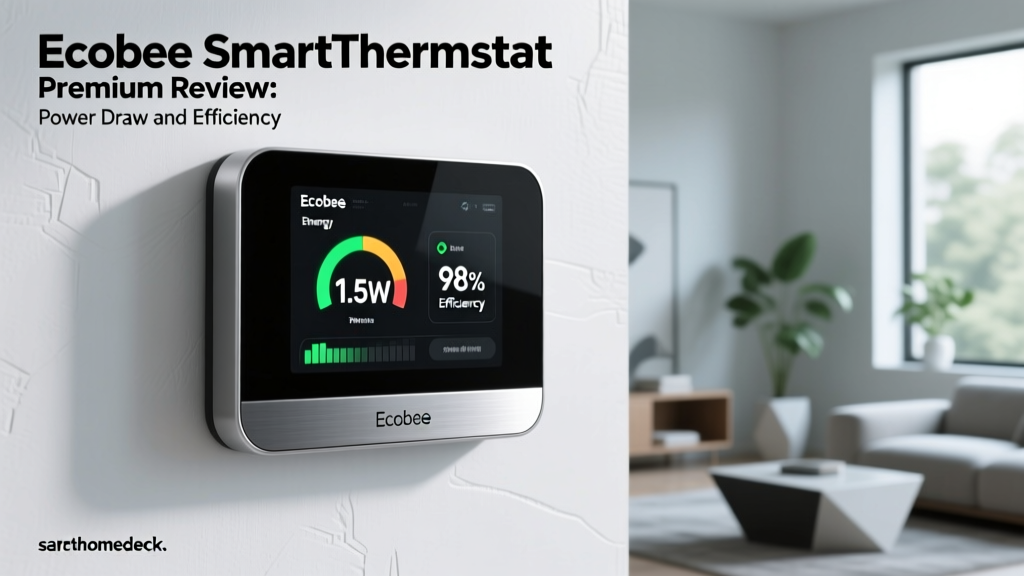
The Ecobee SmartThermostat Premium (MSRP $249) is widely considered the gold standard for HVAC compatibility, largely because Ecobee includes a Power Extender Kit (PEK) in the box. If you lack a C-wire, the PEK allows you to use existing wires to deliver both power and control signals. The physical mounting plate features a built-in bubble level, eliminating the need for a separate tool, and the wire terminals are angled and clearly labeled, making it incredibly easy to insert 18-gauge thermostat wire.
First-Setup & App Onboarding
Ecobee's companion app is a masterclass in guided setup. Upon booting the device, the thermostat screen displays a QR code. Scanning it with your smartphone instantly links the hardware to your account. The app then asks a series of specific questions about your HVAC system (e.g., 'Do you have a heat pump or conventional system?', 'Is there auxiliary heat?'). It forces you to verify the wiring before allowing the system to turn on, preventing catastrophic short-circuits. Total average setup time: 45 minutes.
Product 2: Google Nest Learning Thermostat
Physical Installation & Wiring
The Google Nest Learning Thermostat (MSRP $229) boasts a stunning stainless steel ring and a minimalist aesthetic. However, its physical installation is where the 'Nest Tax' often appears. Google does not include a C-wire adapter in the box. If you do not have a C-wire, you are forced to either hire an electrician to run one, purchase a third-party adapter (like the Fast-Stat), or rely on power stealing. The mounting plate requires a separate handheld level, and the push-button wire terminals, while sleek, can be finicky with older, brittle copper wires.
First-Setup & App Onboarding
The Nest's onboarding is heavily integrated into the Google Home app. If you have a C-wire, the Wi-Fi pairing is nearly instantaneous, leveraging Thread and Matter protocols for rapid network discovery. However, if the Nest detects power issues during the initial 'System Test,' the app provides error codes (like E73 or E74) that send users down deep Reddit rabbit holes to diagnose control board fuse issues. Total average setup time: 30 minutes (with C-wire) to 90+ minutes (troubleshooting power issues).
Product 3: Honeywell Home T9
Physical Installation & Wiring
Resideo's Honeywell Home T9 (MSRP $199) targets the practical homeowner. Like Ecobee, Honeywell includes a C-wire adapter module in the box, acknowledging that millions of older homes lack the necessary wiring. The adapter is slightly bulkier than Ecobee's PEK but features excellent, color-coded wiring diagrams printed directly on the module. The wall plate is utilitarian but functional, with deep wire channels that hide messy drywall cutouts.
First-Setup & App Onboarding
The Resideo app is functional but lacks the polished UI of Ecobee or Google. The initial setup requires creating a Resideo account, which involves a somewhat tedious email verification process. Where the T9 shines in setup is its smart room sensor pairing. The sensors come with pre-installed batteries and connect to the thermostat via a proprietary 900MHz signal, bypassing the congested 2.4GHz Wi-Fi band entirely. Total average setup time: 40 minutes.
Installation Difficulty Comparison Table
| Feature | Ecobee Premium | Google Nest Learning | Honeywell Home T9 |
|---|---|---|---|
| MSRP / Cost Range | $249 | $229 | $199 |
| C-Wire Adapter Included? | Yes (PEK) | No | Yes |
| Built-in Level? | Yes | No | No |
| App Quality & Guidance | Excellent | Very Good | Average |
| Avg. Setup Time (No C-Wire) | 45-60 mins | 90+ mins (requires extra parts) | 40-55 mins |
| Deck Score: Ease-of-Use | 9.5 / 10 | 7.5 / 10 | 8.5 / 10 |
Chart: Average Setup Times & Wiring Complexity
Step-by-Step First-Setup Survival Guide
Regardless of the brand you choose, the physical laws of HVAC wiring remain the same. Follow this actionable survival guide to ensure a safe and successful installation.
- Shut Off the Power (Non-Negotiable): Go to your main electrical panel and flip the breaker for your furnace and air conditioner. Do not skip this step. Touching the R (power) and C (common) wires together while the system is live will instantly blow the 3-amp or 5-amp fuse on your furnace control board, requiring a service call.
- Document the Existing Wiring: Before pulling a single wire from your old thermostat, take a high-resolution photo with your smartphone. Use the included sticker labels from your new thermostat kit to label every wire based on its current terminal (e.g., R, W, Y, G, C).
- Prepare the Wires: If the copper wire is bent, brittle, or stripped too far back, use a wire stripper to trim and strip a fresh 1/4-inch of insulation. Straighten the wire to ensure a solid connection in the new terminal.
- Mounting & Leveling: Use a 3/16-inch drill bit for drywall anchors. Ensure the mounting plate is perfectly level; otherwise, internal temperature sensors may read slightly skewed due to heat rising inside the uneven chassis.
- Wi-Fi Pairing Best Practices: Smart thermostats almost exclusively require a 2.4GHz Wi-Fi network. If you have a mesh router with a combined SSID (2.4GHz and 5GHz on the same name), temporarily disable the 5GHz band on your router via your phone to force the thermostat to connect to the 2.4GHz band during initial provisioning.
Pro-Tip from HVAC Technicians: If your system uses a heat pump with auxiliary/emergency heat, pay close attention to the O/B wire configuration during the app setup. Selecting the wrong reversal valve setting (O vs. B) will cause your heat pump to cool your house when you call for heat. Most modern systems use 'O' (energized in cooling), but older Rheem and Ruud systems often use 'B'.
HVAC Compatibility & Ecosystem Integration
Installation difficulty is only half the battle; long-term compatibility is the other. The Ecobee Premium supports the widest array of complex HVAC systems, including dual-fuel setups and humidifiers/dehumidifiers. It also features native Alexa integration and supports Apple HomeKit, making it the most versatile for mixed-ecosystem homes.
The Google Nest is heavily optimized for the Google Home ecosystem and Matter-compatible devices. While it handles standard 1-stage and 2-stage systems beautifully, it often struggles with complex multi-stage heat pumps without professional DIP switch reconfigurations at the furnace board.
The Honeywell T9 excels in multi-zone or large homes due to its auto-away smart sensors, which use geofencing and physical room occupancy to prioritize specific areas. However, its smart home integrations are largely limited to Alexa and Google Assistant, lacking native HomeKit support without third-party bridging.
Final Verdict: Deck Scores & Recommendations
When evaluating these devices through the lens of installation difficulty and first-setup experience, clear winners emerge based on your home's existing infrastructure.
Ecobee SmartThermostat Premium
- Performance: 9.5/10 (Flawless temperature holding and sensor integration)
- Value: 8.0/10 (Premium price, but includes PEK and room sensor)
- Compatibility: 10/10 (Works with almost everything, including HomeKit)
- Ease-of-Use: 9.5/10 (Best-in-class app and physical wiring terminals)
- Features: 9.5/10 (Built-in Alexa, air quality monitor)
- Verdict: The undisputed champion of DIY installation. If you lack a C-wire, the included PEK saves you a massive headache.
Google Nest Learning Thermostat
- Performance: 9.0/10 (Excellent learning algorithms)
- Value: 7.5/10 (Hidden costs if you need to buy a C-wire adapter)
- Compatibility: 8.0/10 (Struggles with some complex heat pumps)
- Ease-of-Use: 7.5/10 (Hardware setup is risky without a C-wire)
- Features: 9.0/10 (Beautiful display, Farsight)
- Verdict: Only recommended if you open your current thermostat and confirm a C-wire is already present. Otherwise, the setup frustration outweighs the aesthetic benefits.
Honeywell Home T9
- Performance: 8.5/10 (Reliable, but app is slightly dated)
- Value: 9.5/10 (Great price point, includes adapter and sensor)
- Compatibility: 8.5/10 (Good, but lacks HomeKit)
- Ease-of-Use: 8.5/10 (Solid adapter, but app onboarding is clunky)
- Features: 8.5/10 (Excellent room sensors)
- Verdict: The pragmatic choice for budget-conscious DIYers who need a C-wire adapter and prioritize multi-room sensor accuracy over smart home ecosystem prestige.
Ultimately, a smart thermostat should save you time and money, not cost you an afternoon of electrical troubleshooting. By verifying your wiring before purchasing and choosing a device that aligns with your HVAC system's realities, you can ensure a seamless transition to intelligent climate control.